Reroofing the Paul Applebee Home with IB PVC
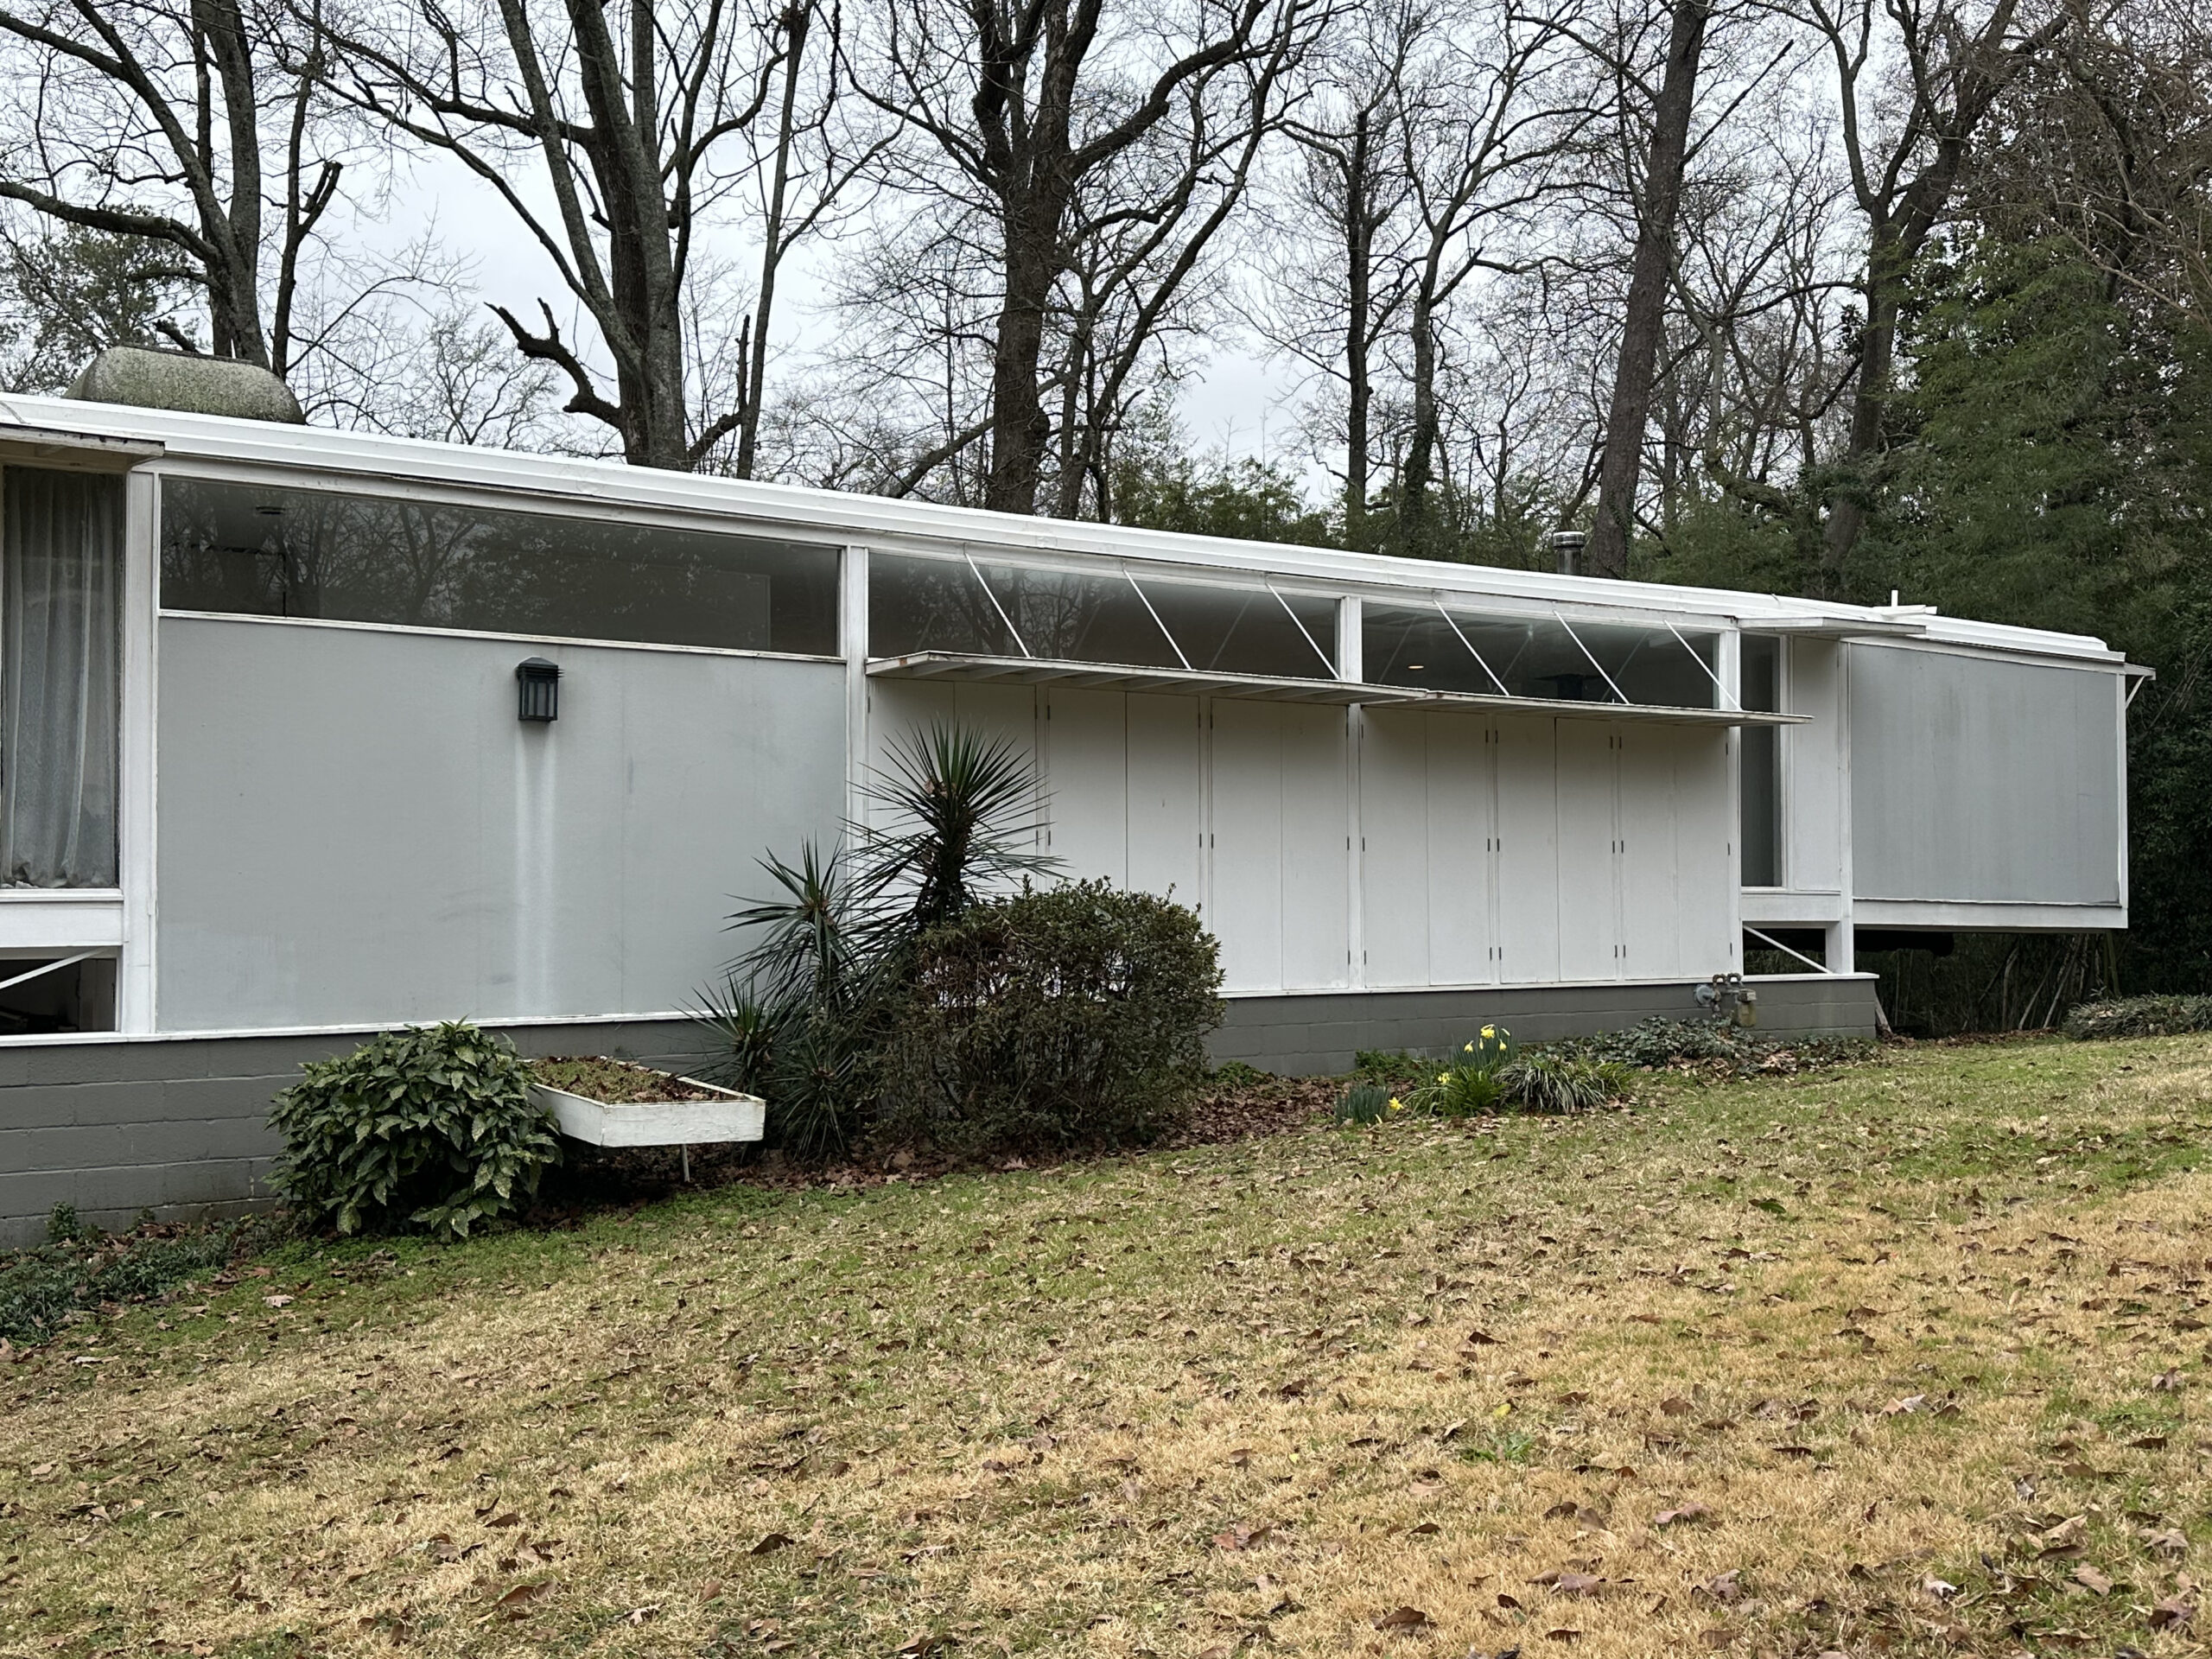
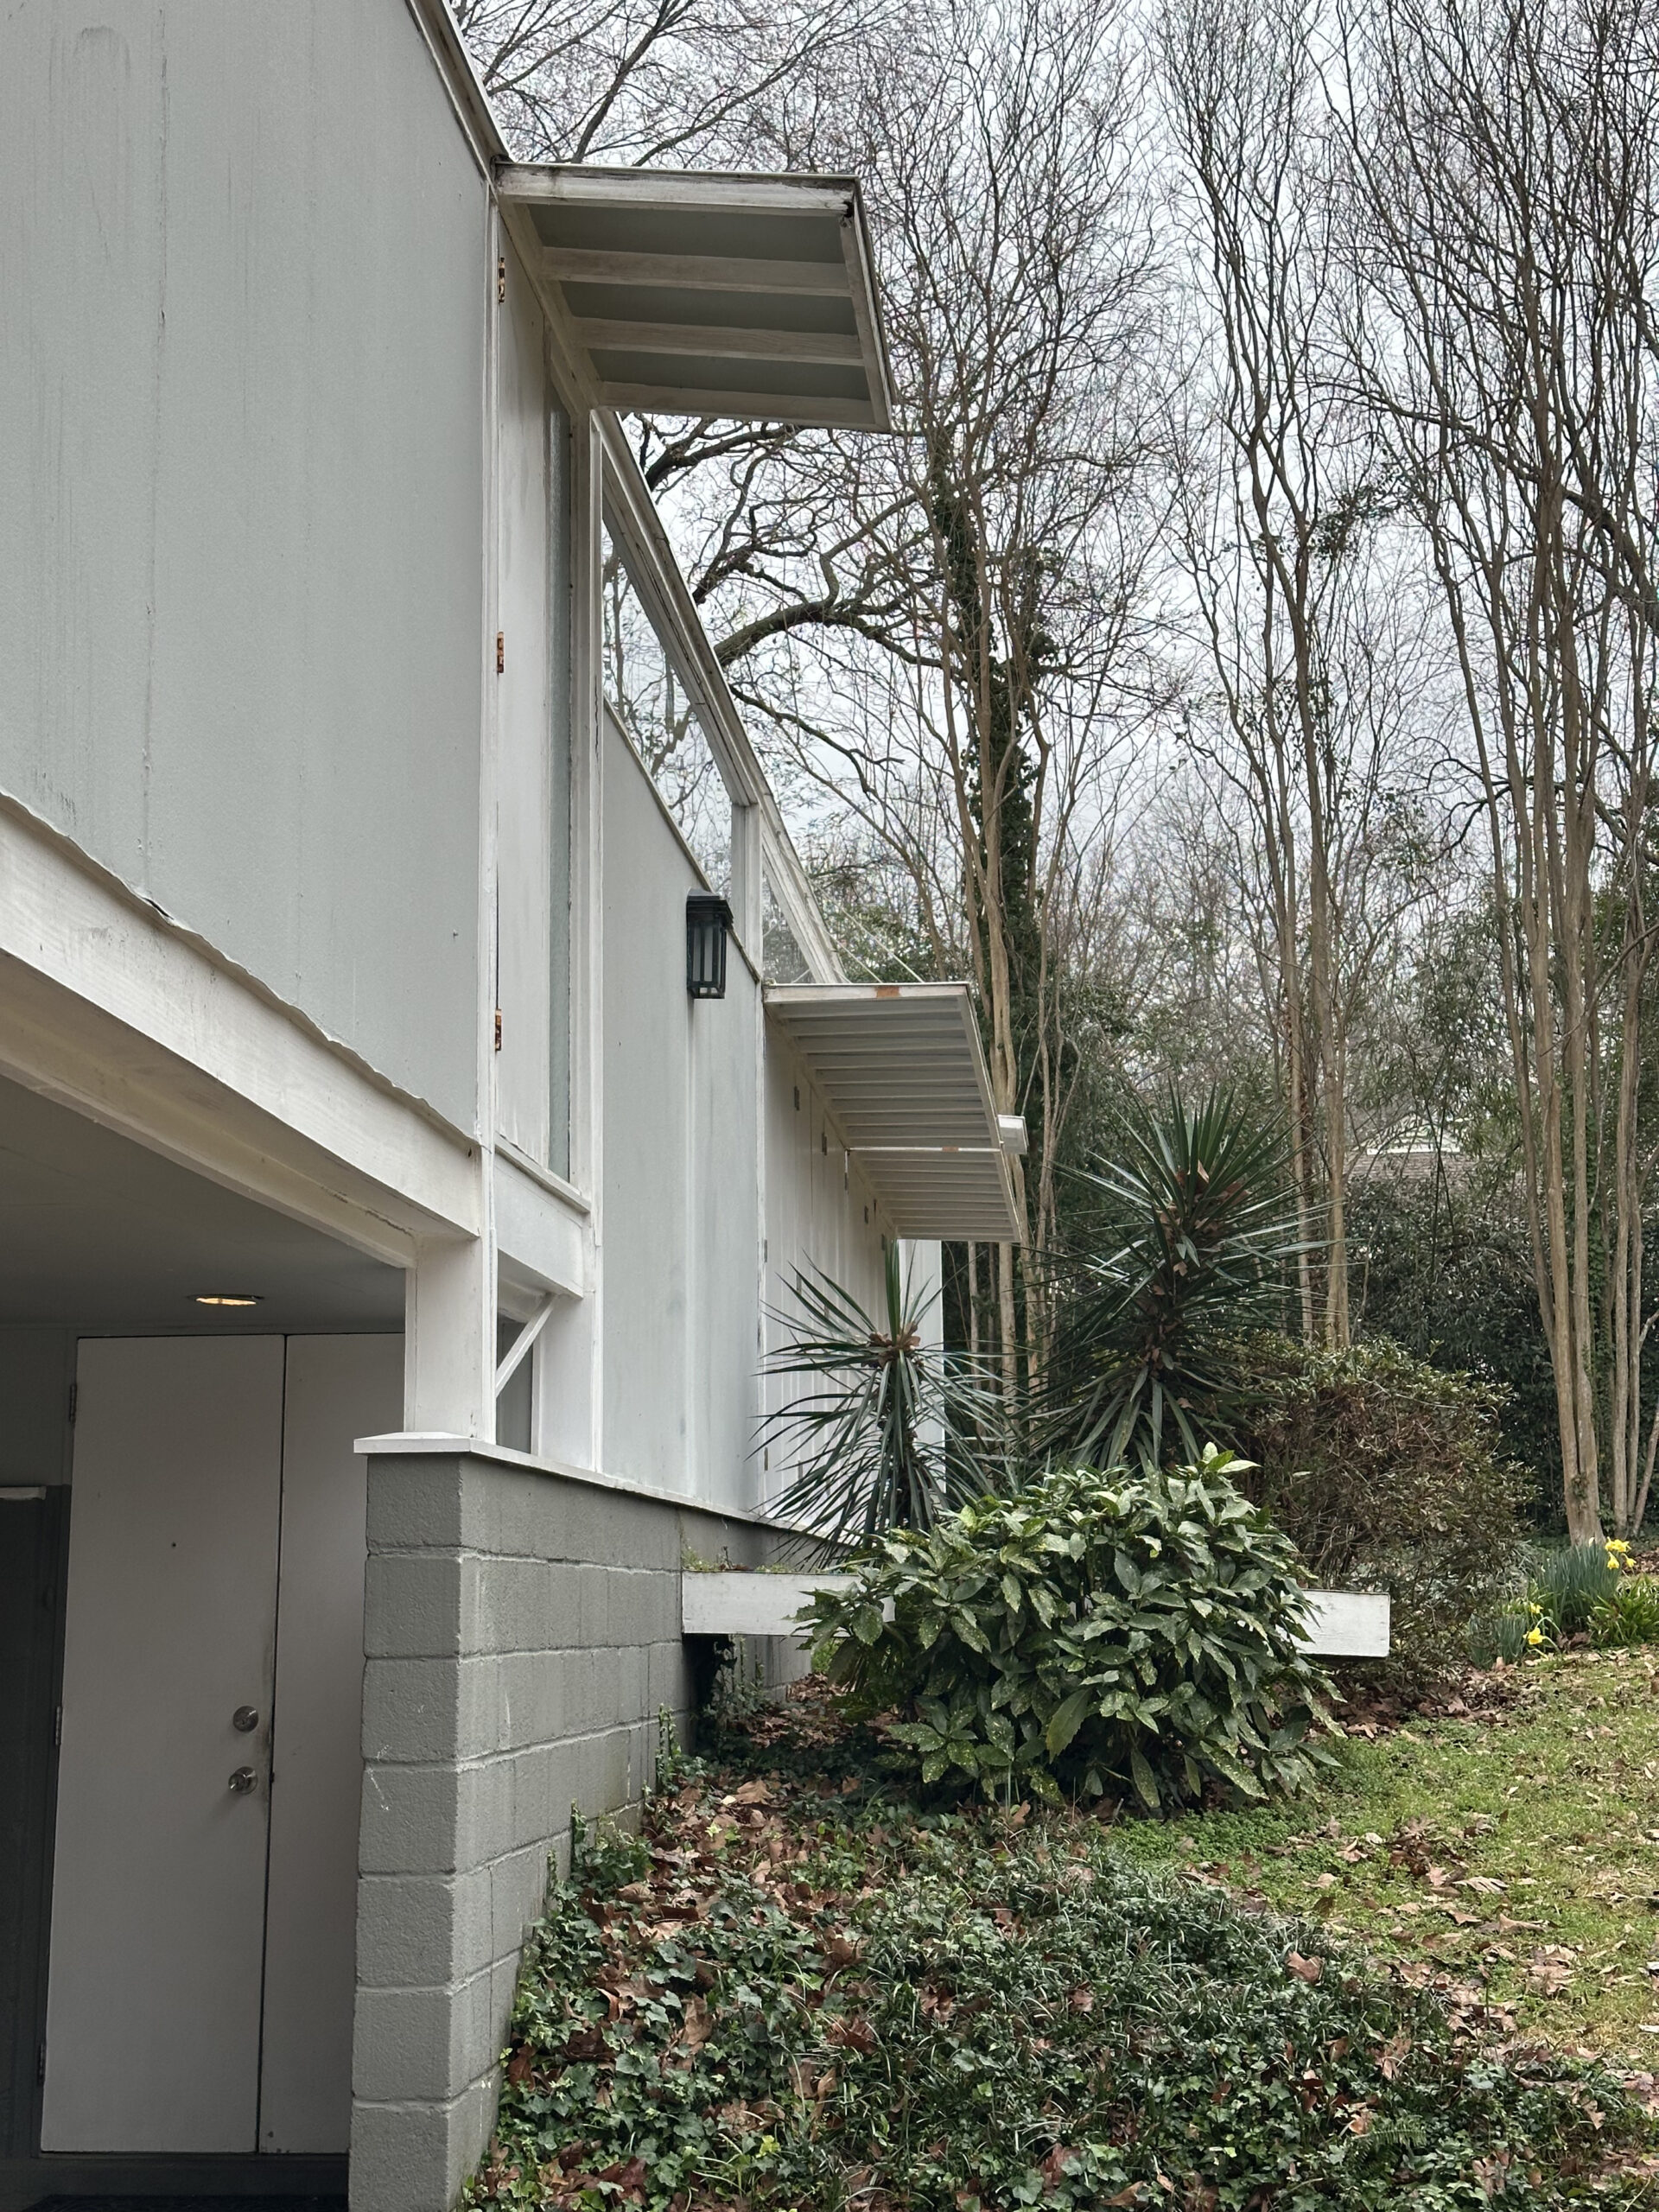
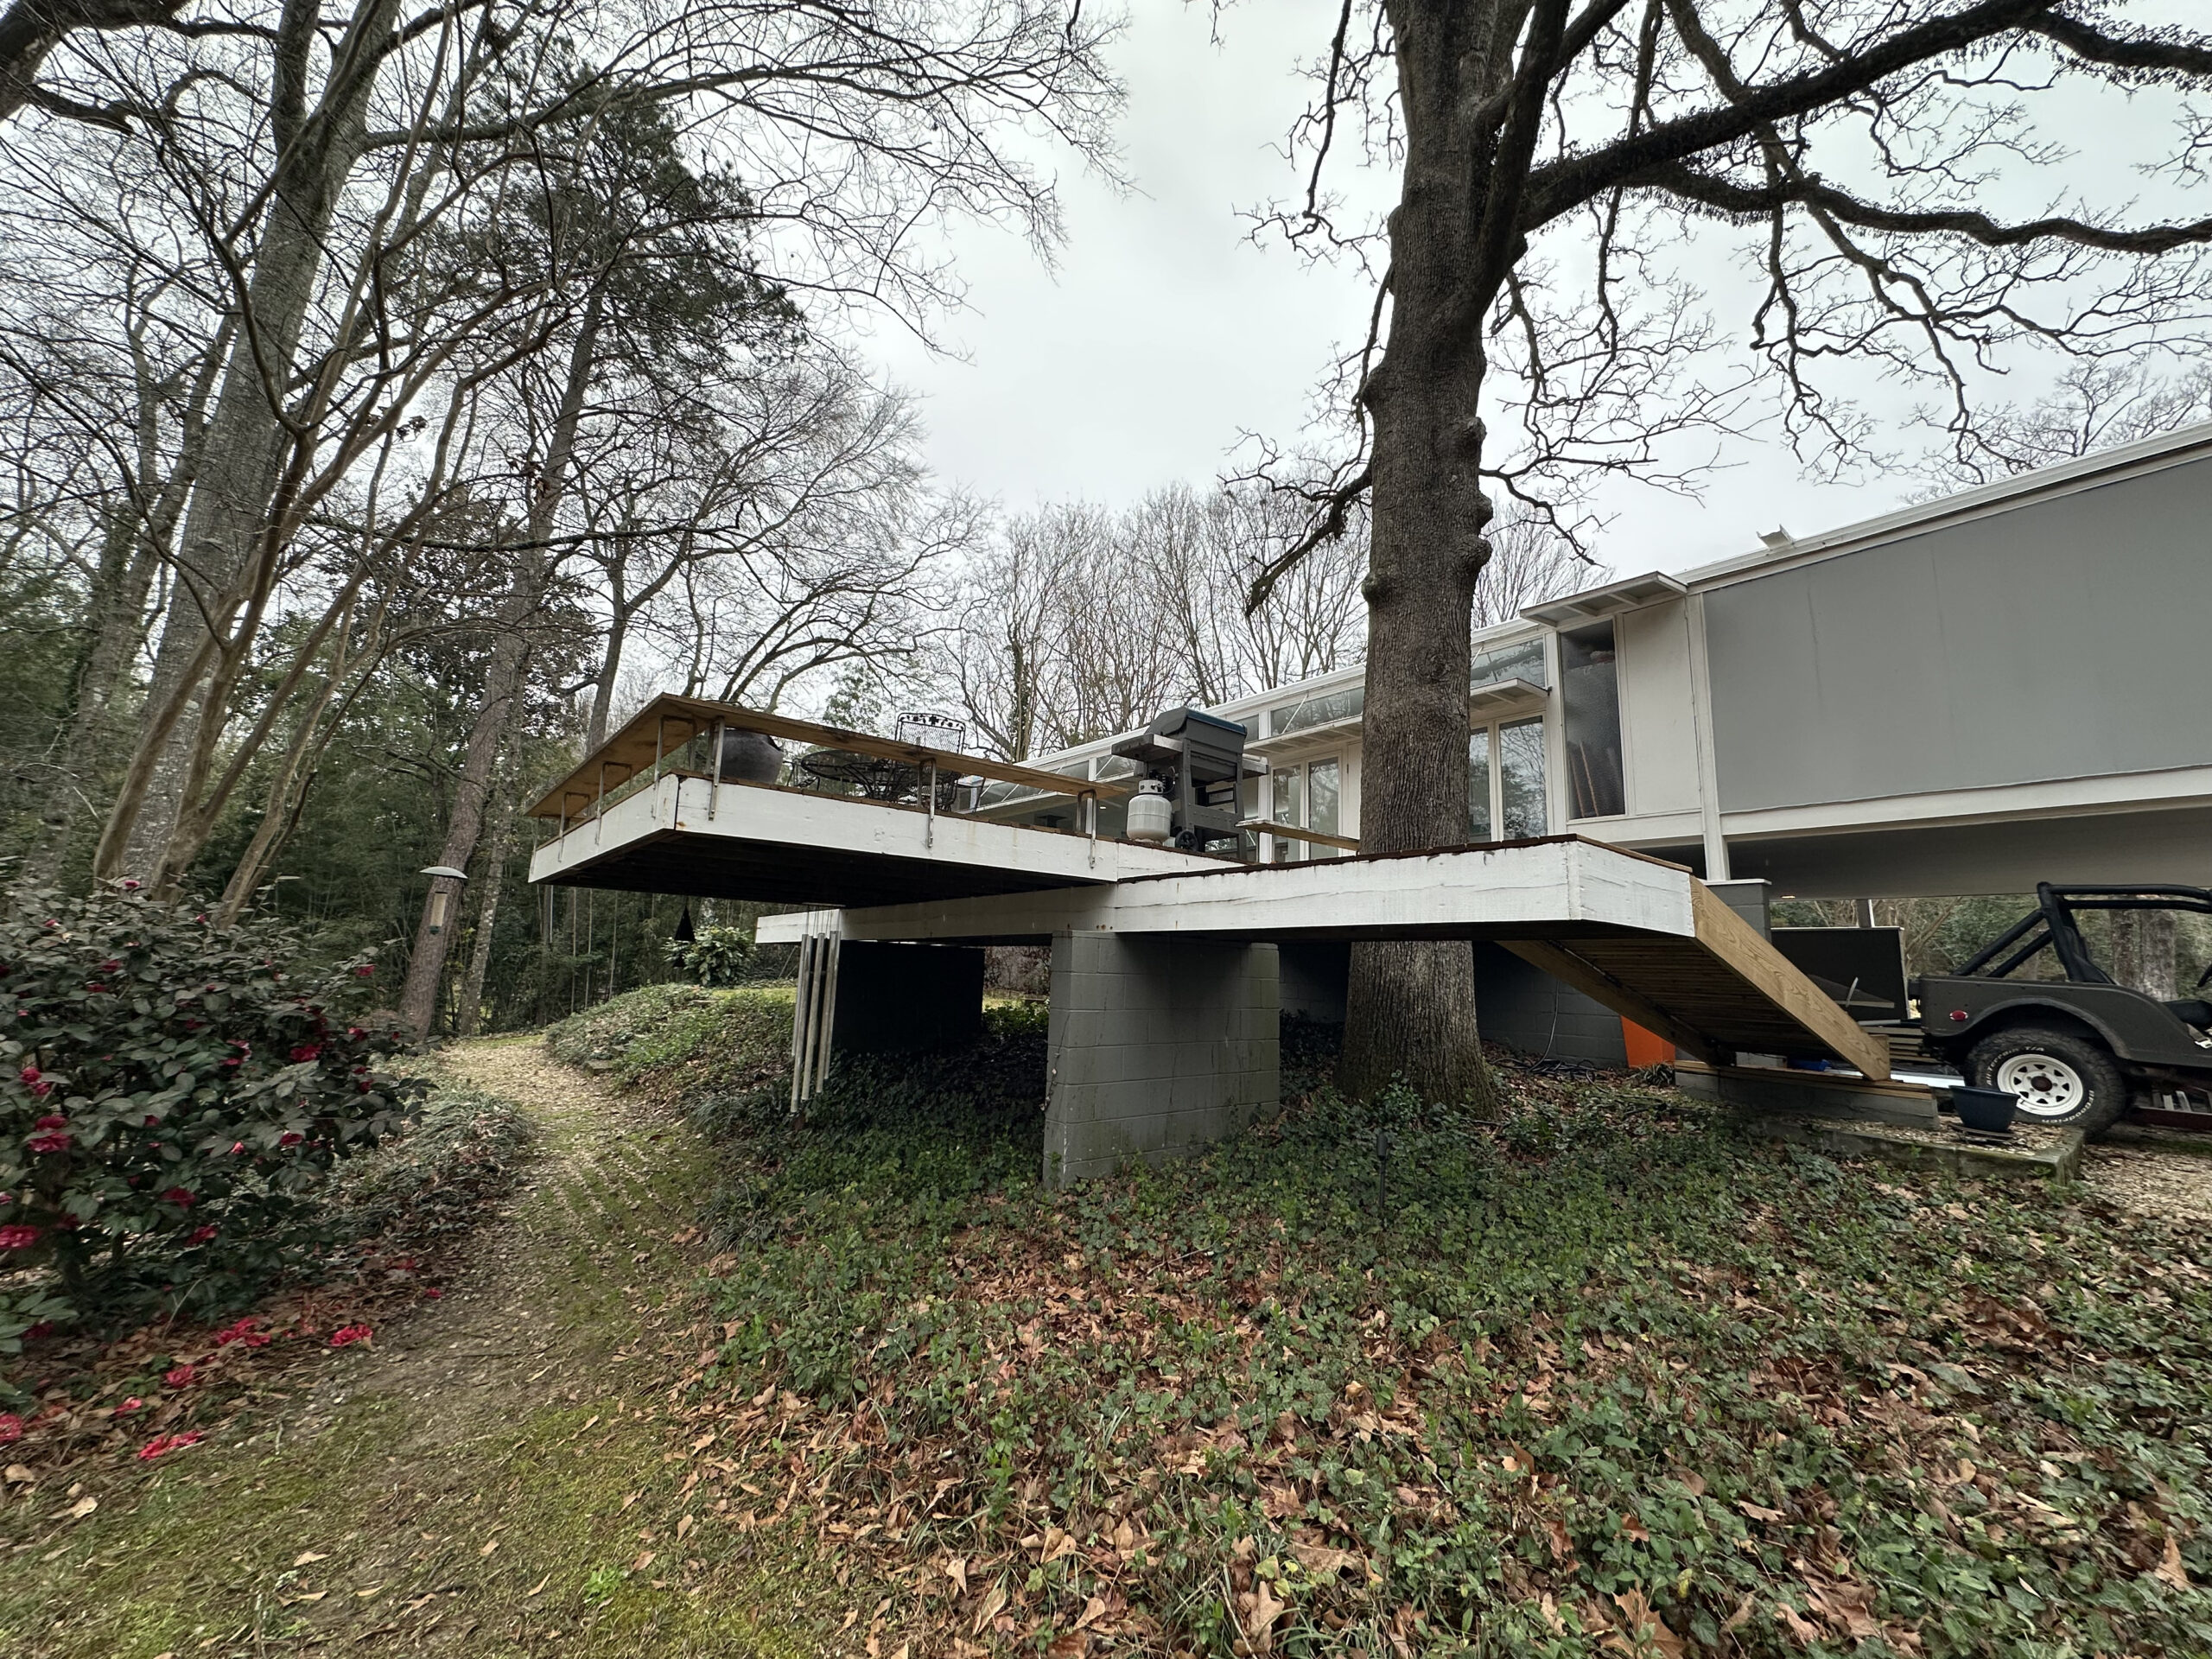
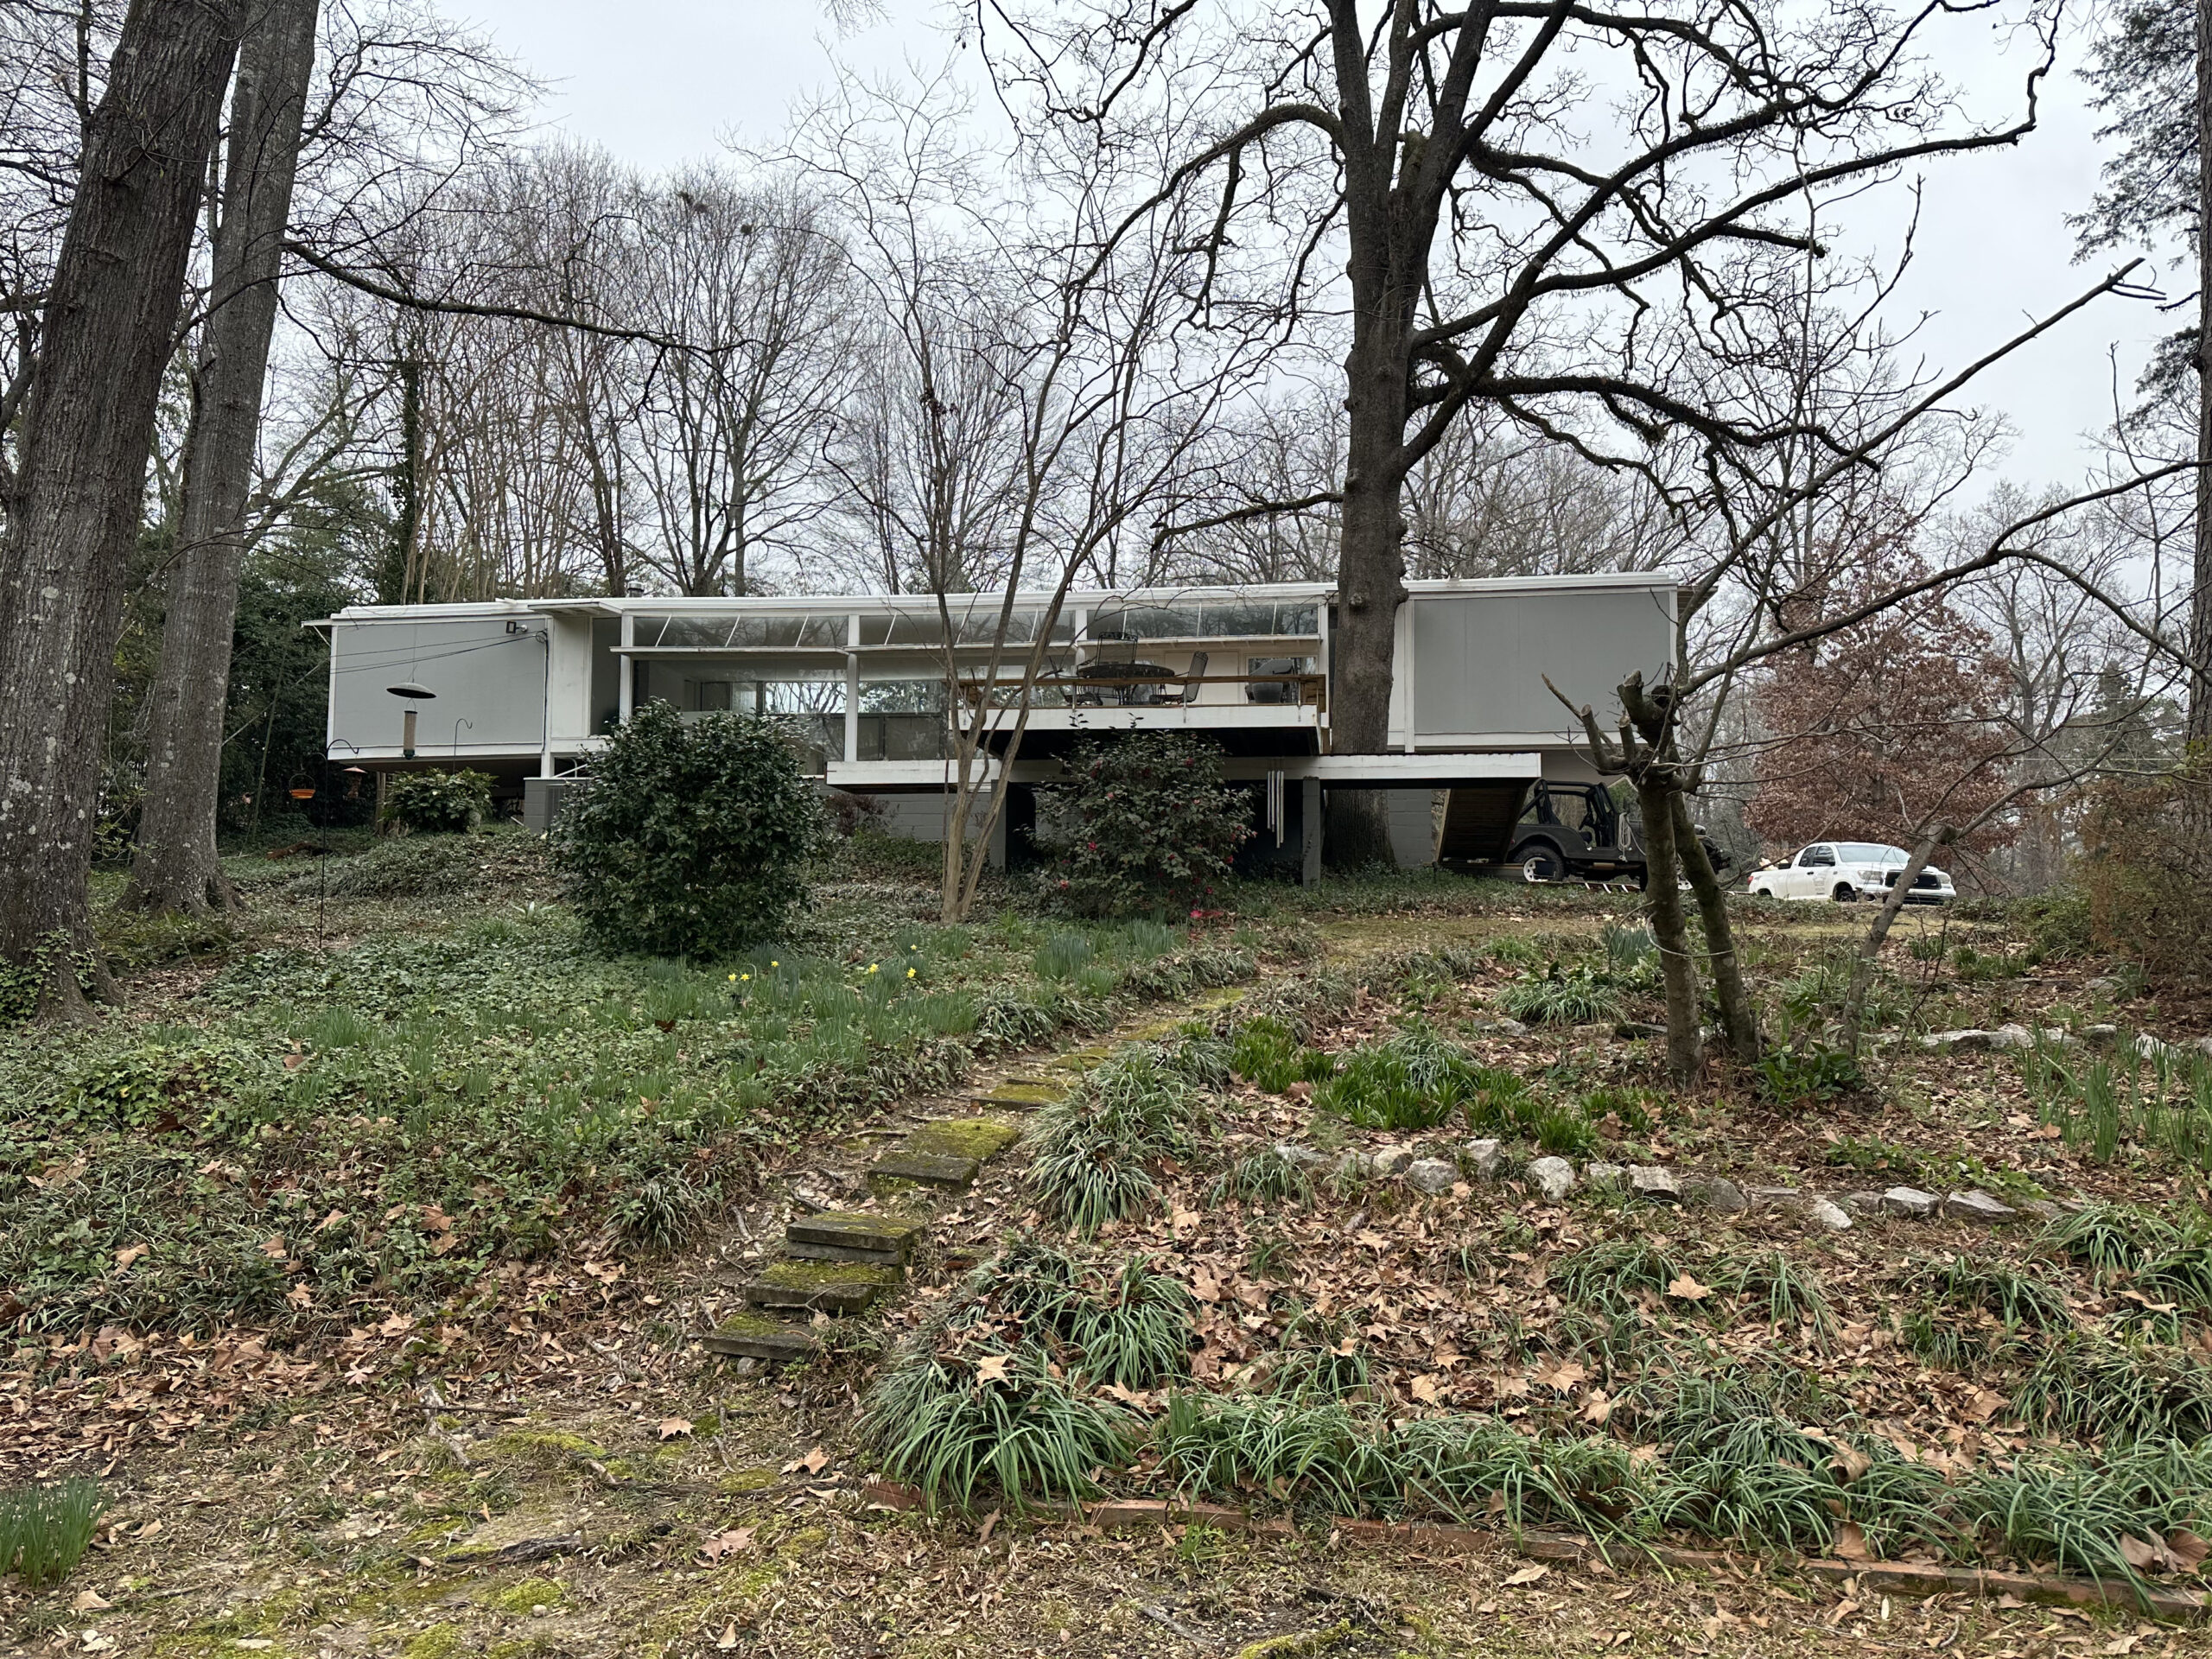
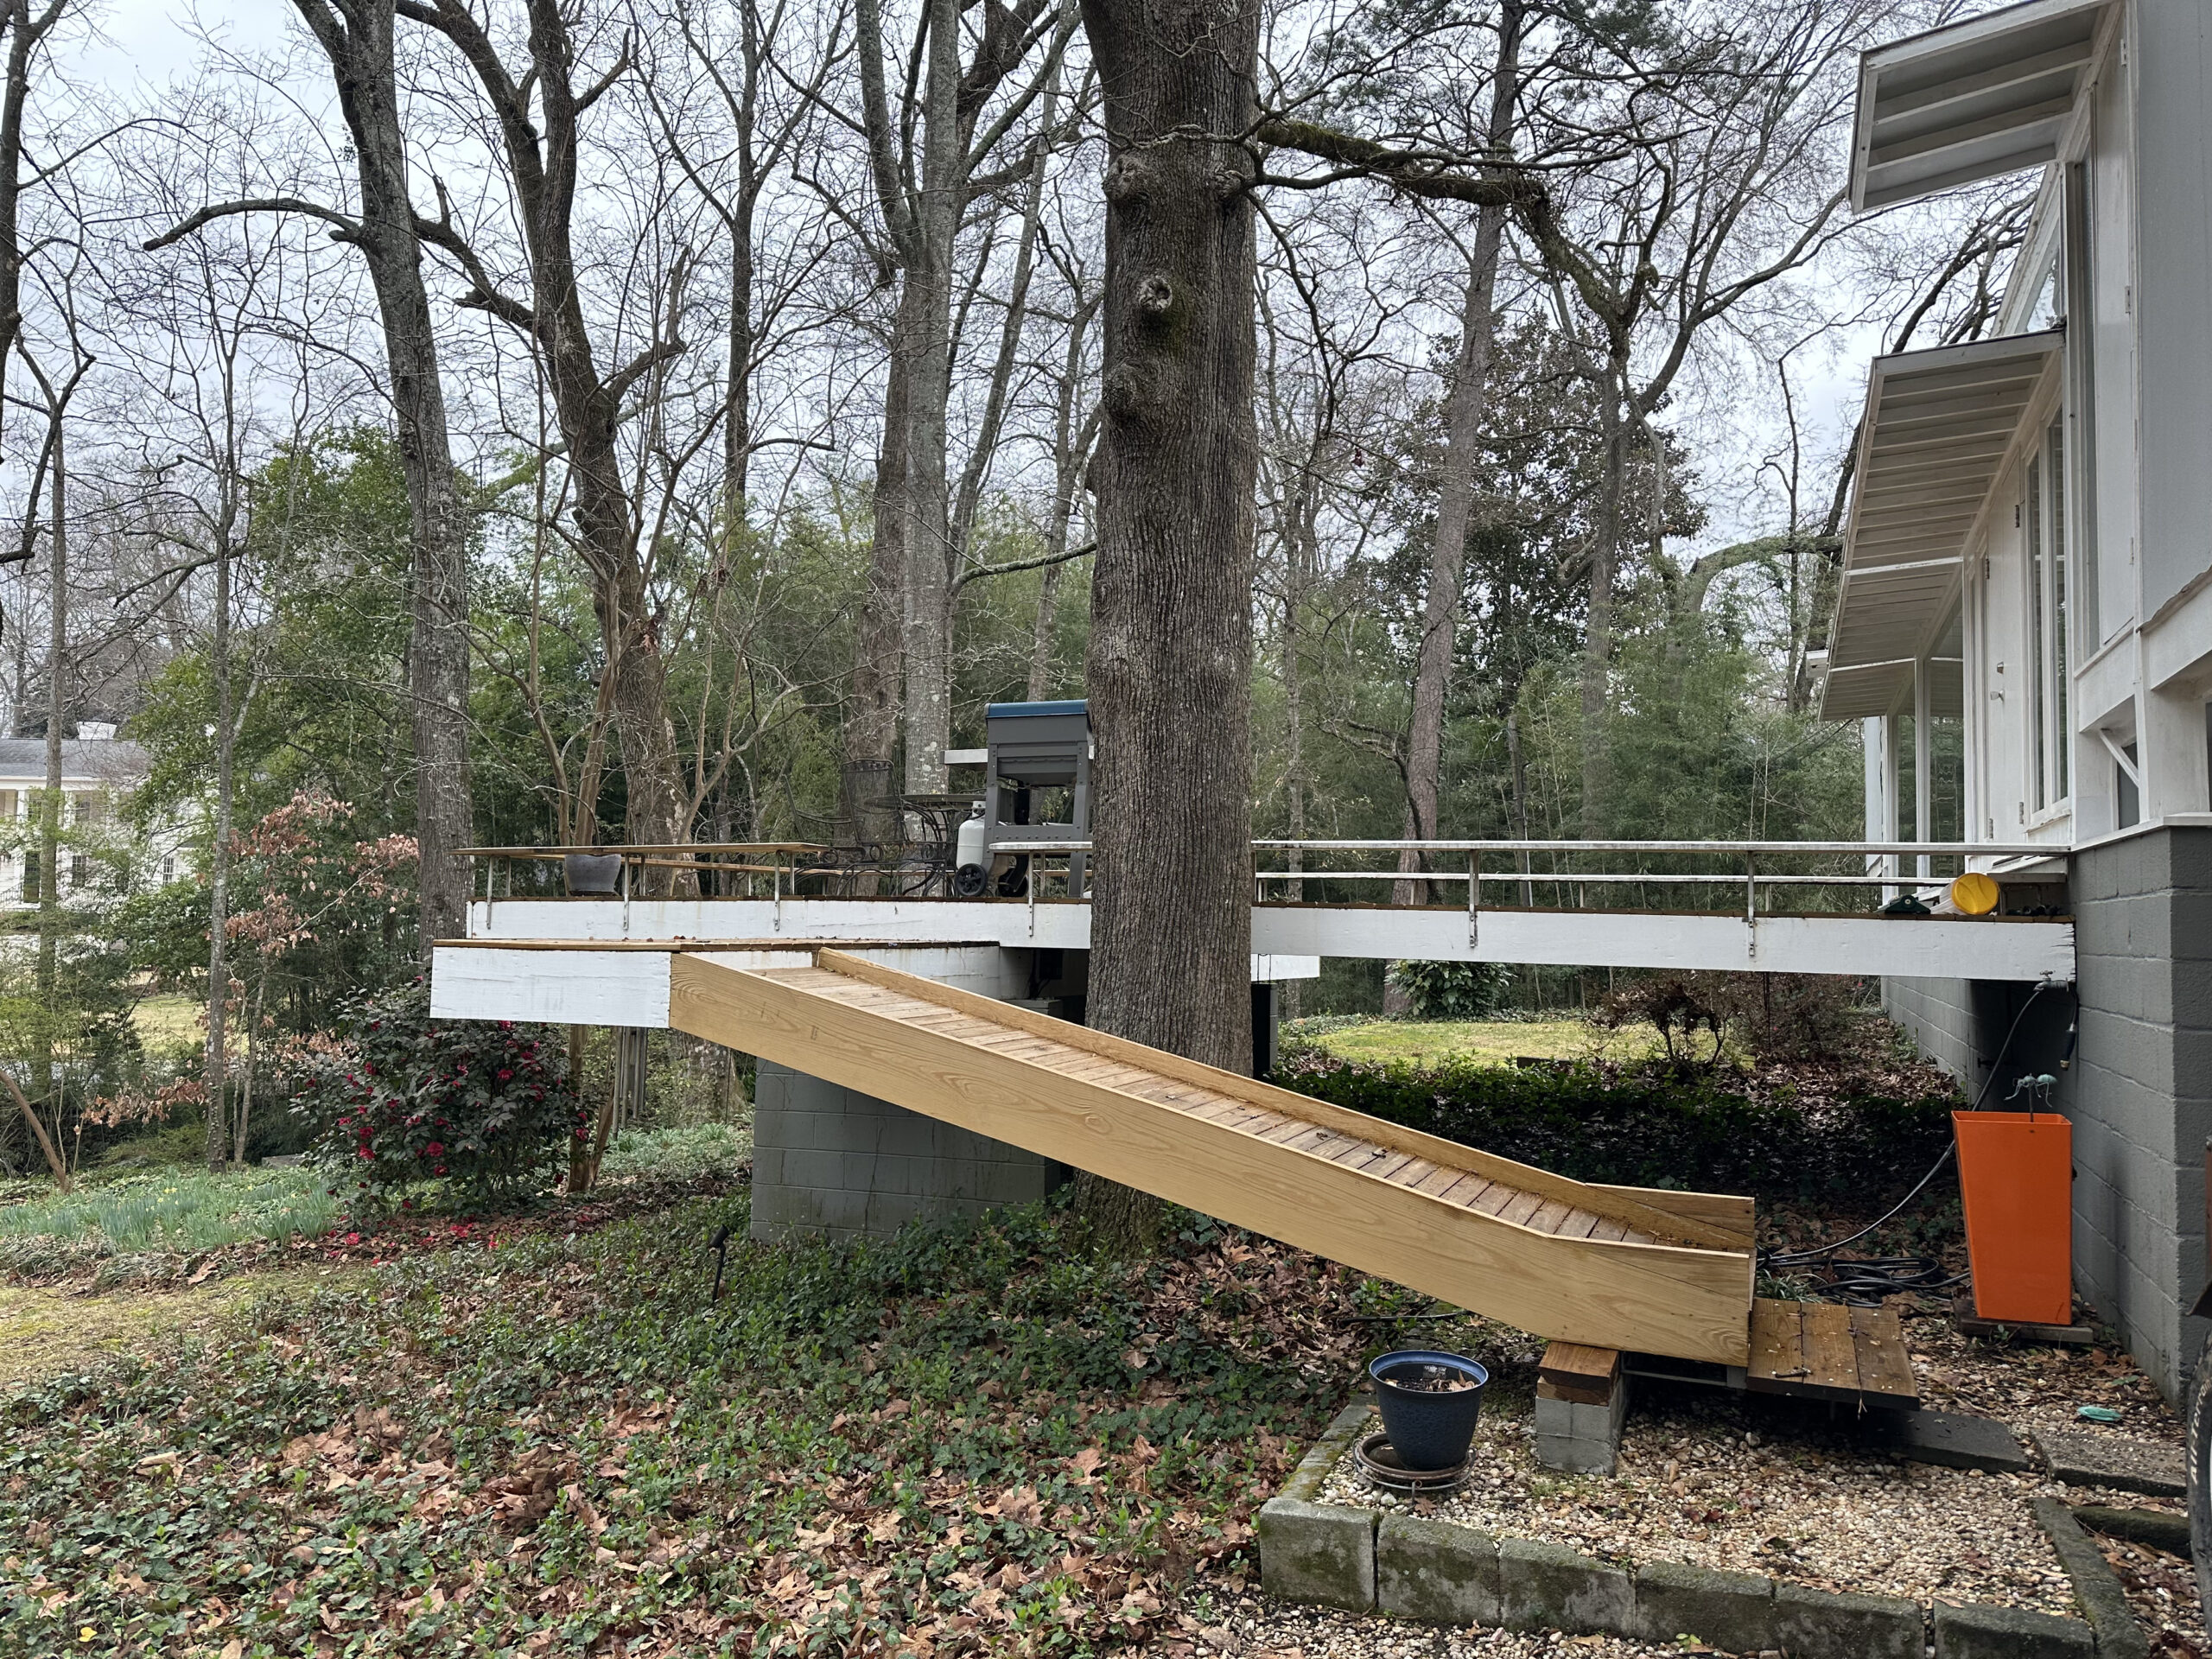
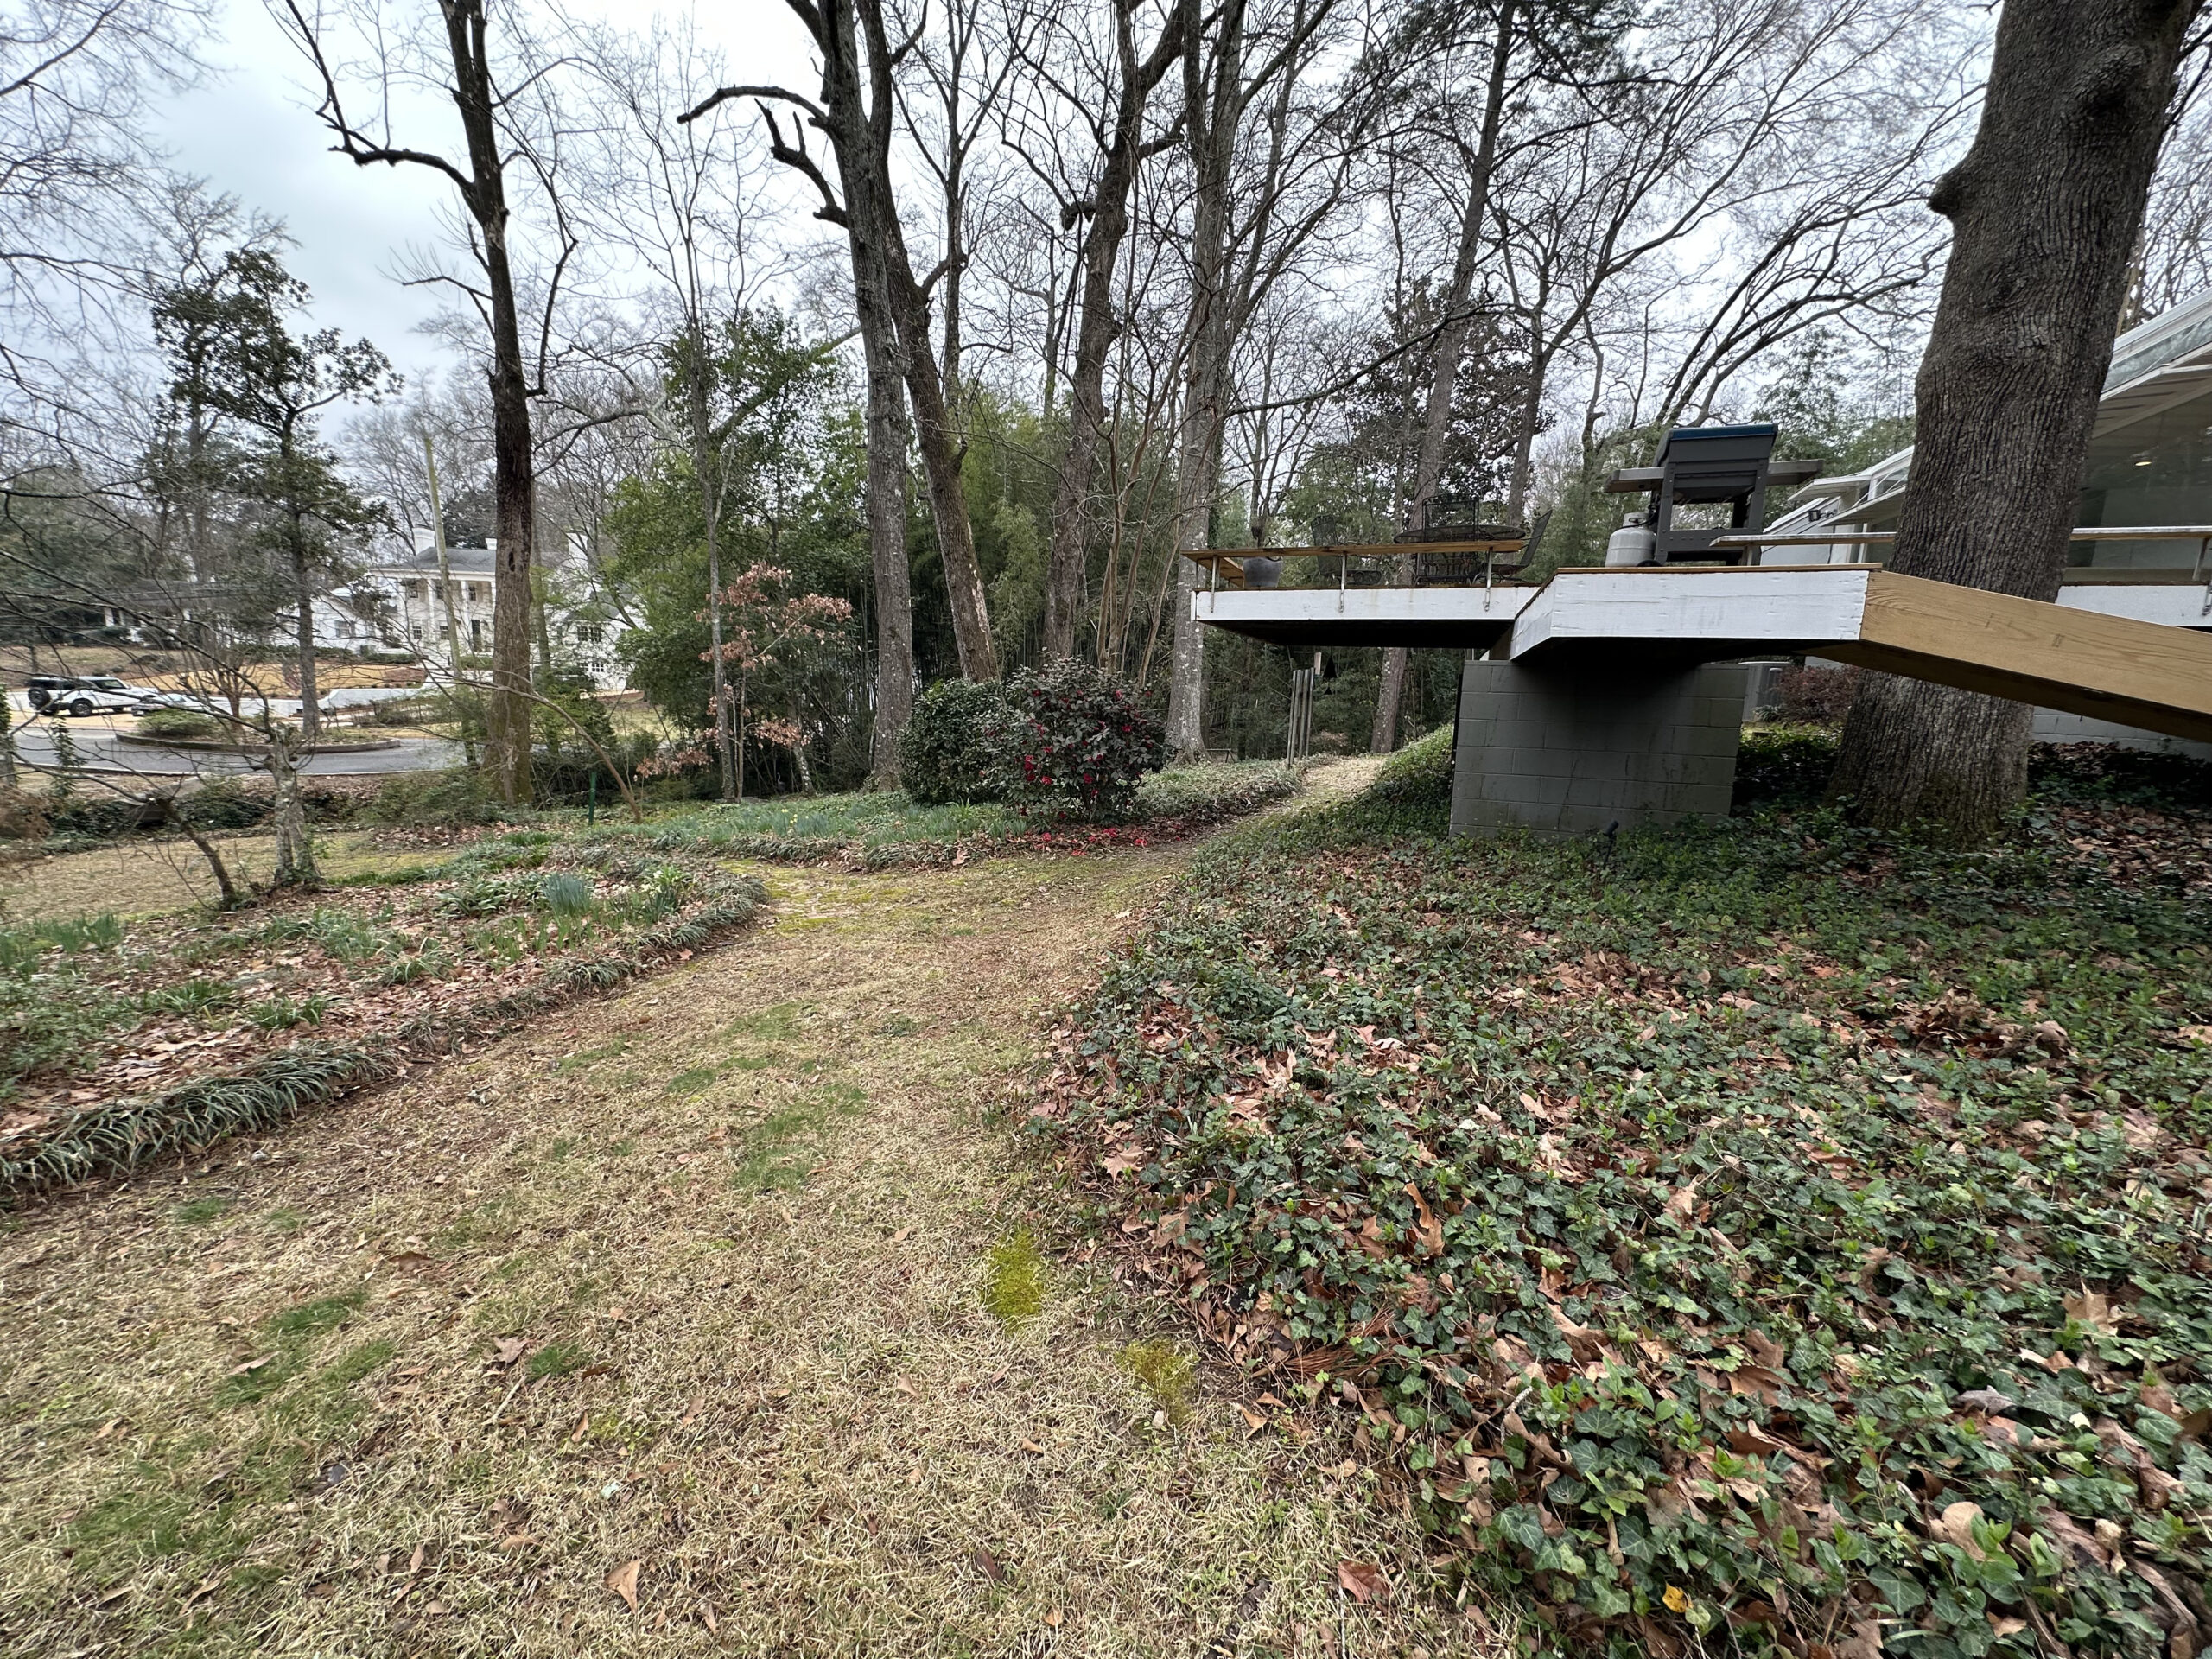
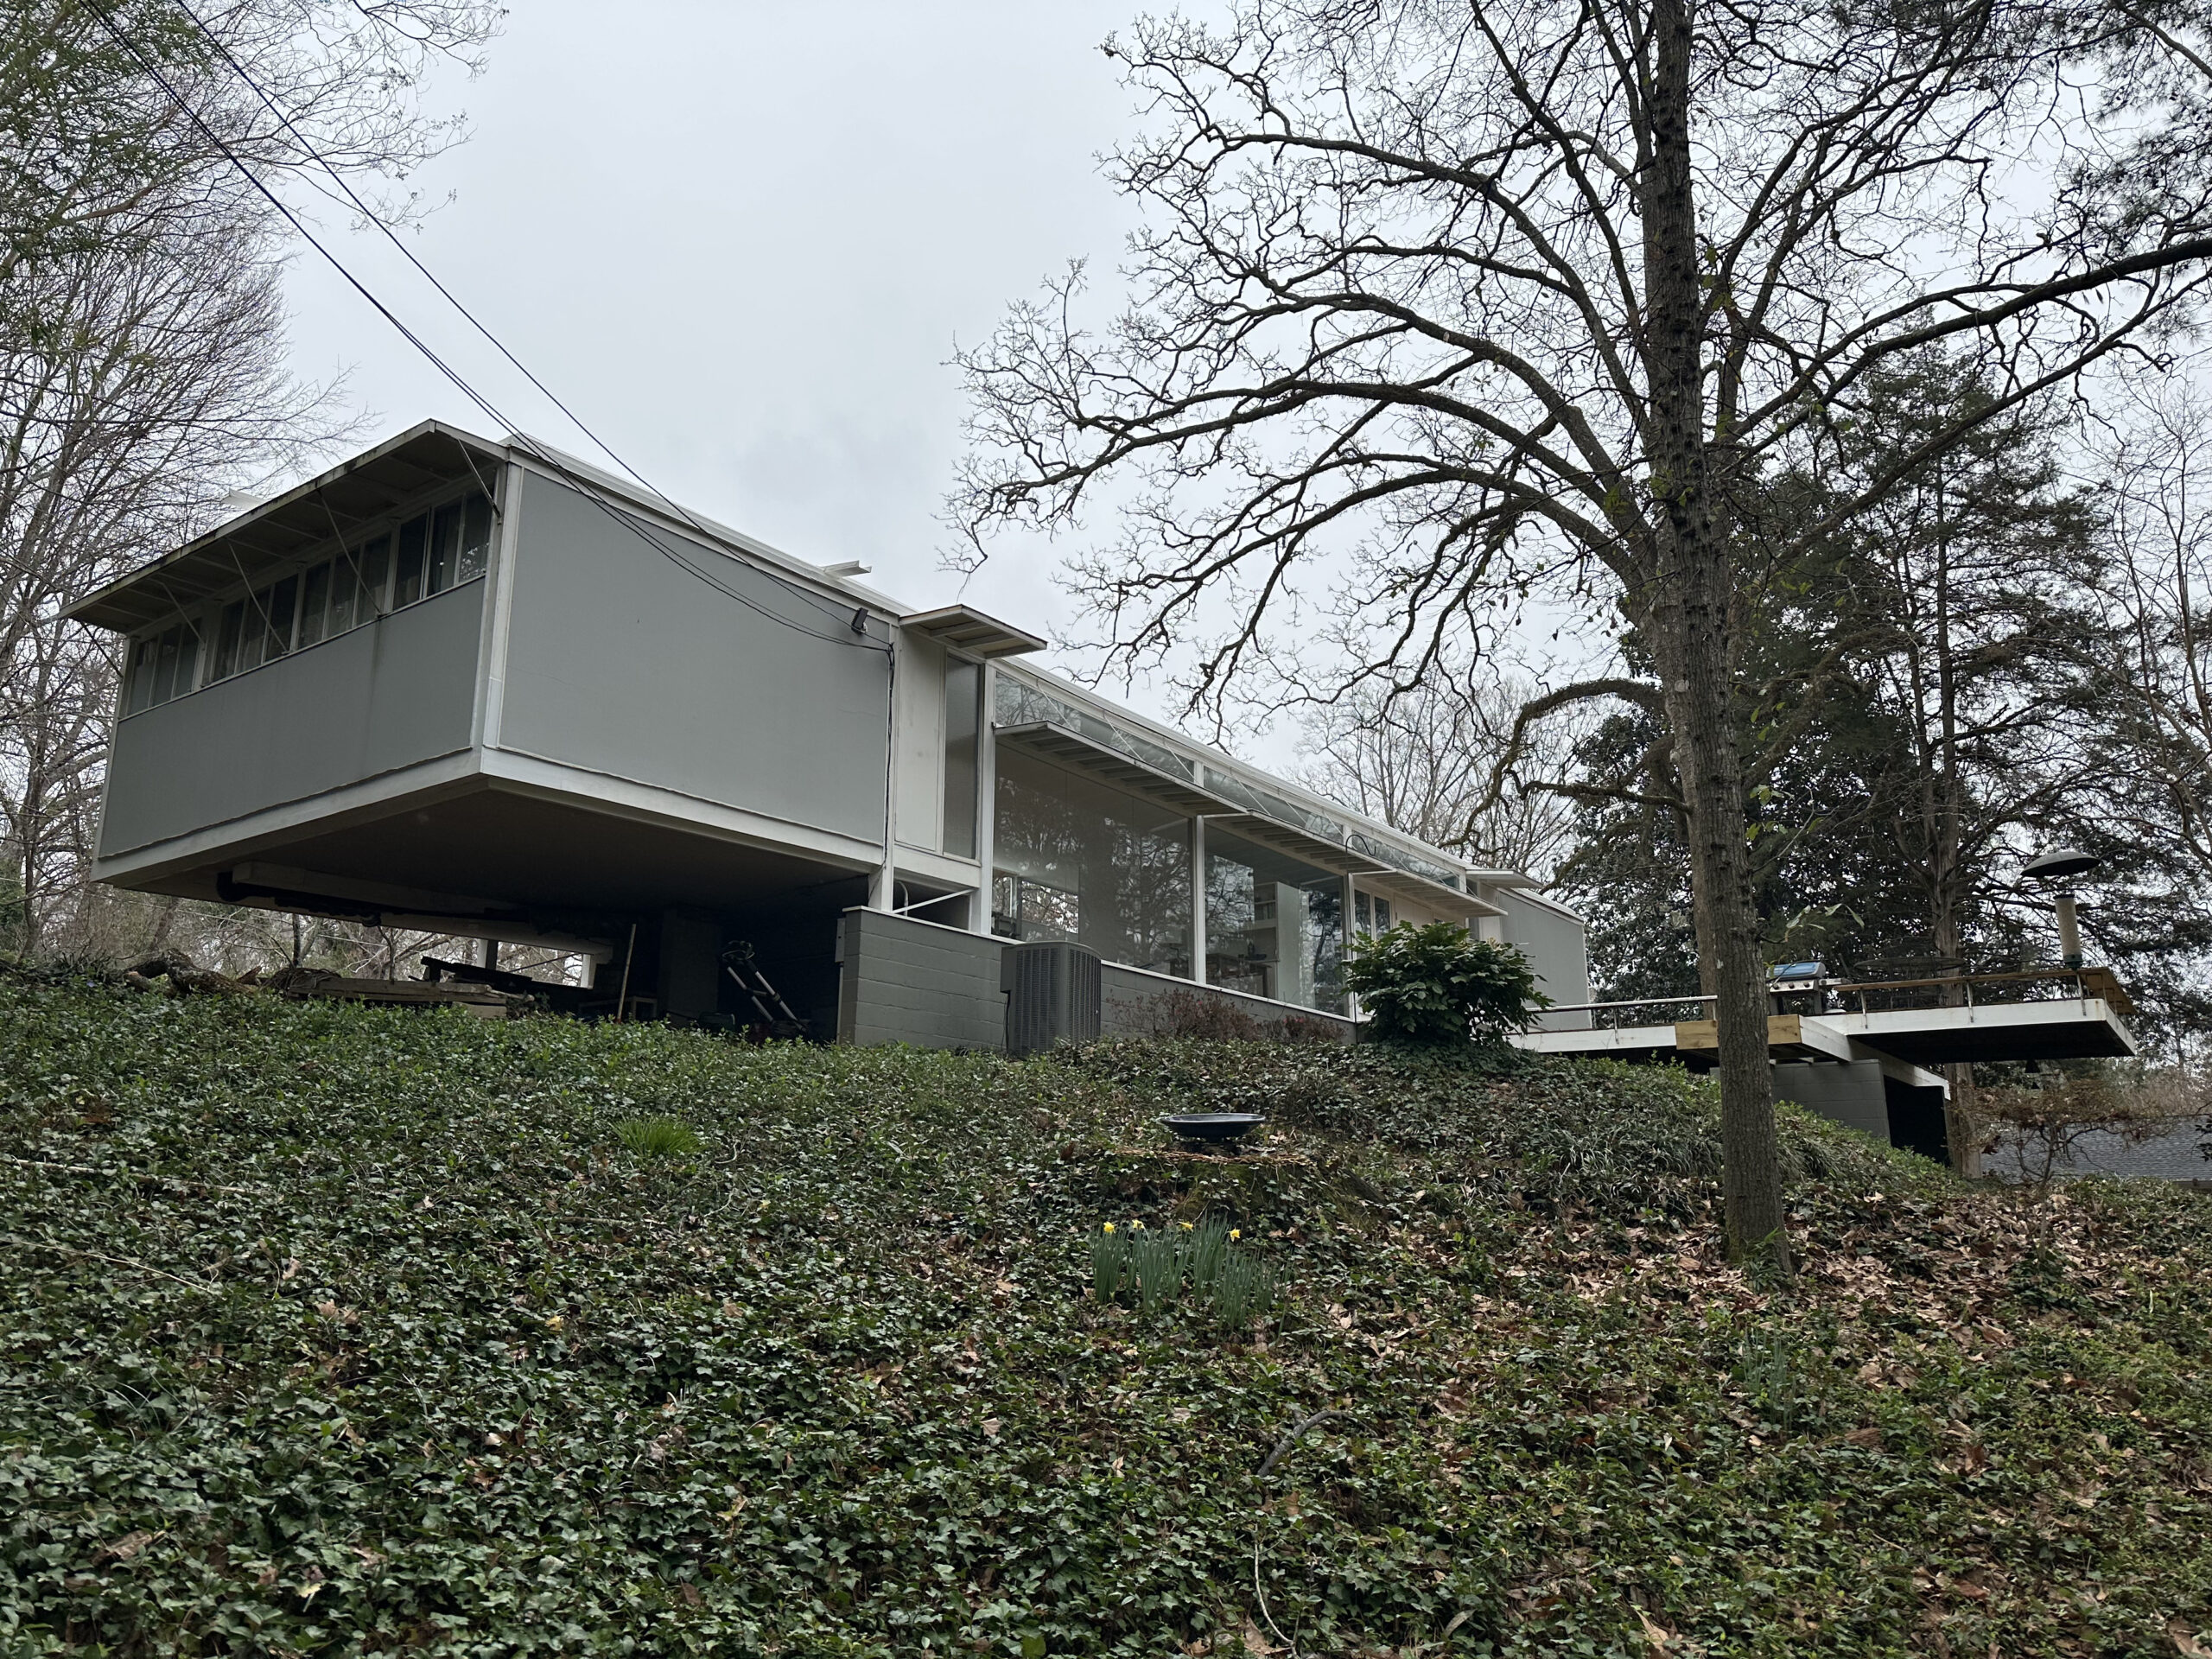
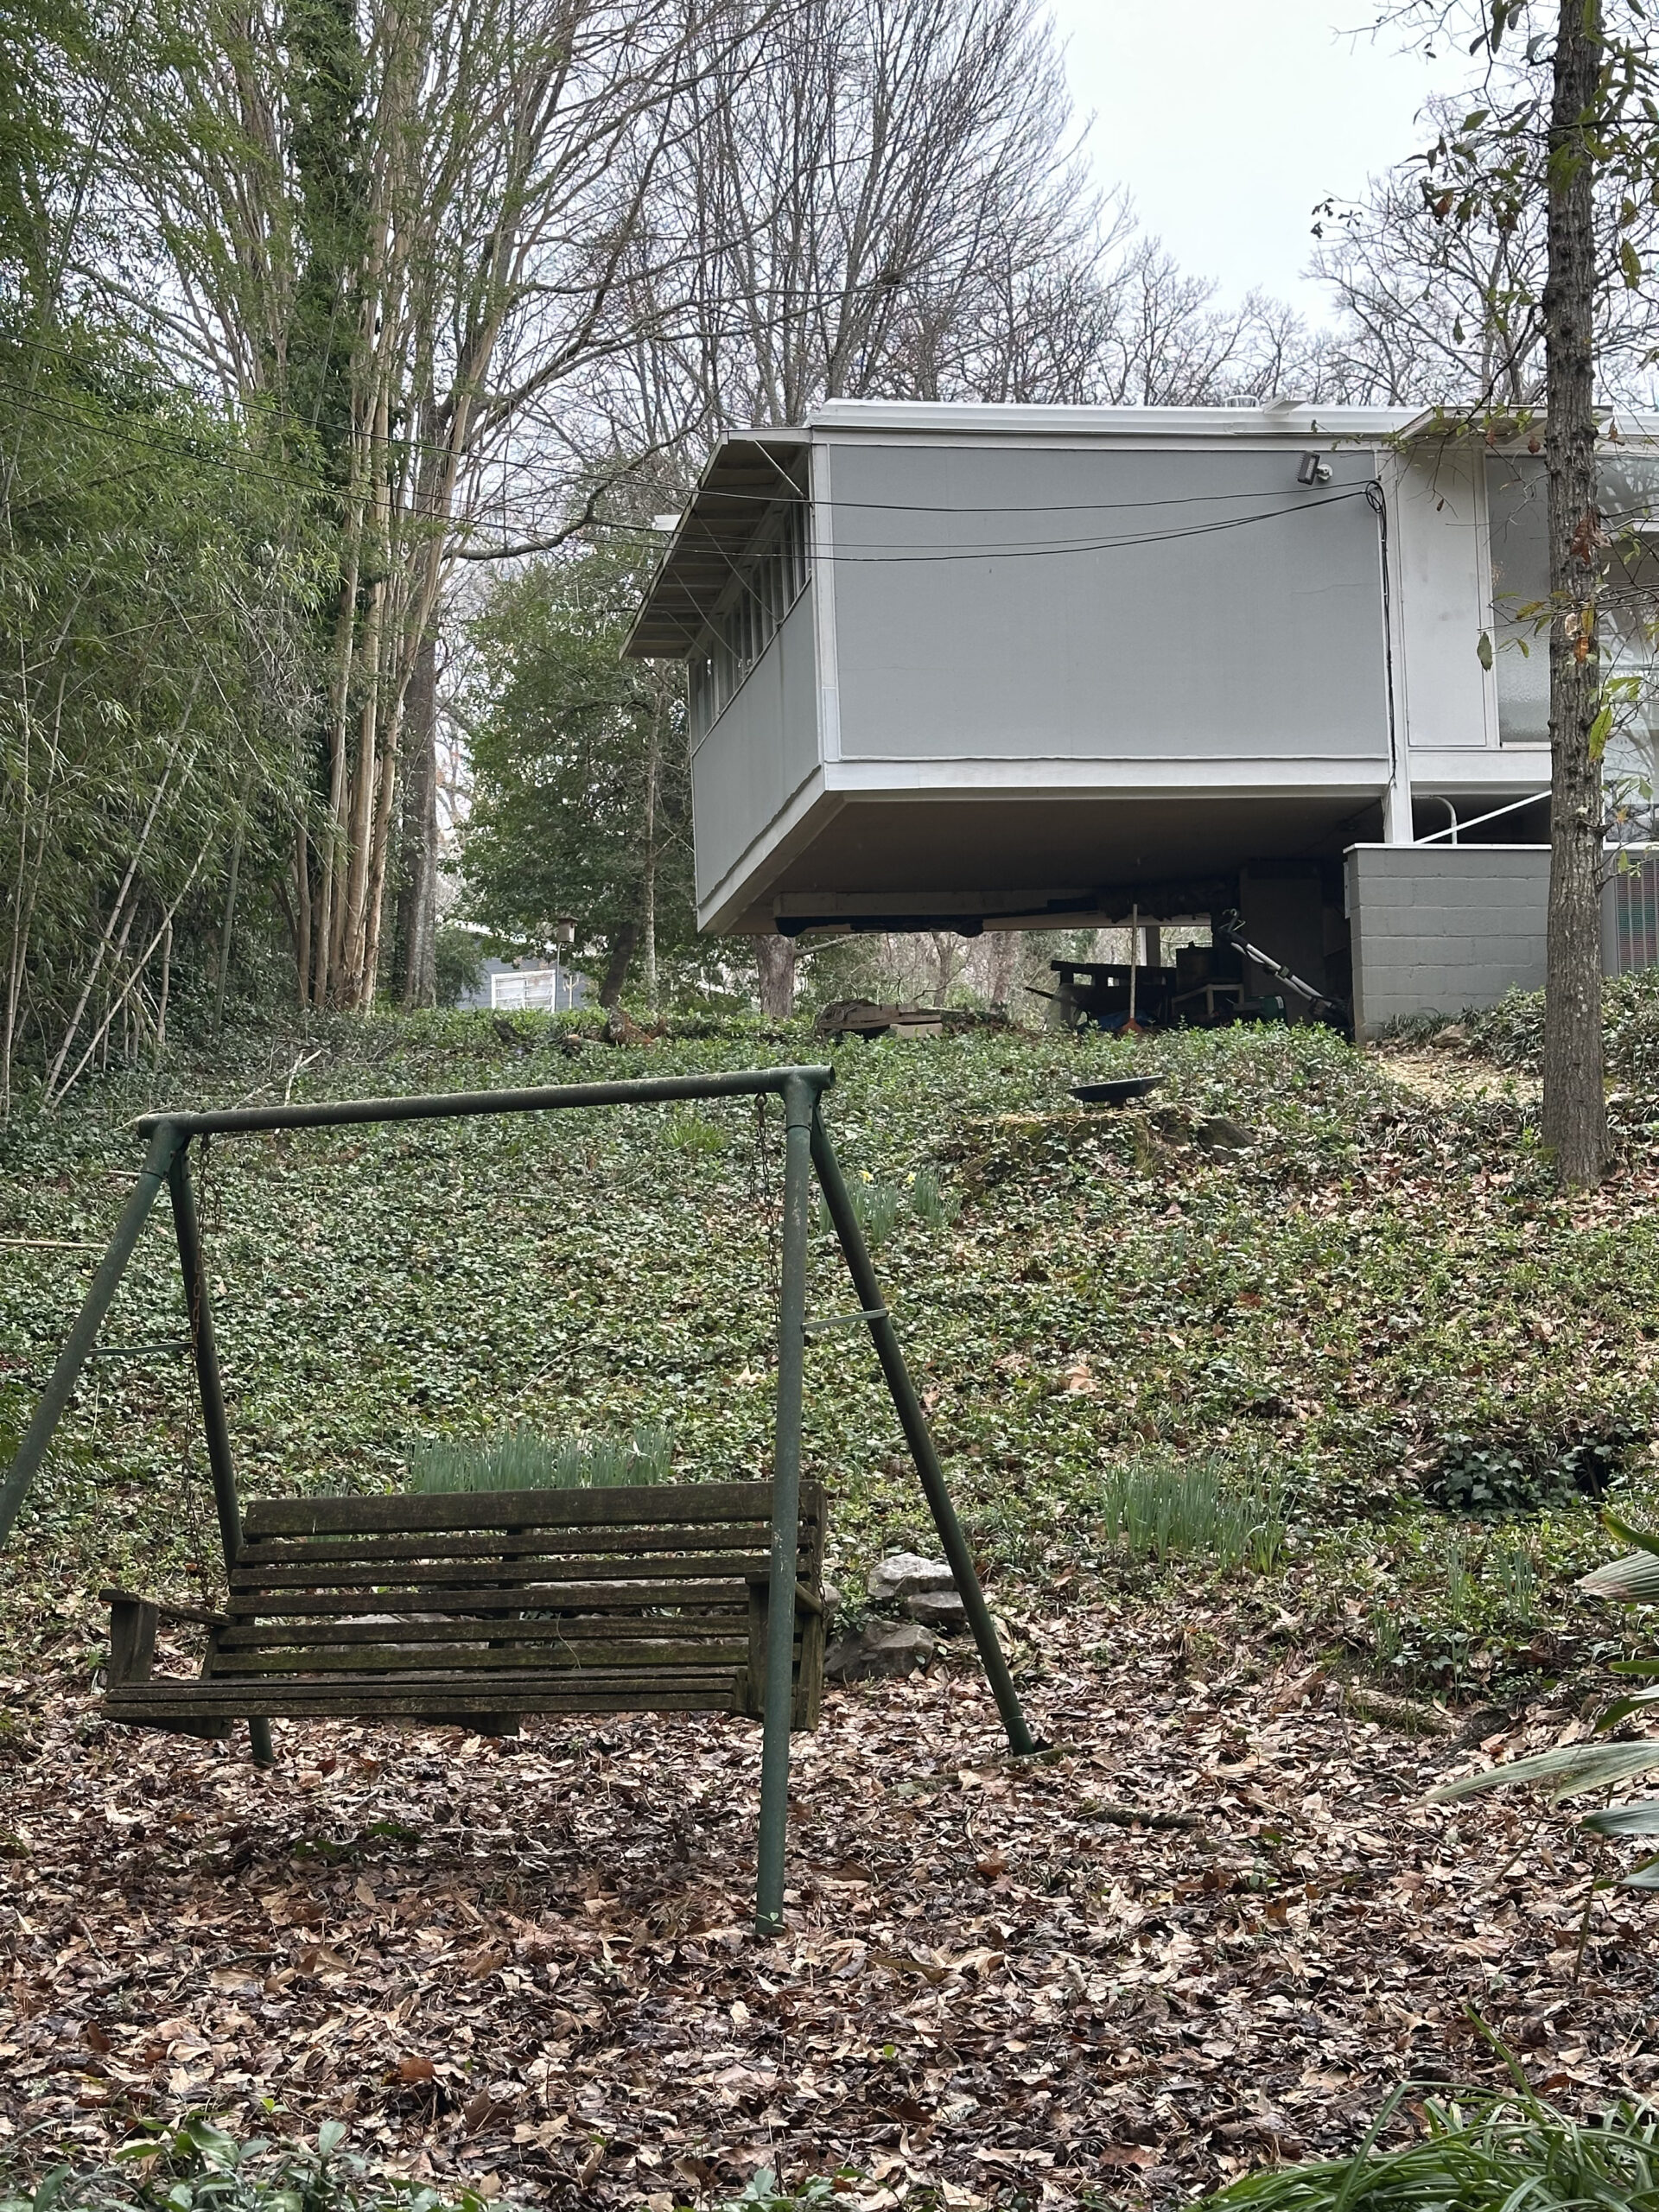
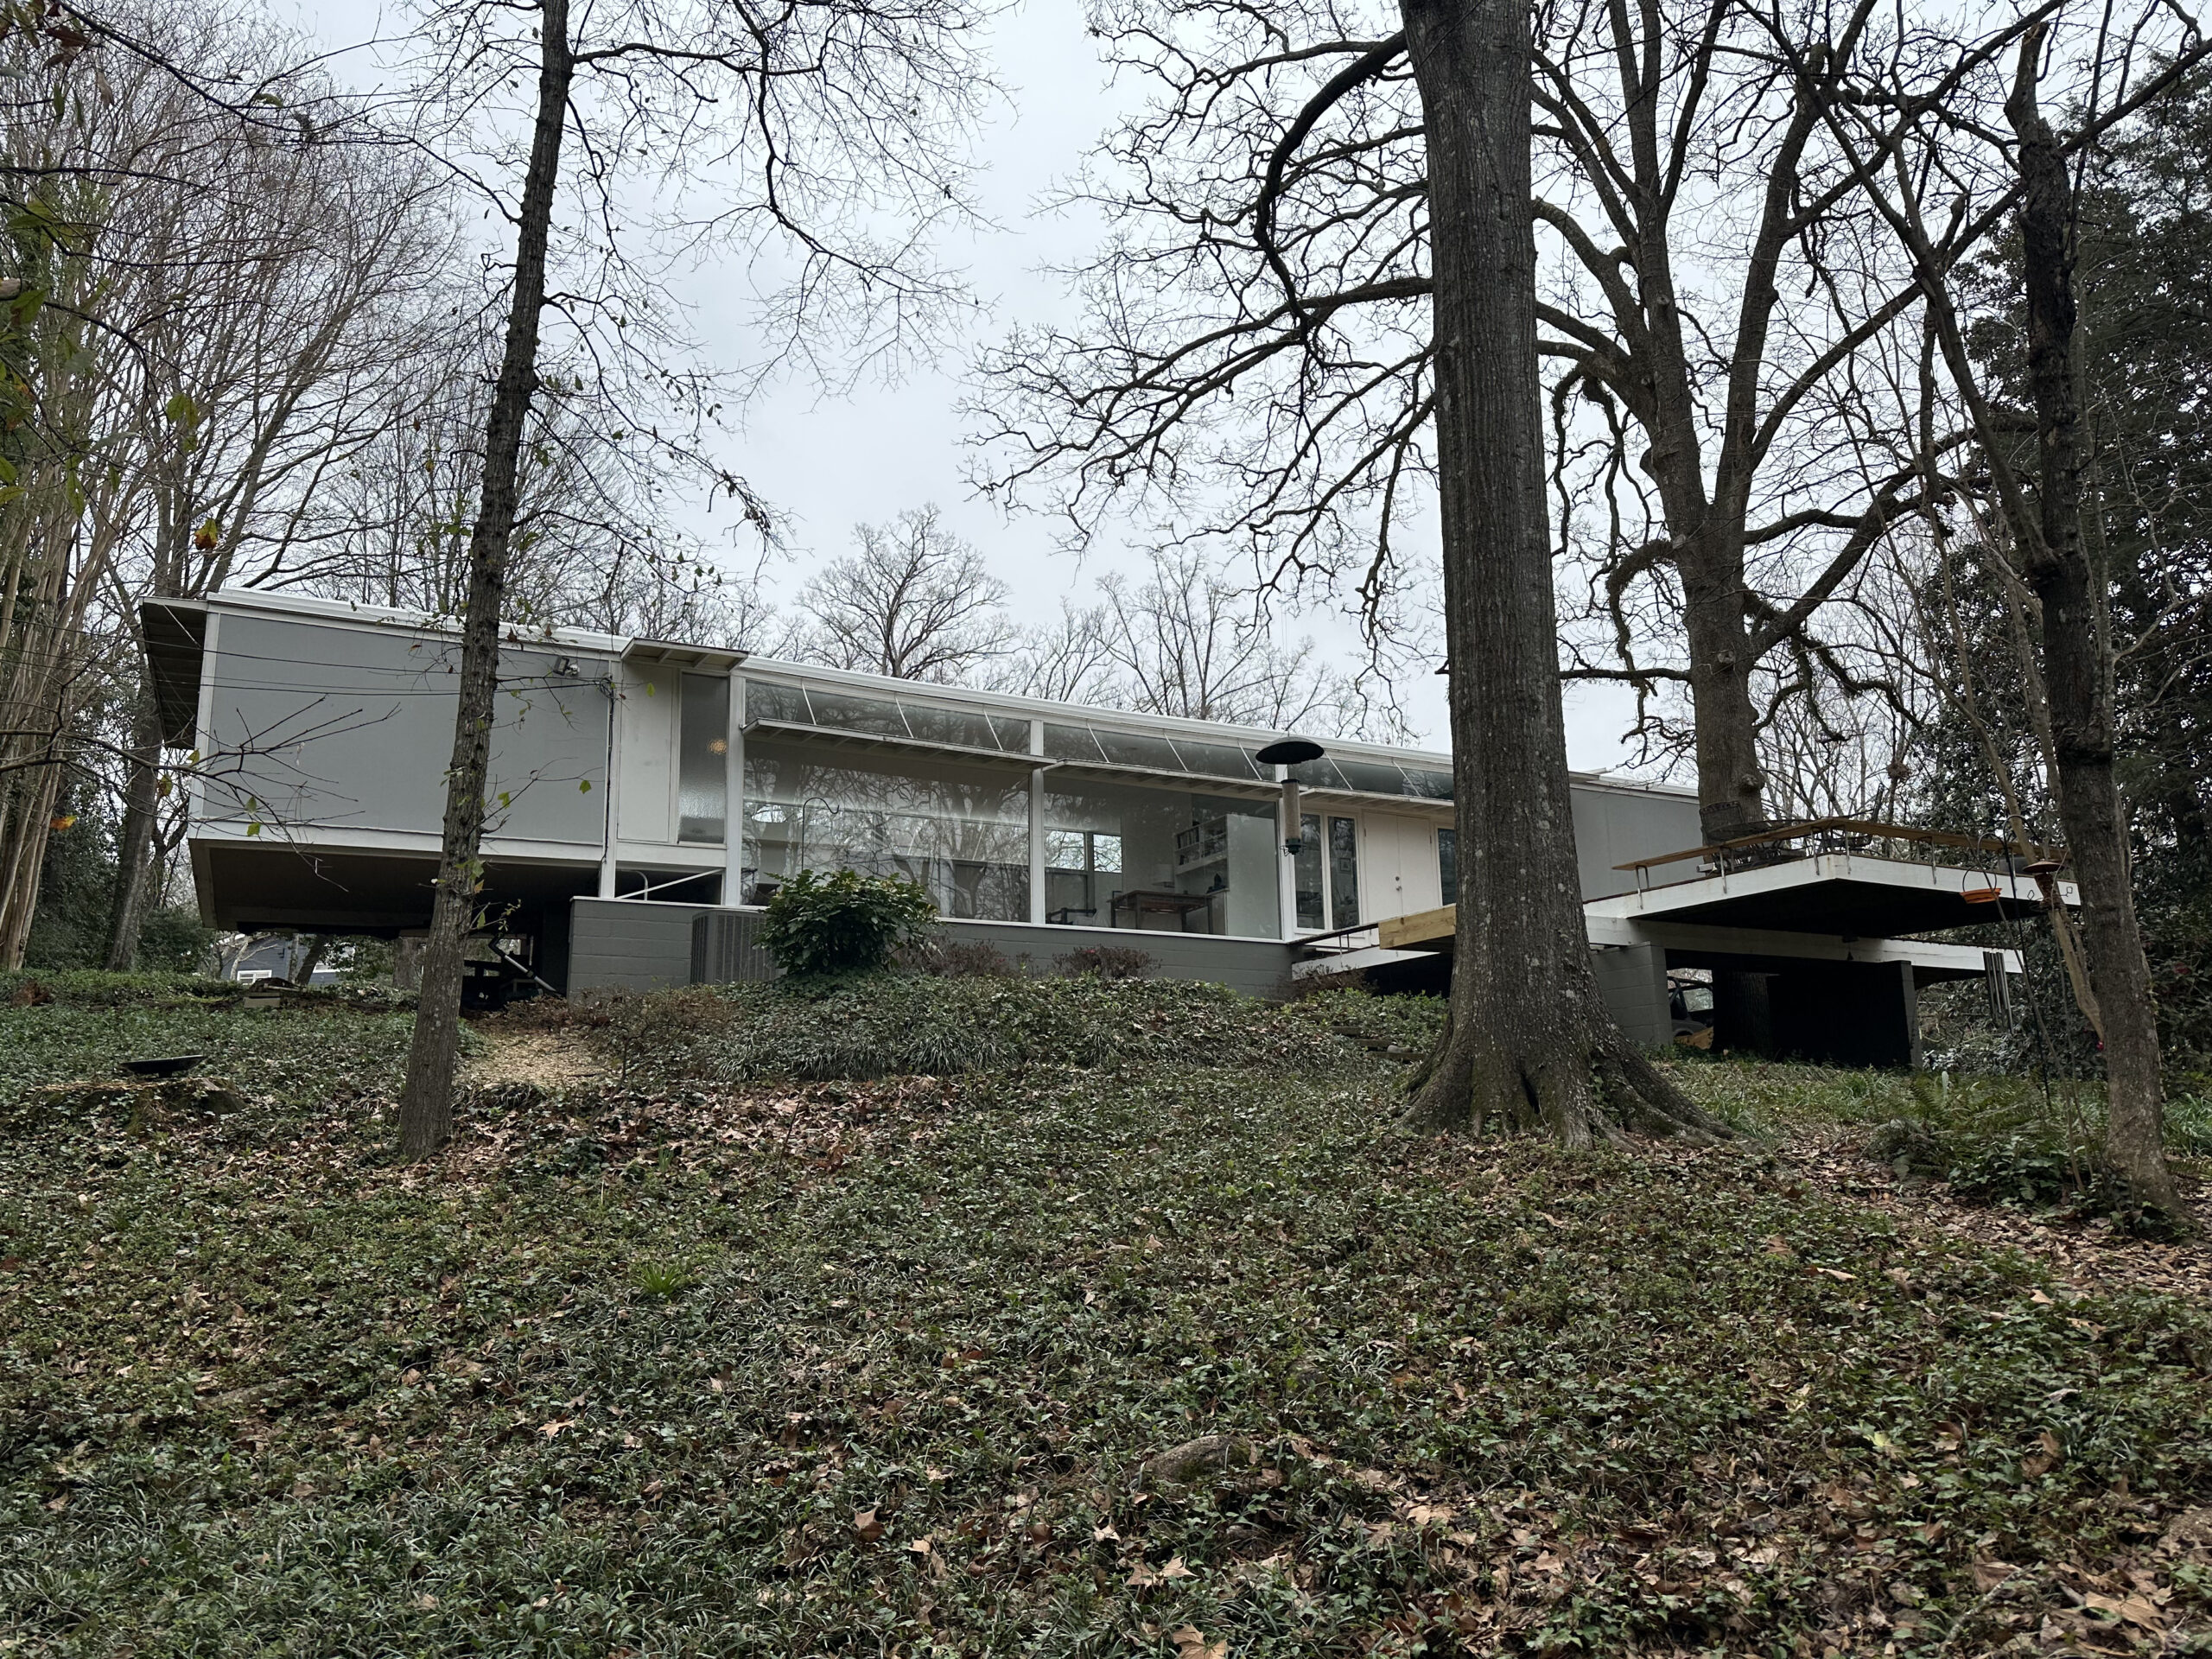
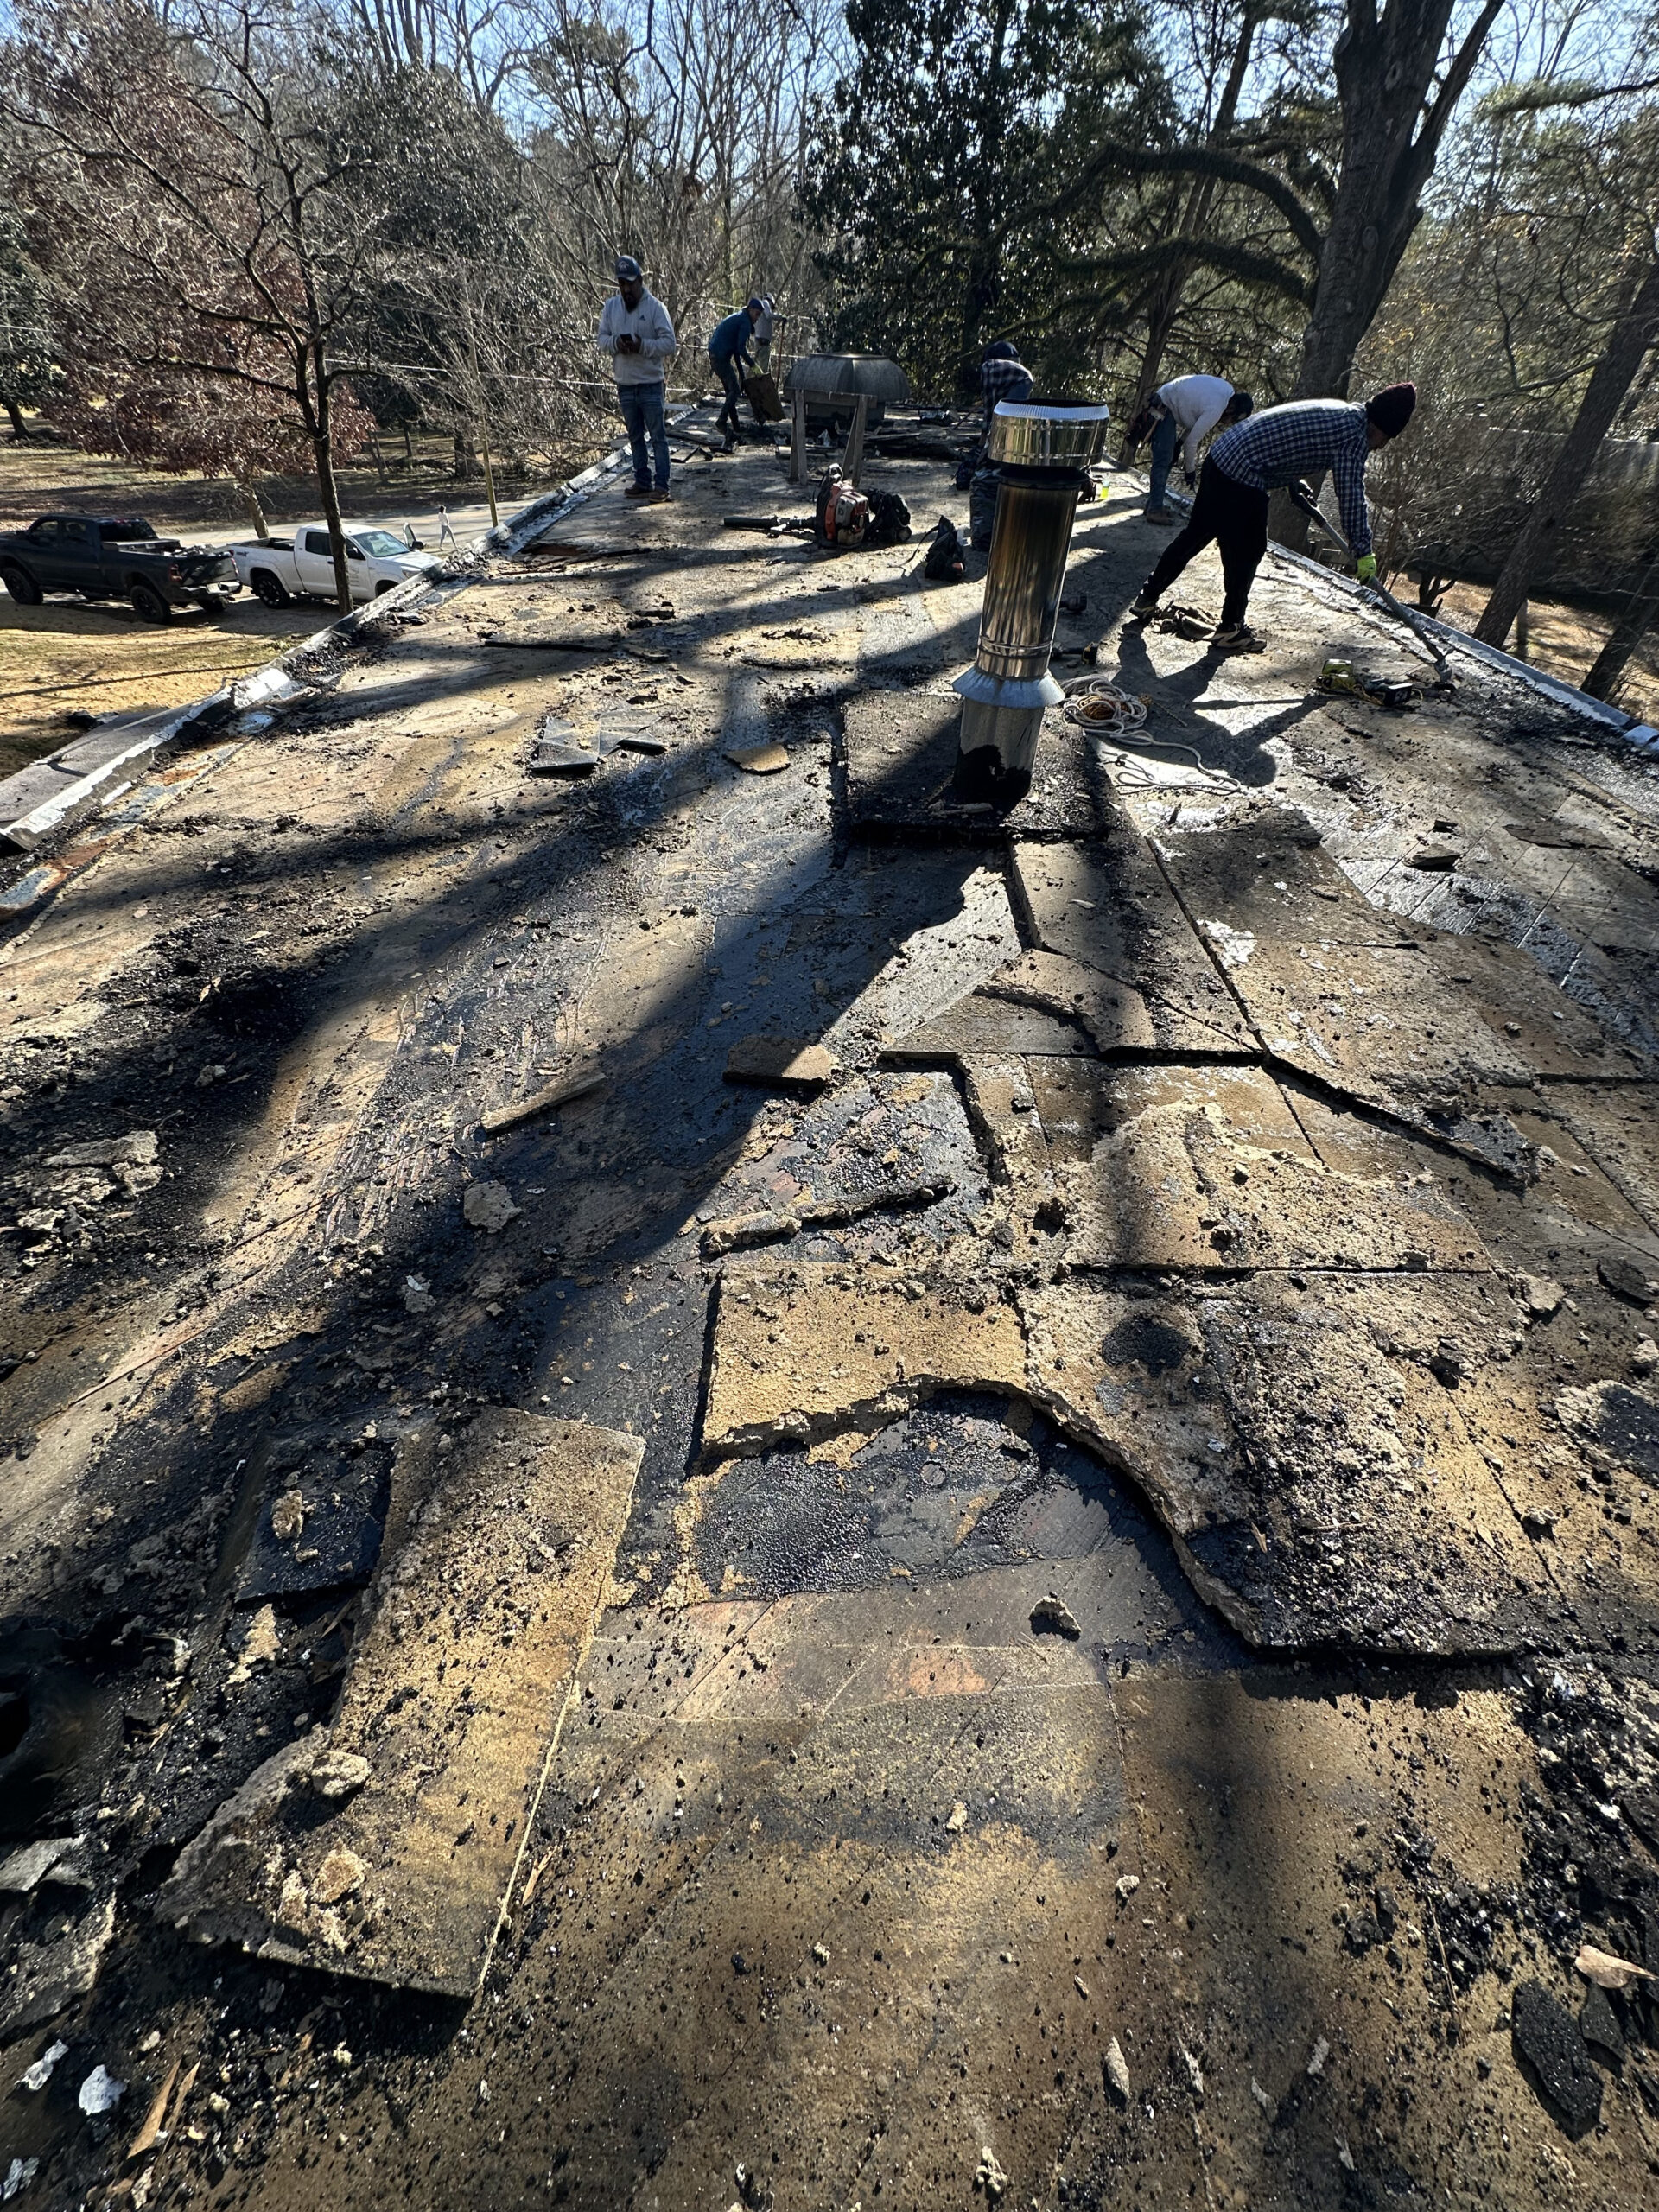
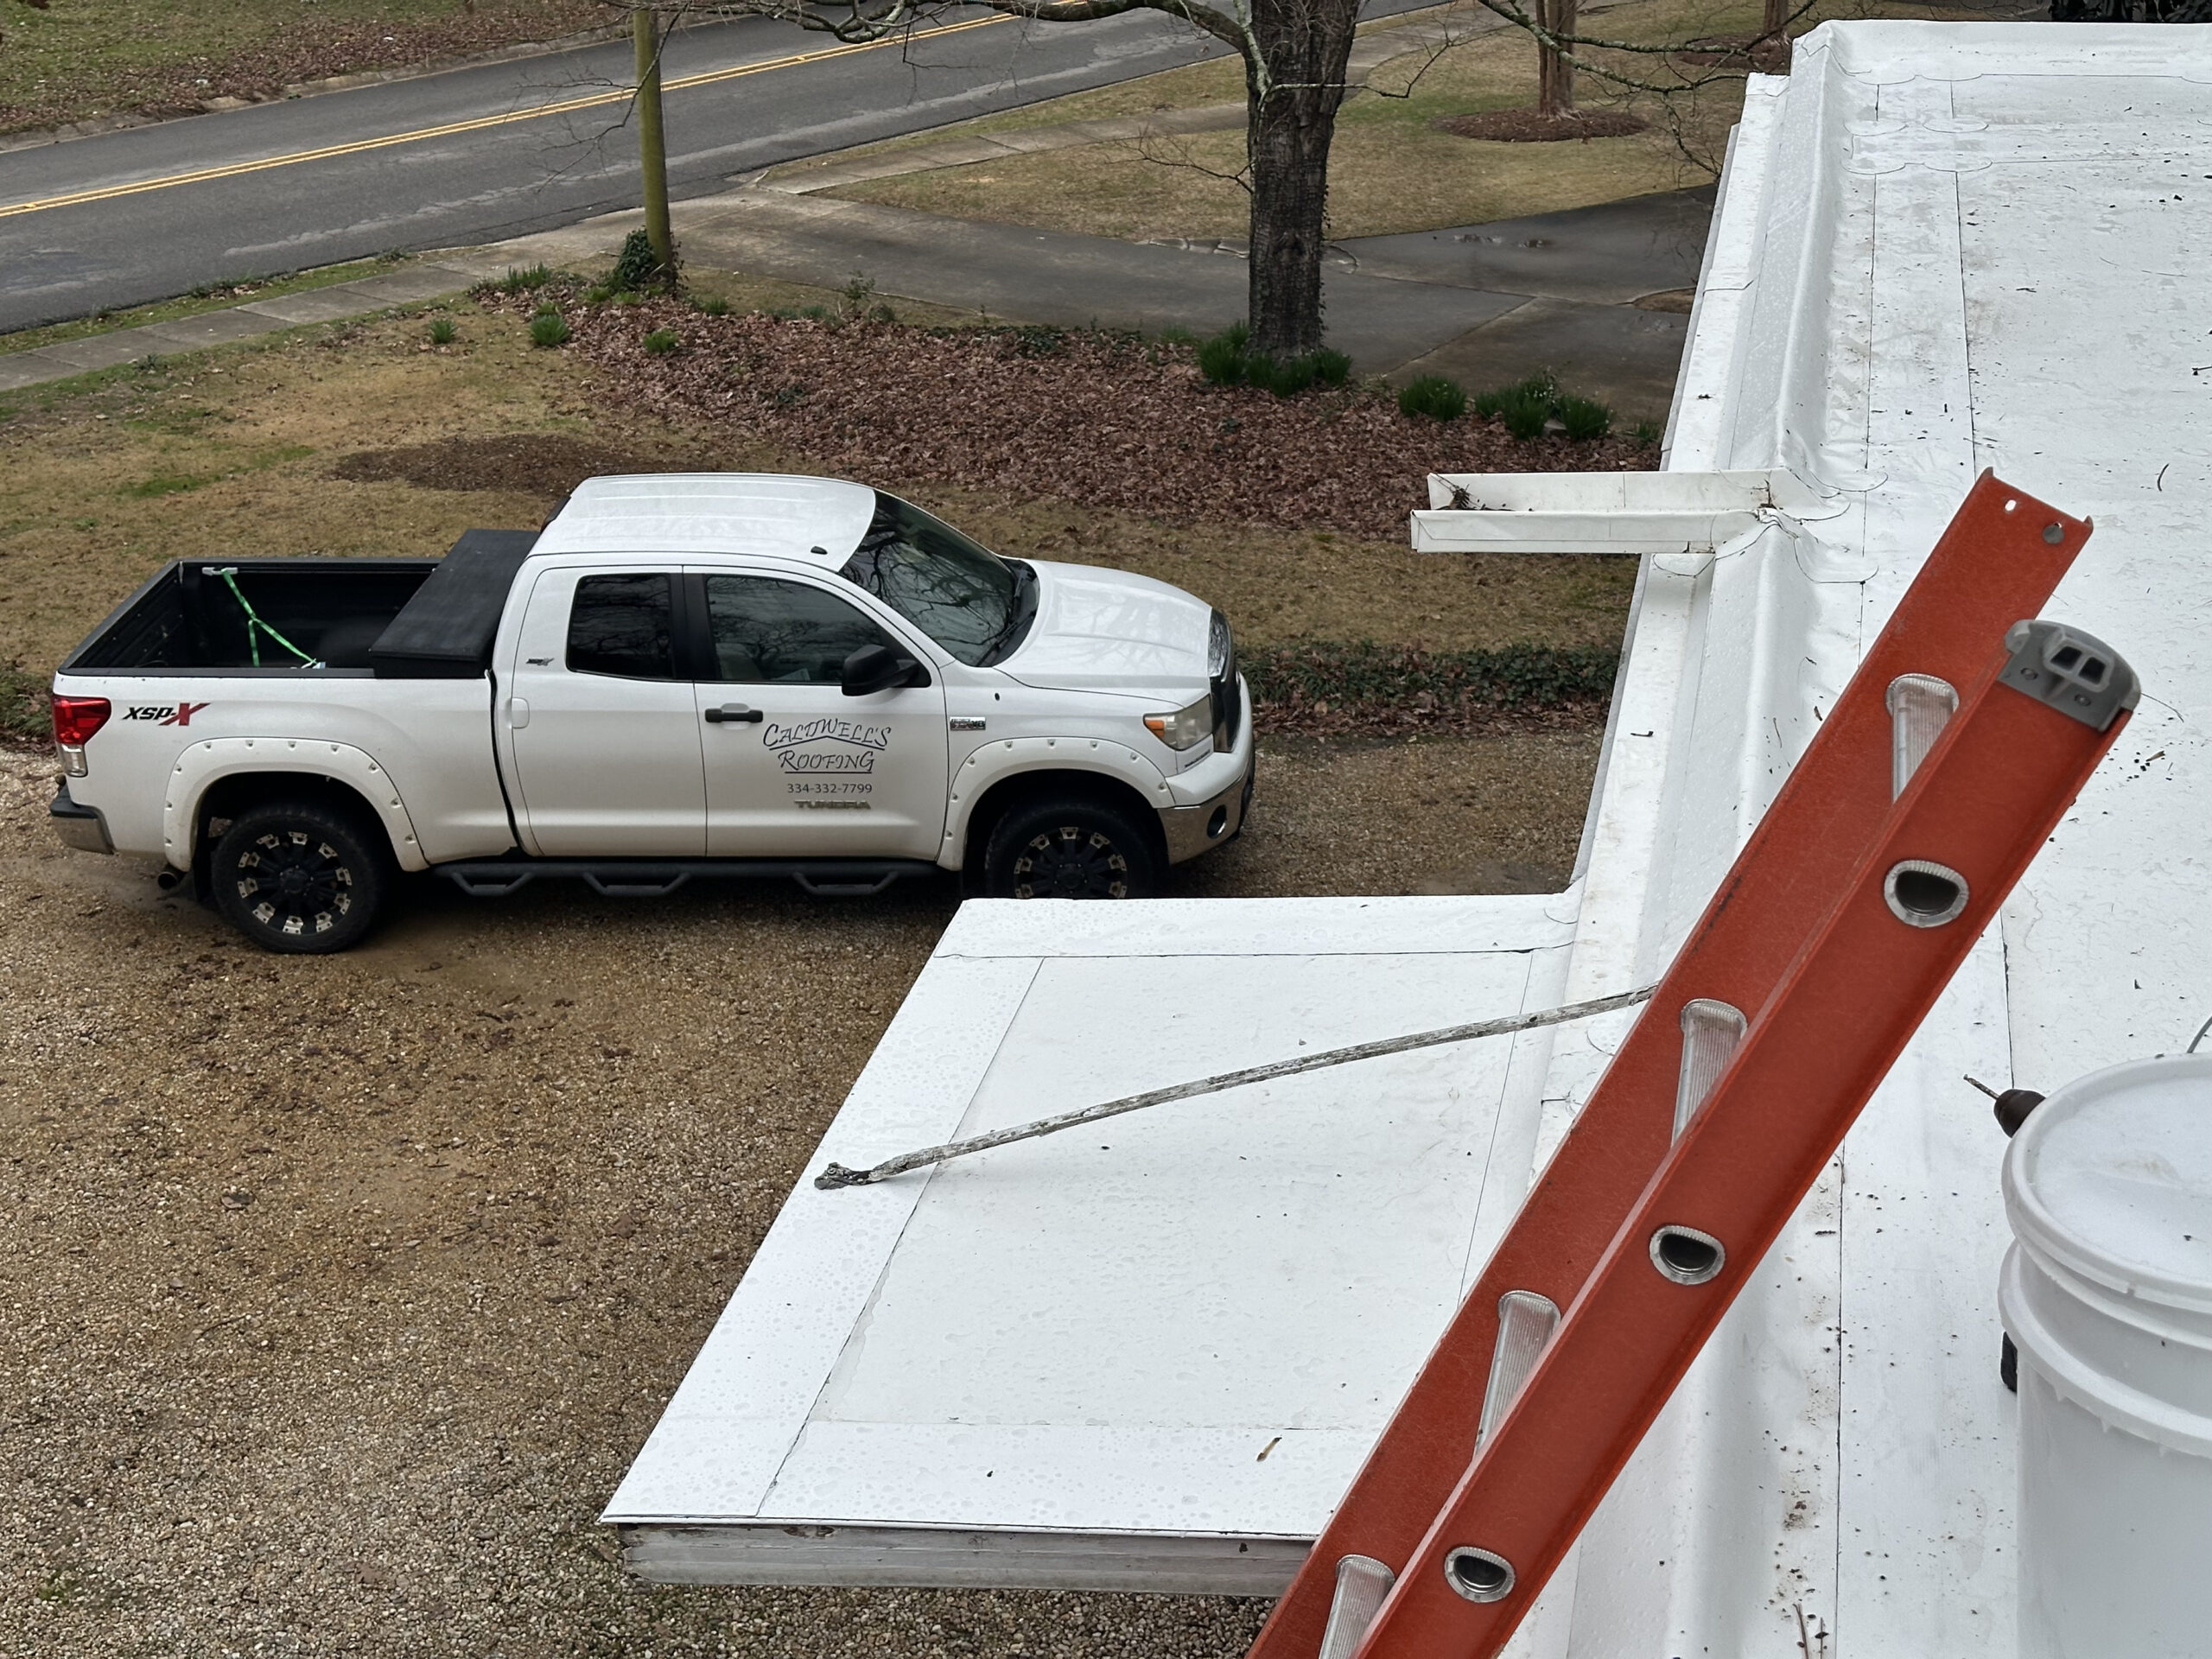
In January 2025, we got a call to look at this home and bid it for a new roof. After extensive planning, we decided to go with 80-mil IB PVC, replacing the old built-up roof and tapered insulation board system beneath it with a slightly steeper slope system. The owners mentioned it was a Paul Rudolph house, an architect student of Frank Lloyd Wright (the emphasis on horizontal lines/planes is certainly present!).
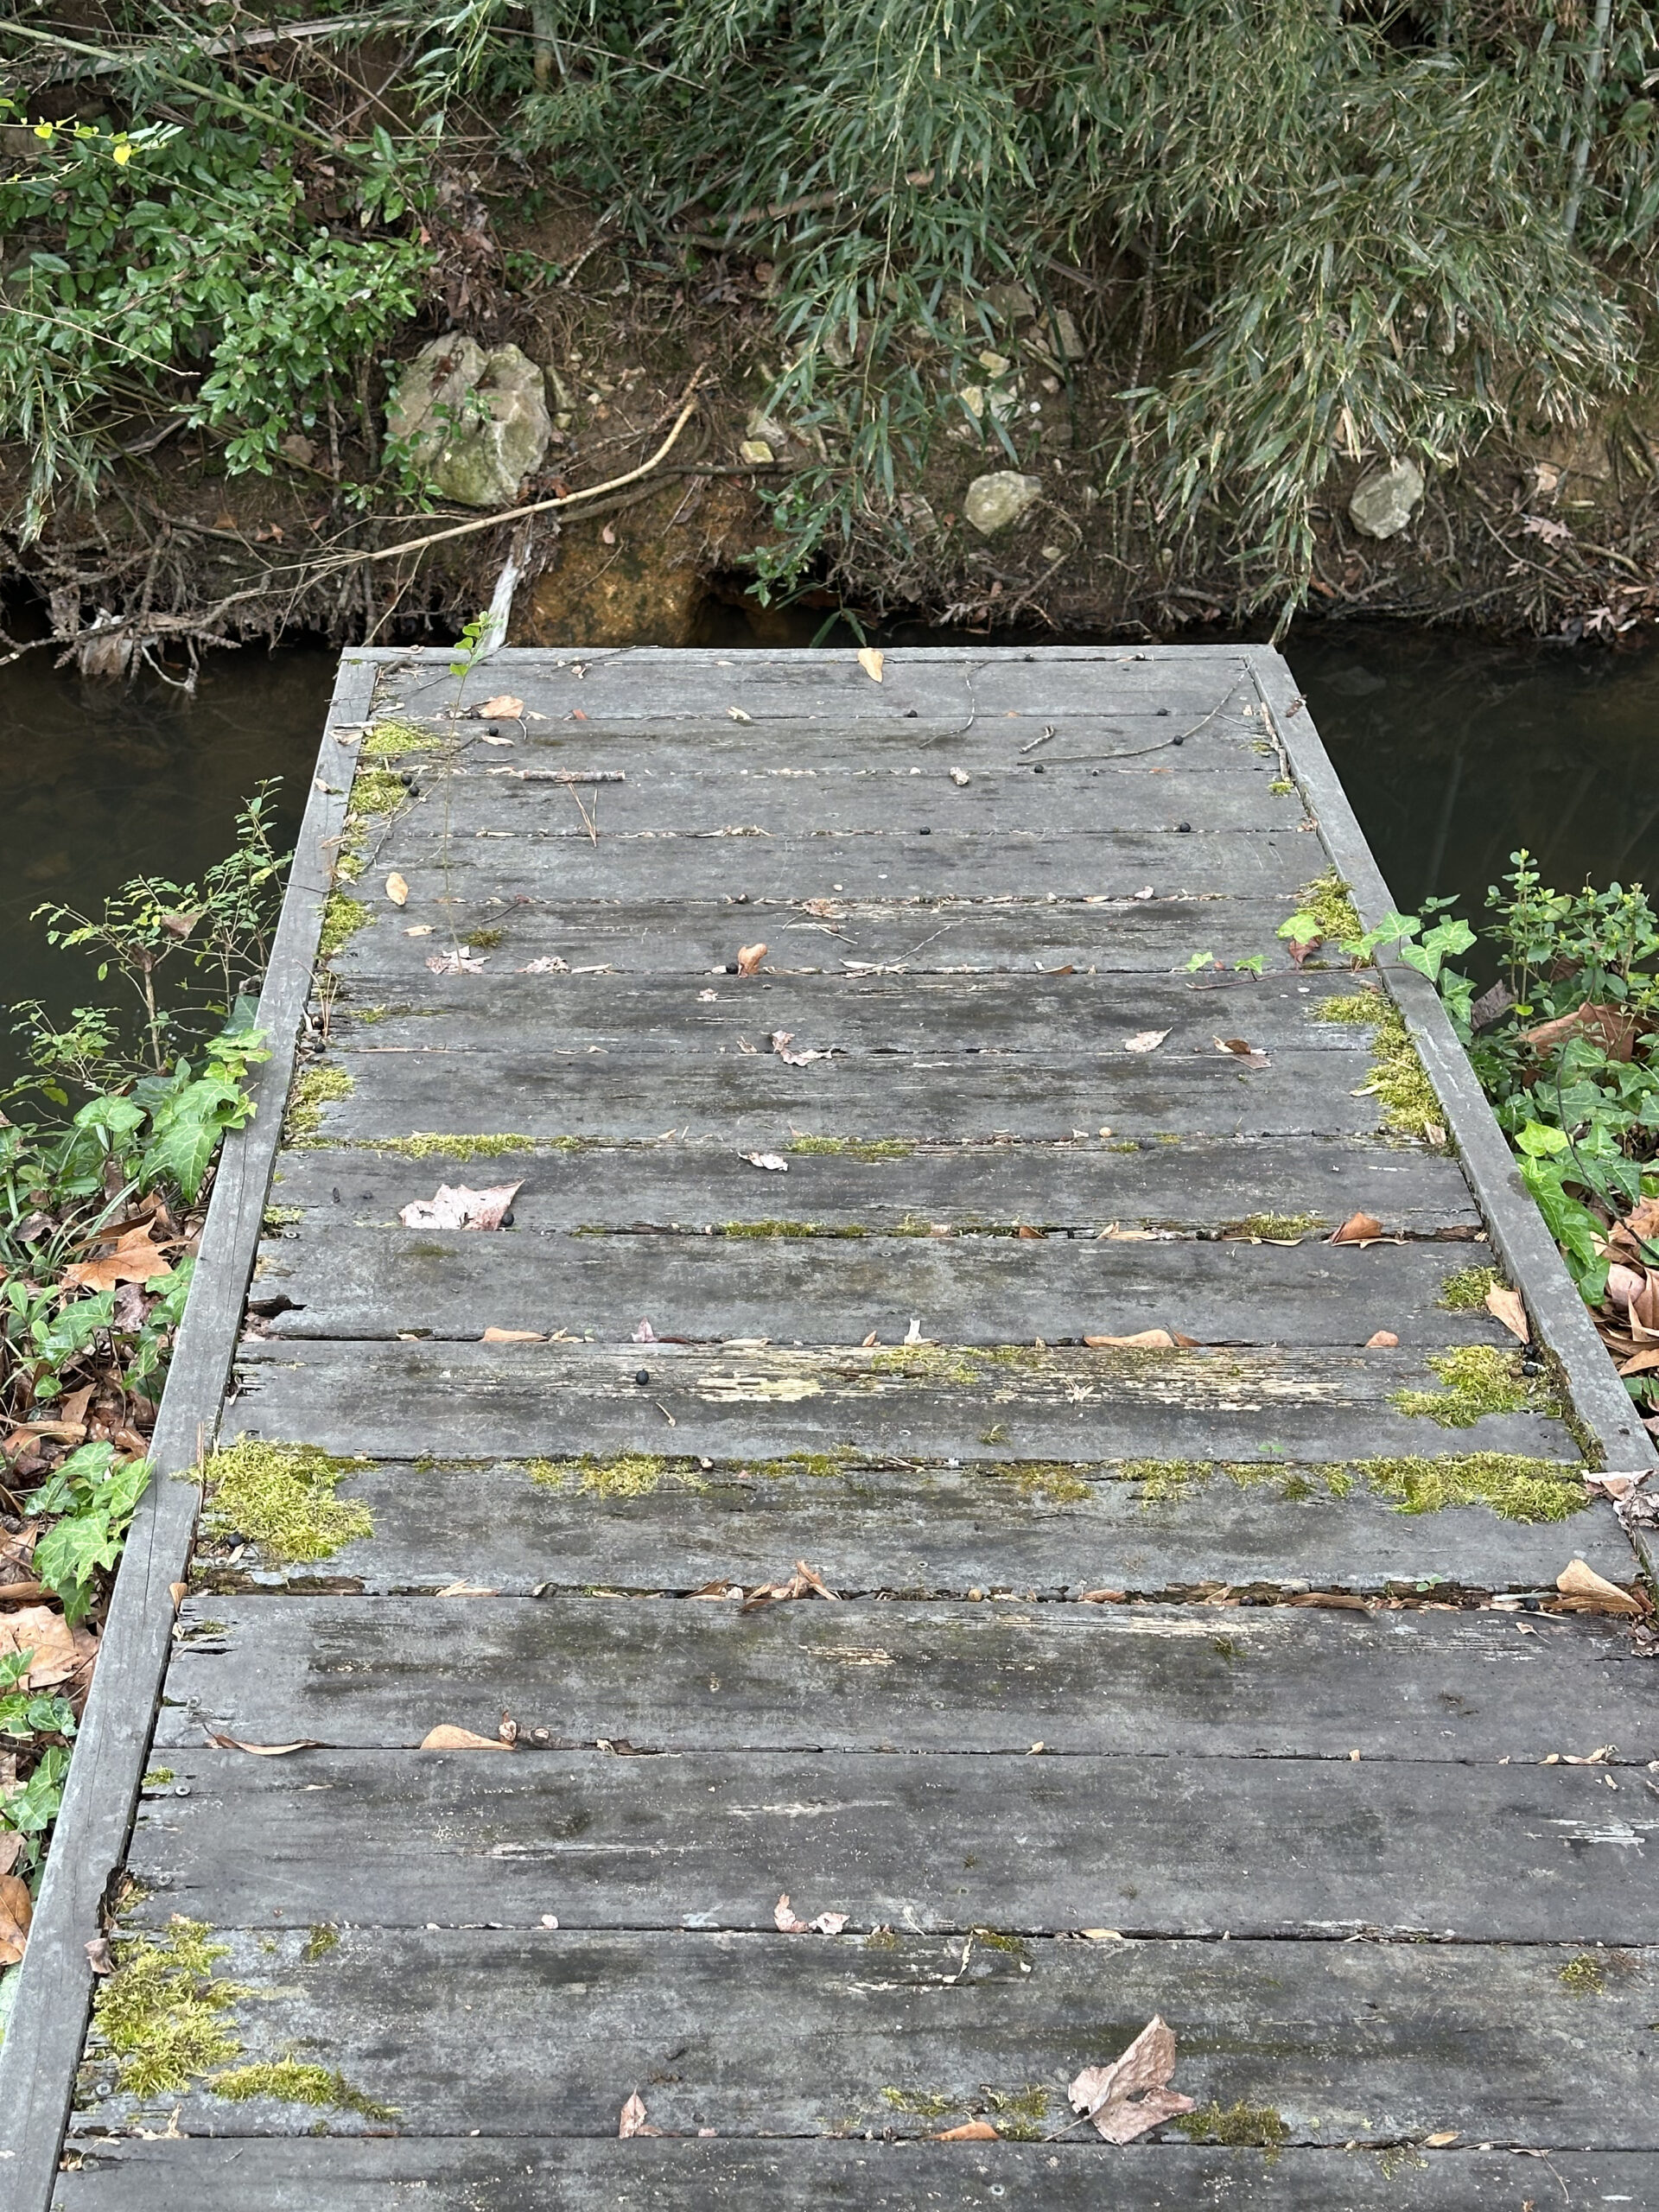
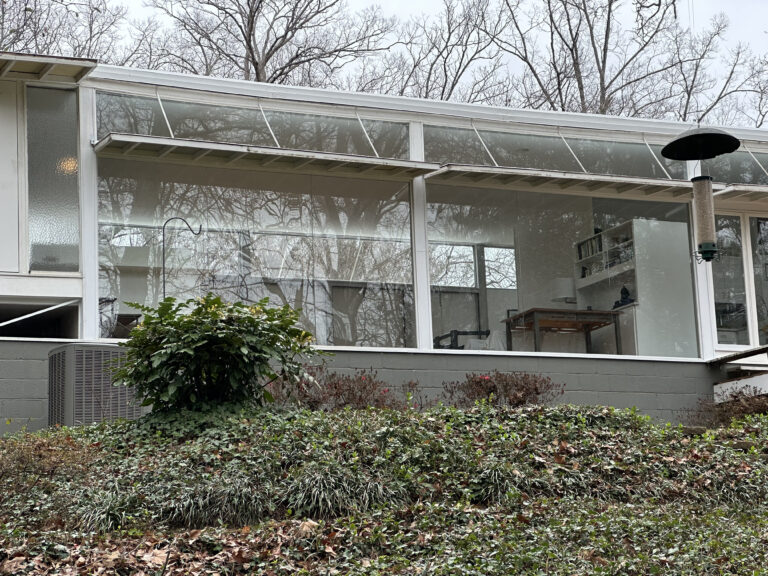
Example Gallery

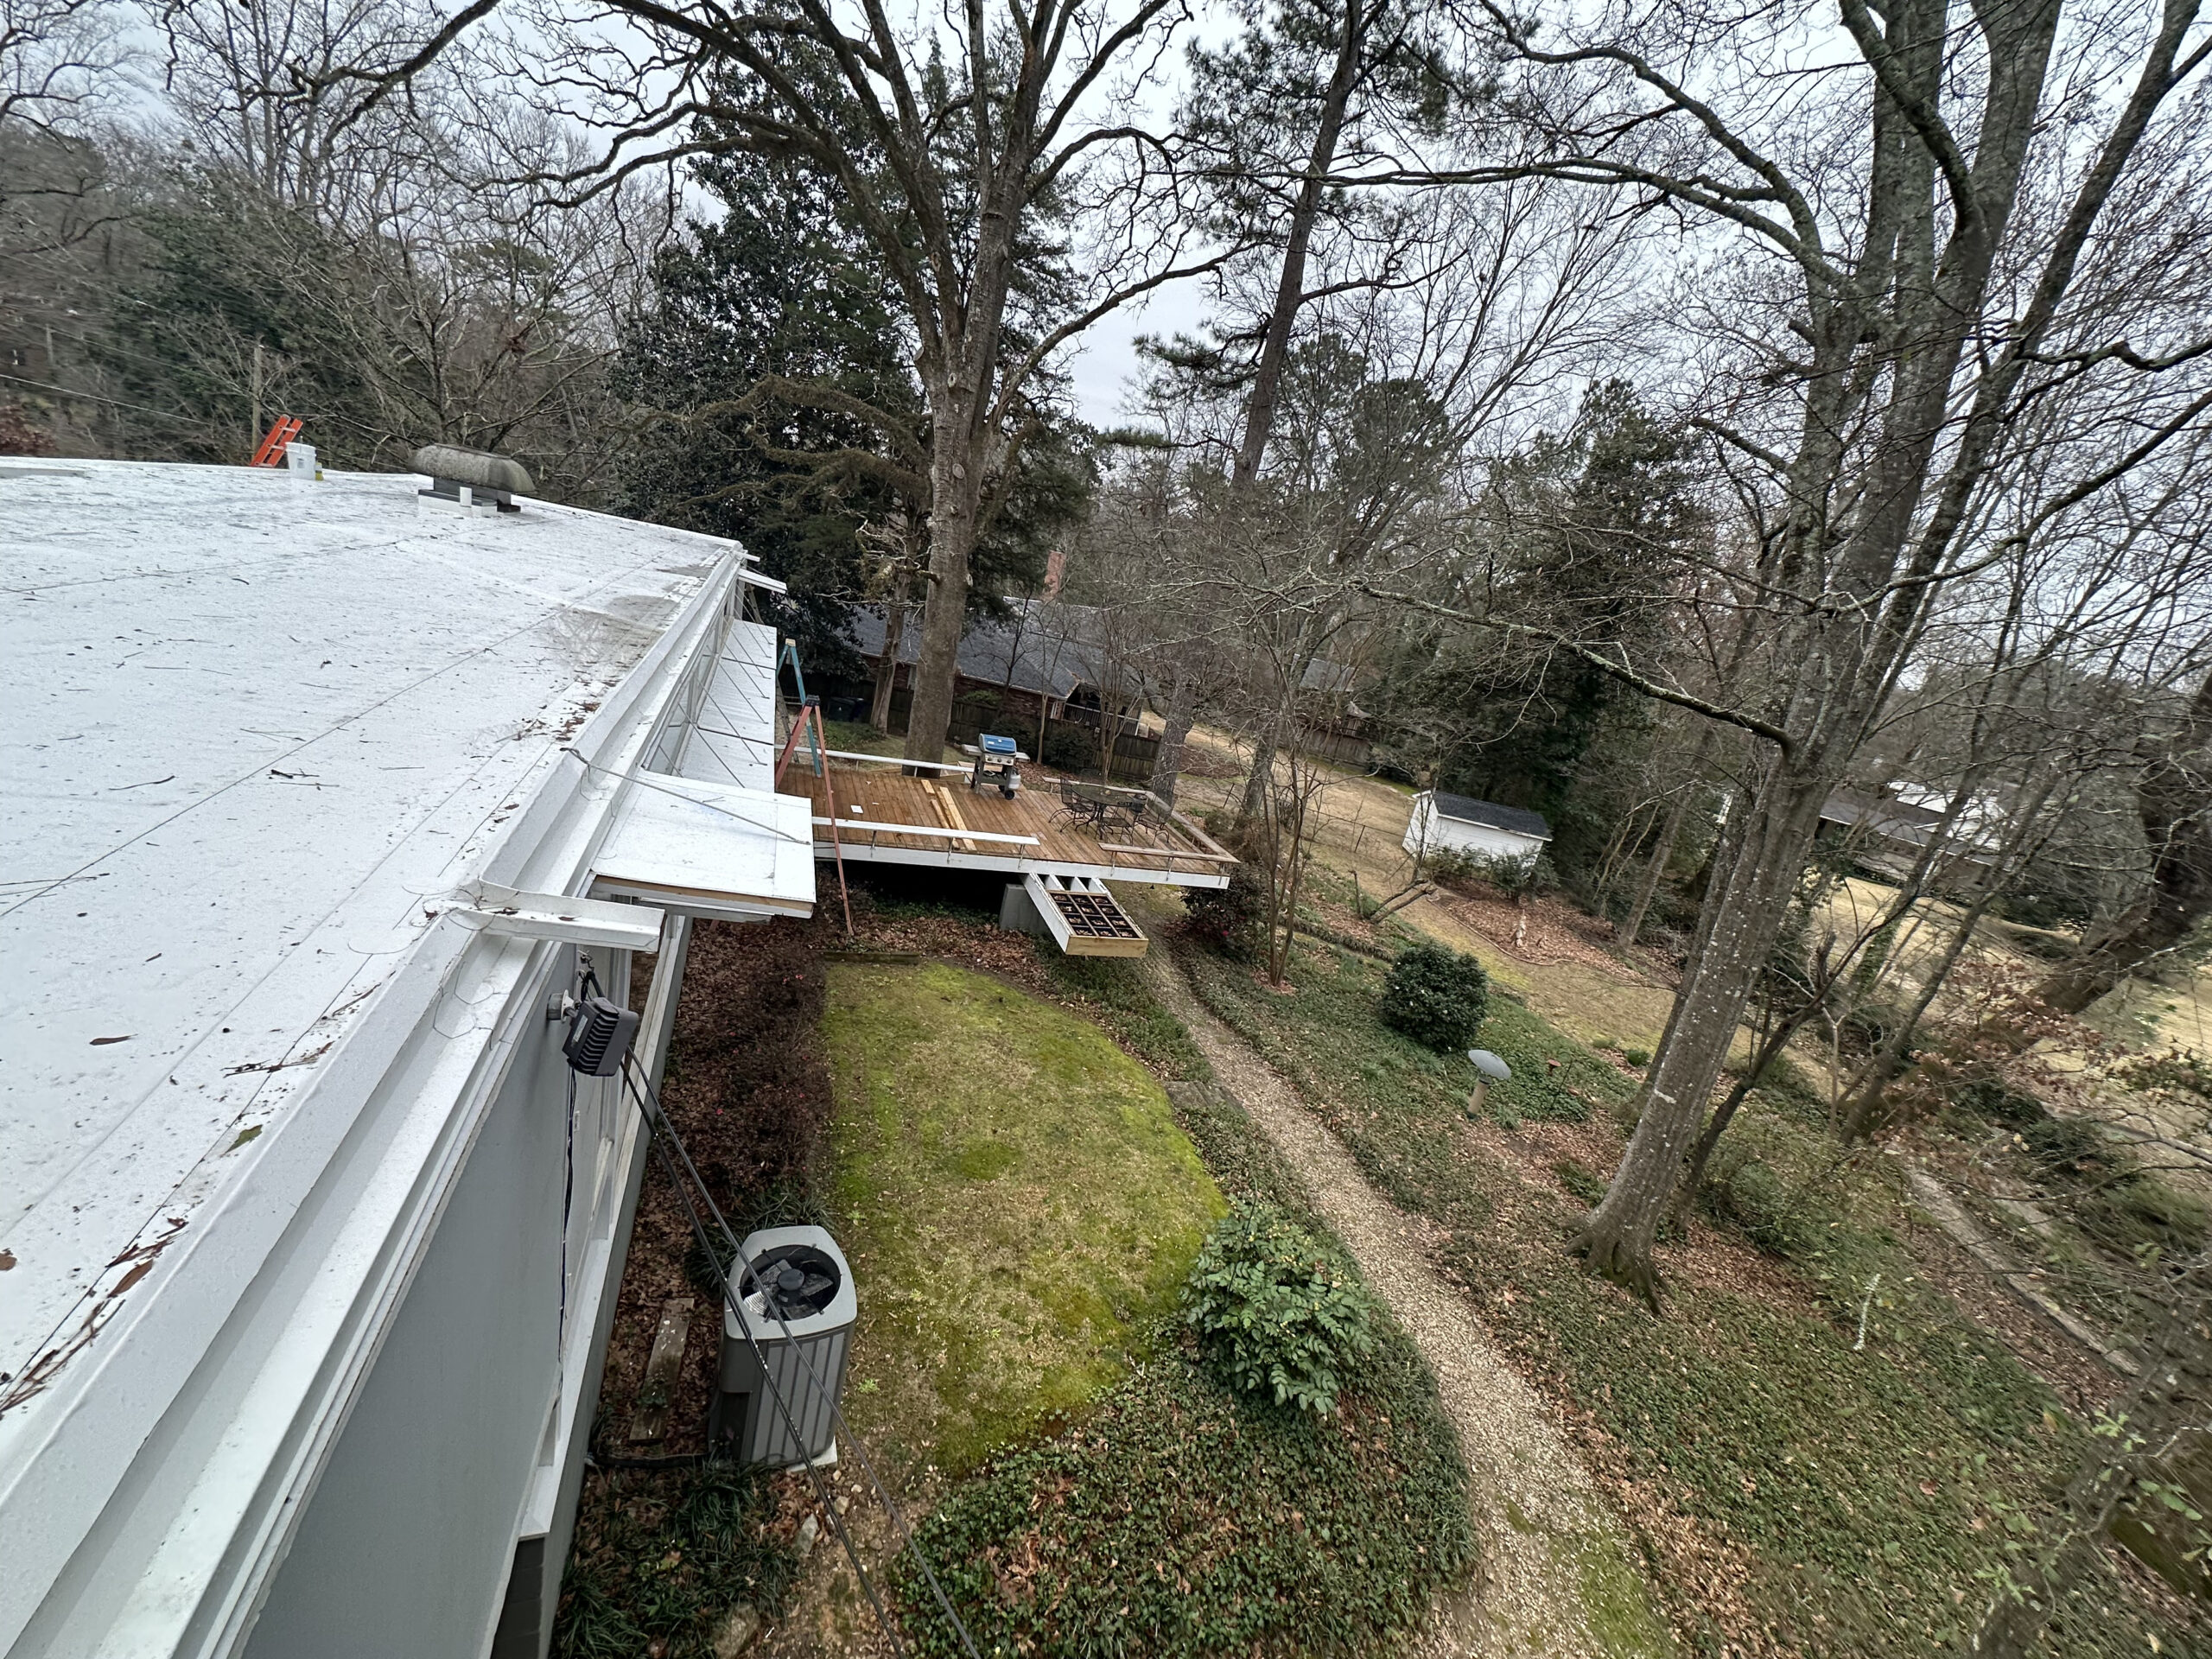
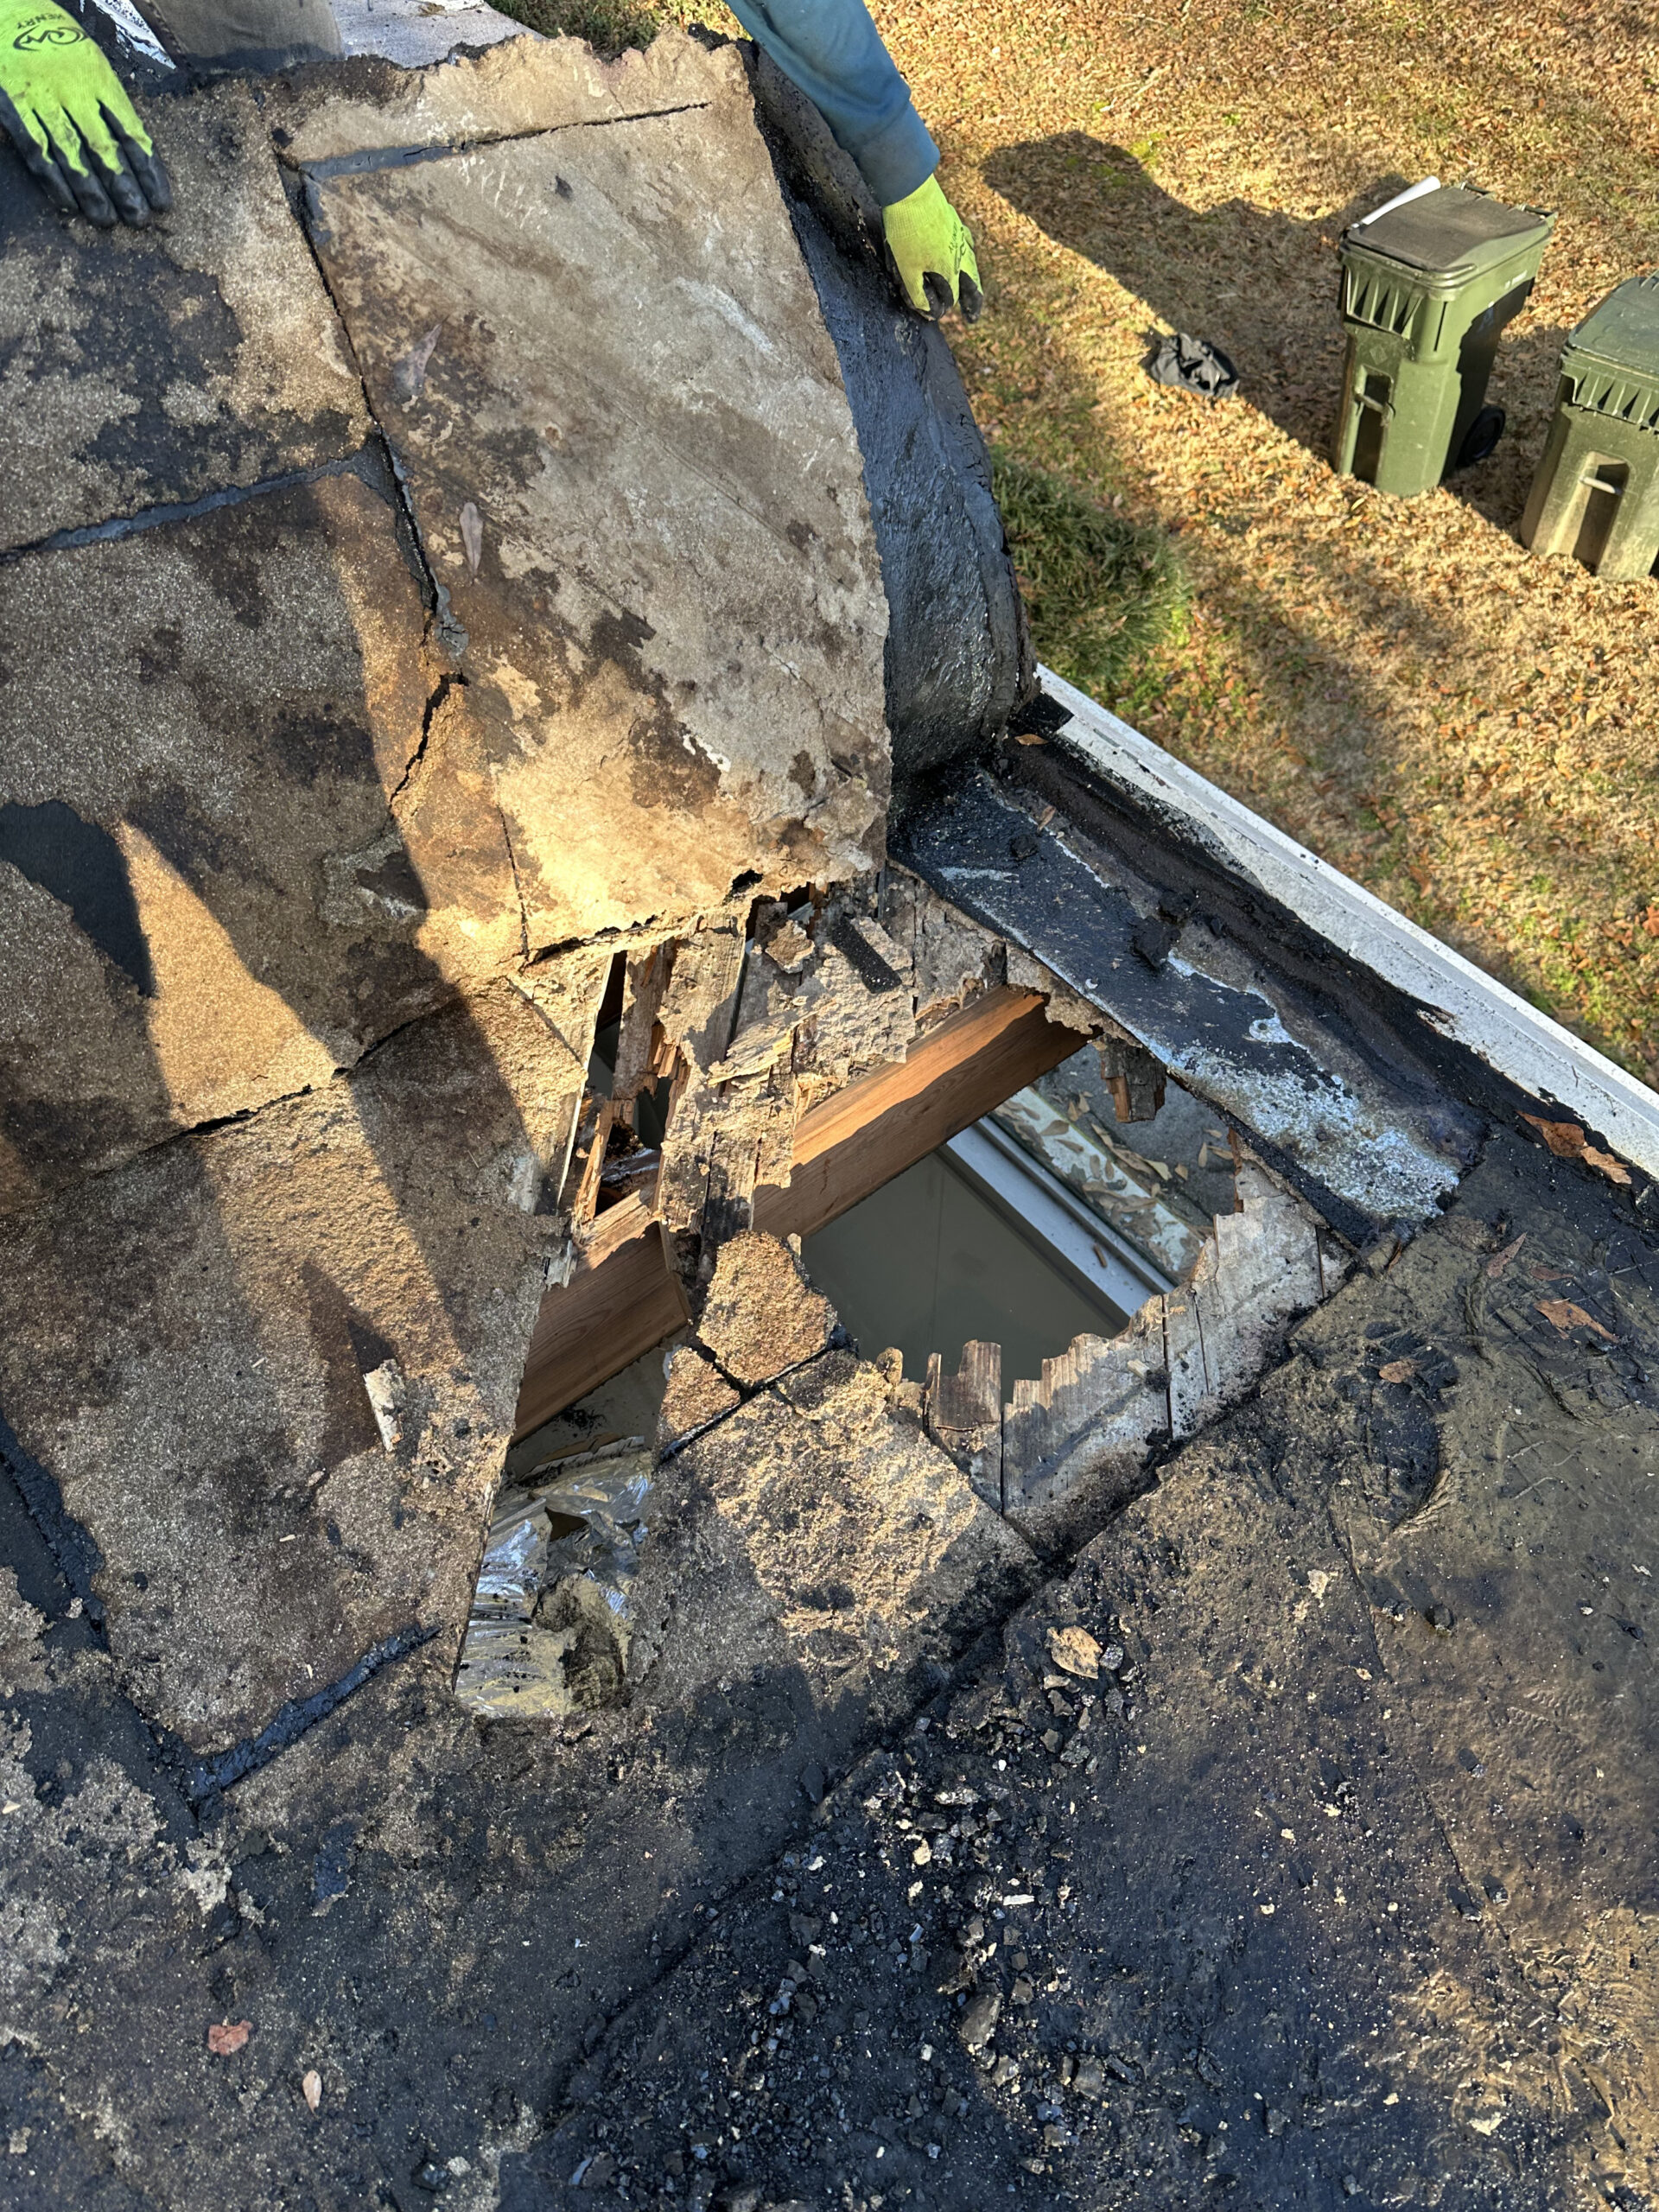
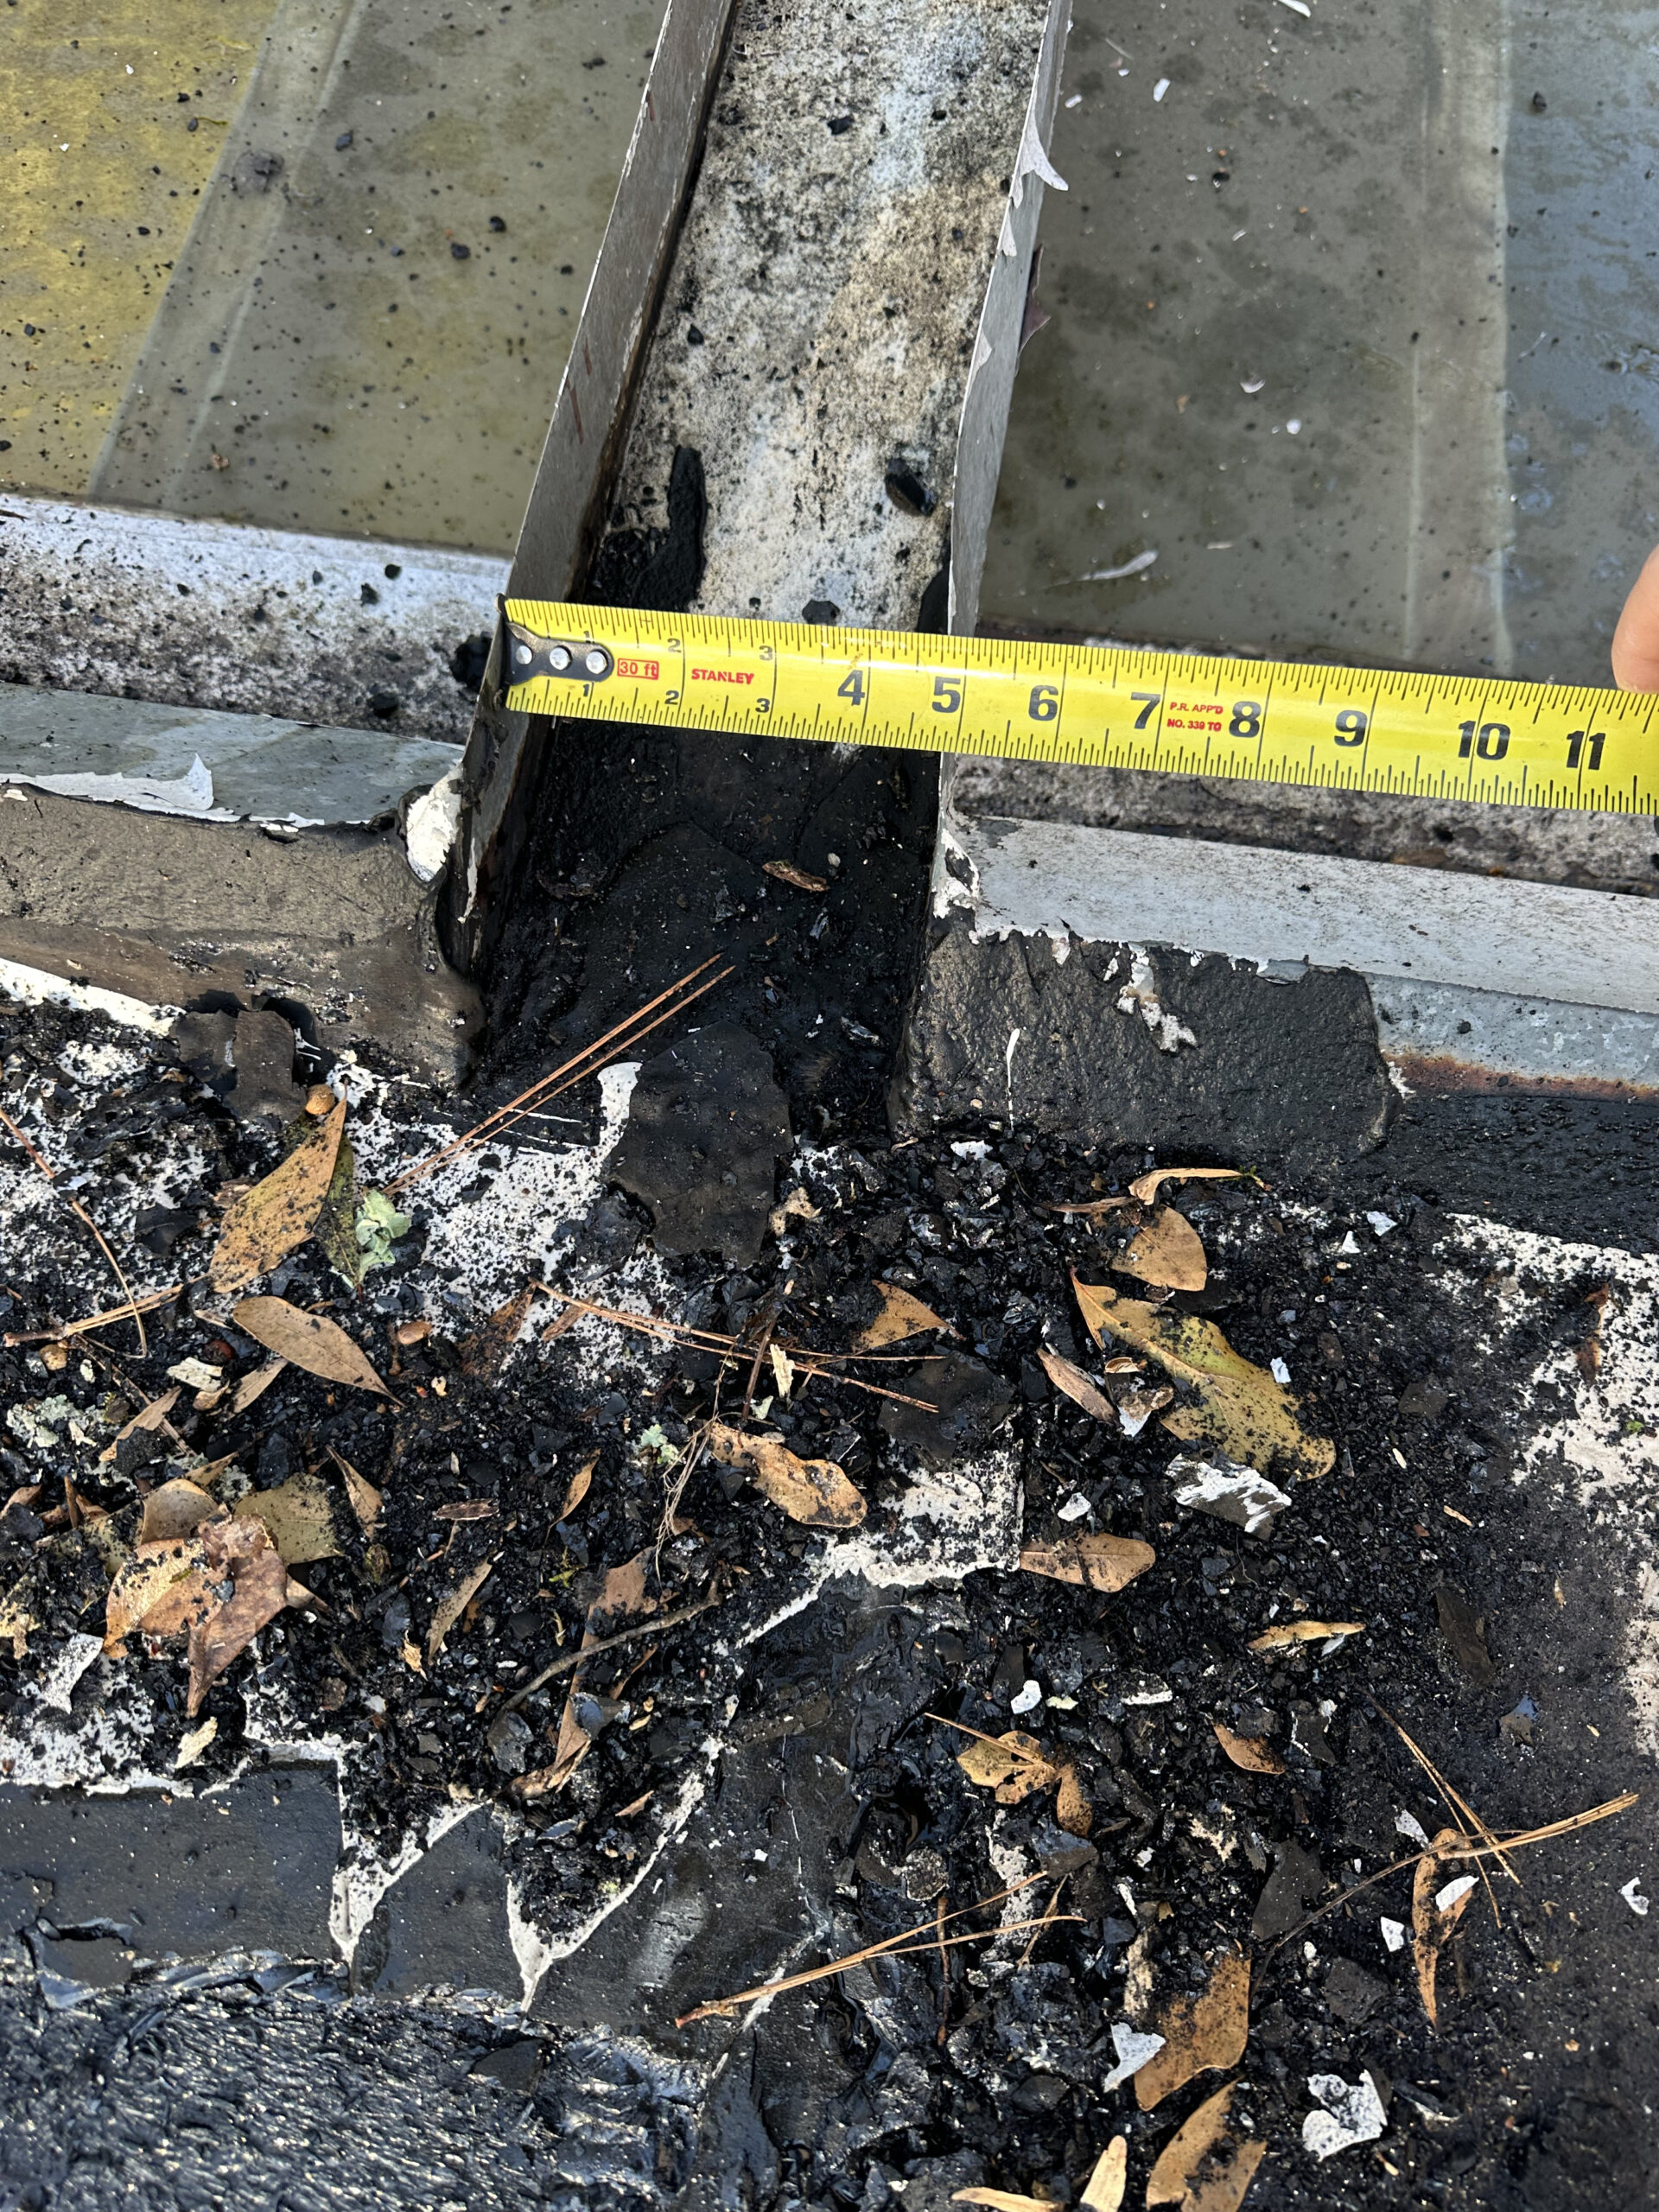
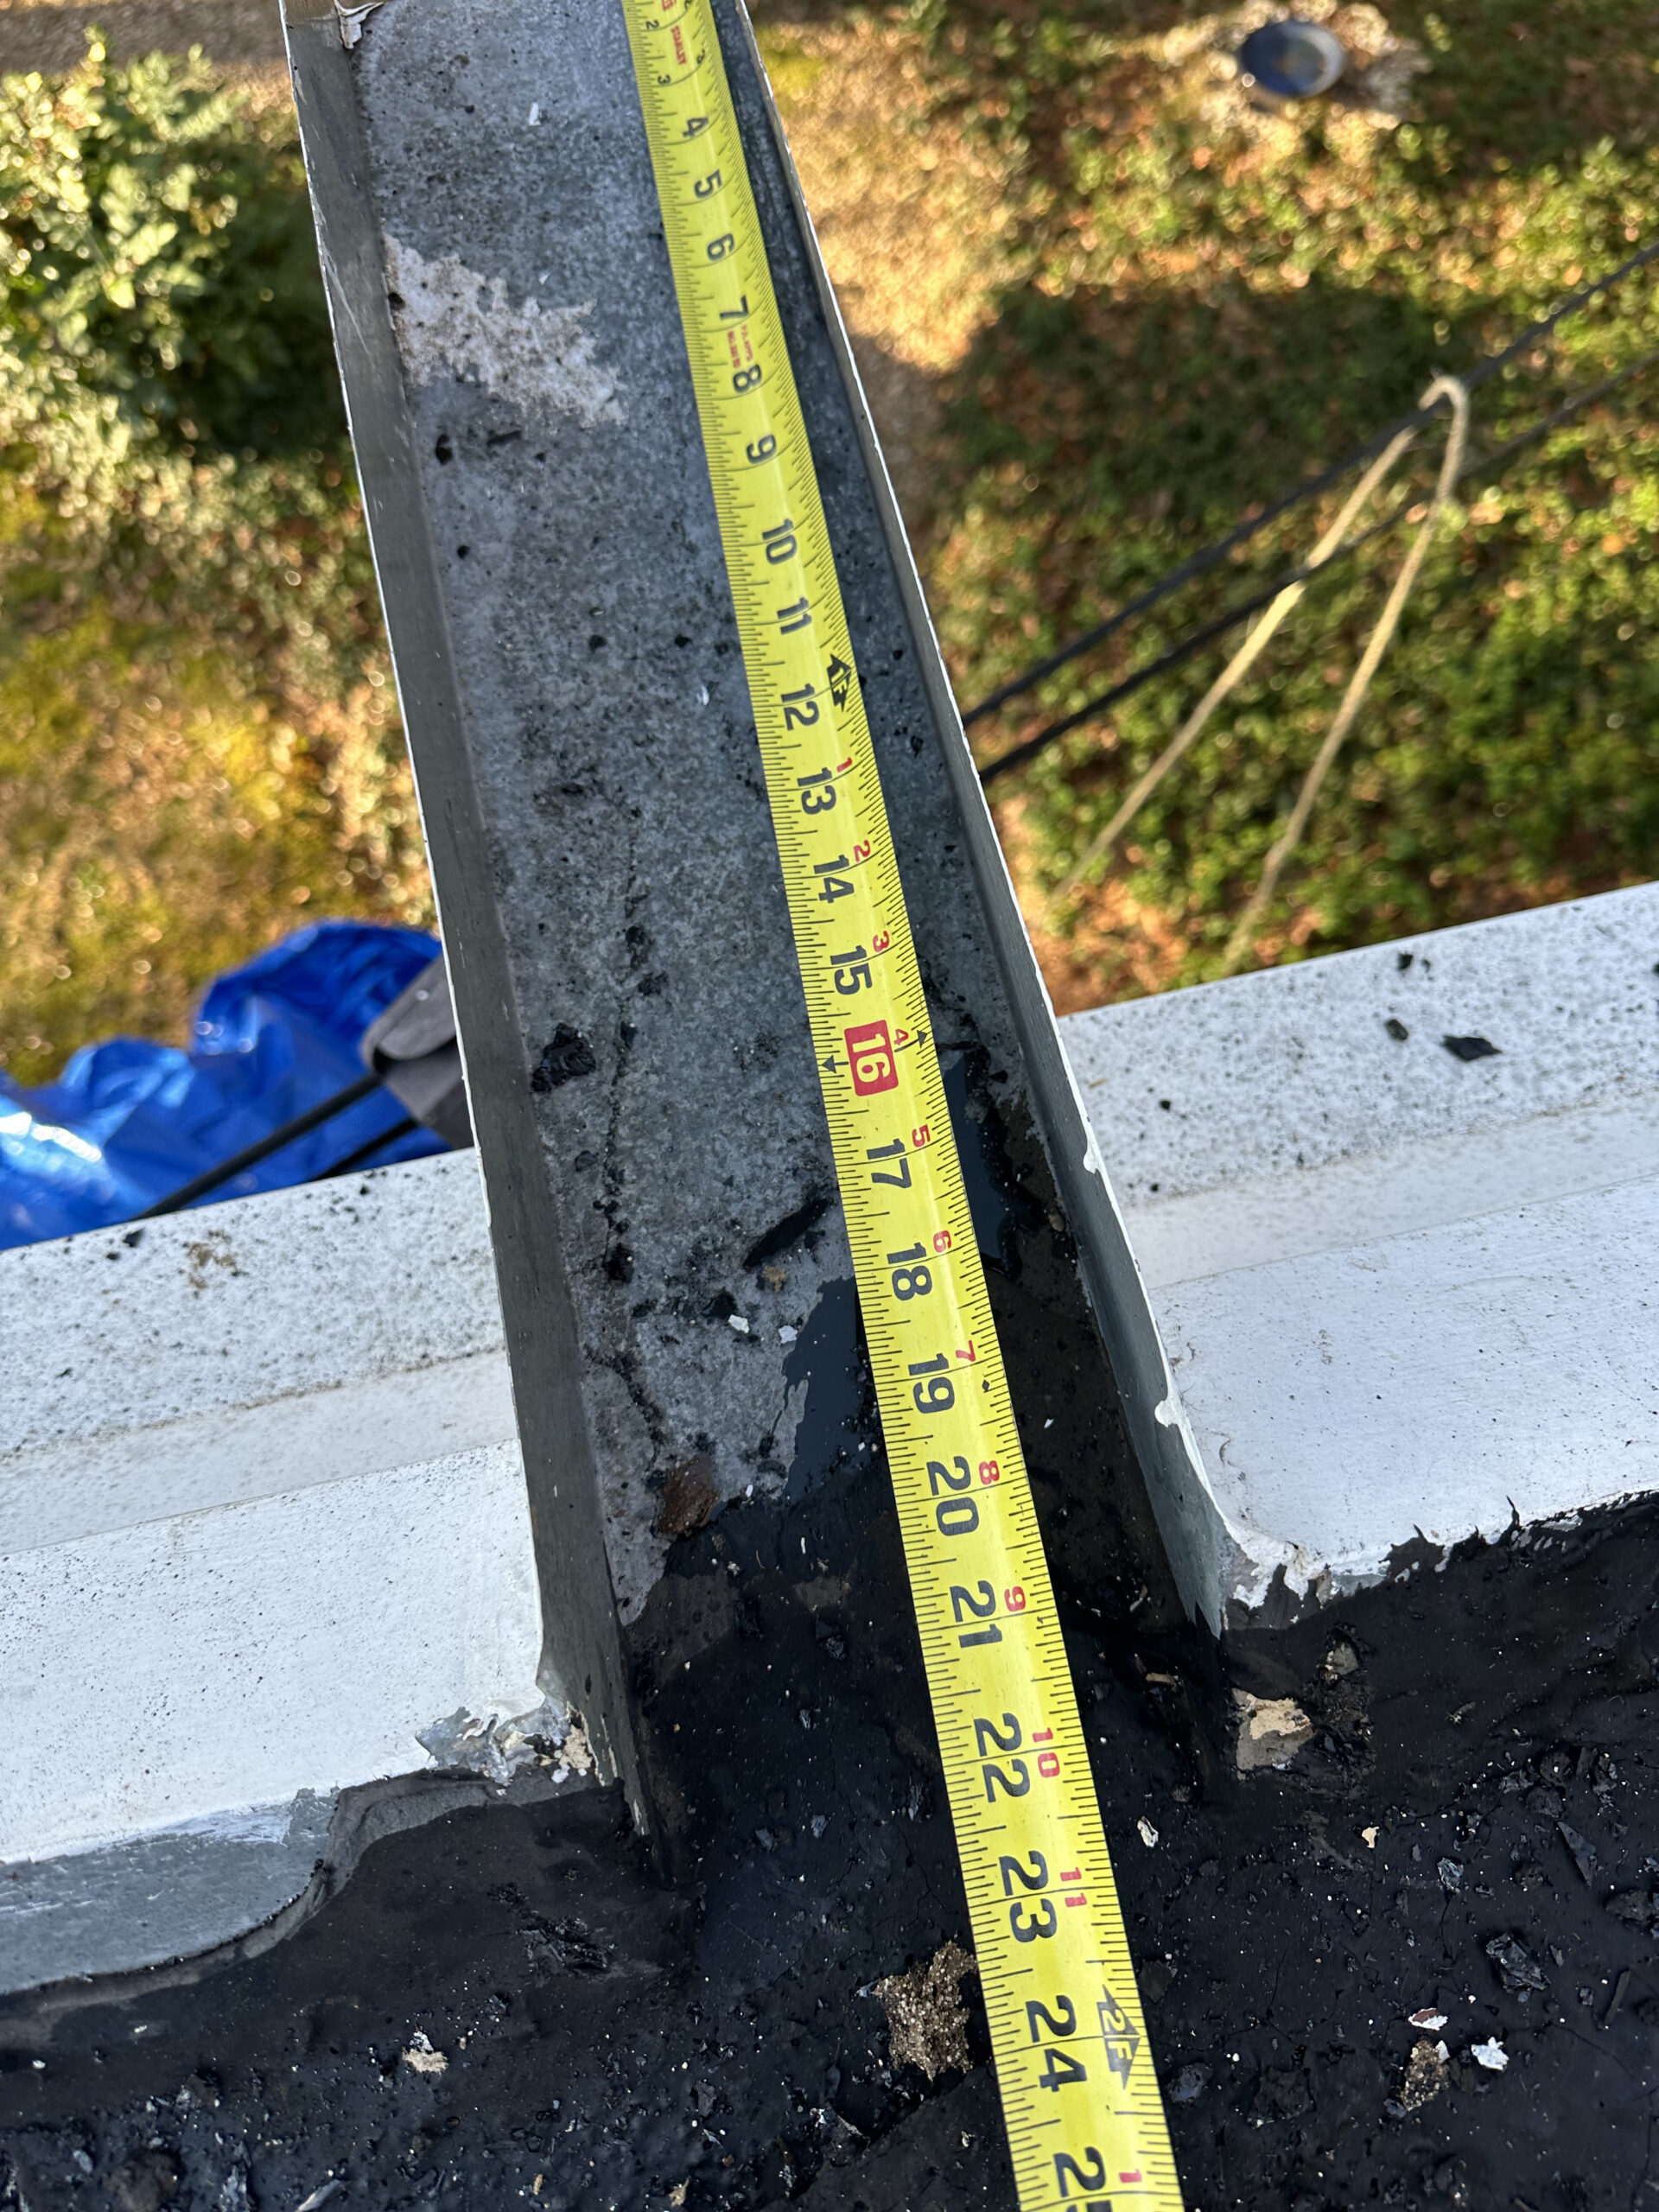
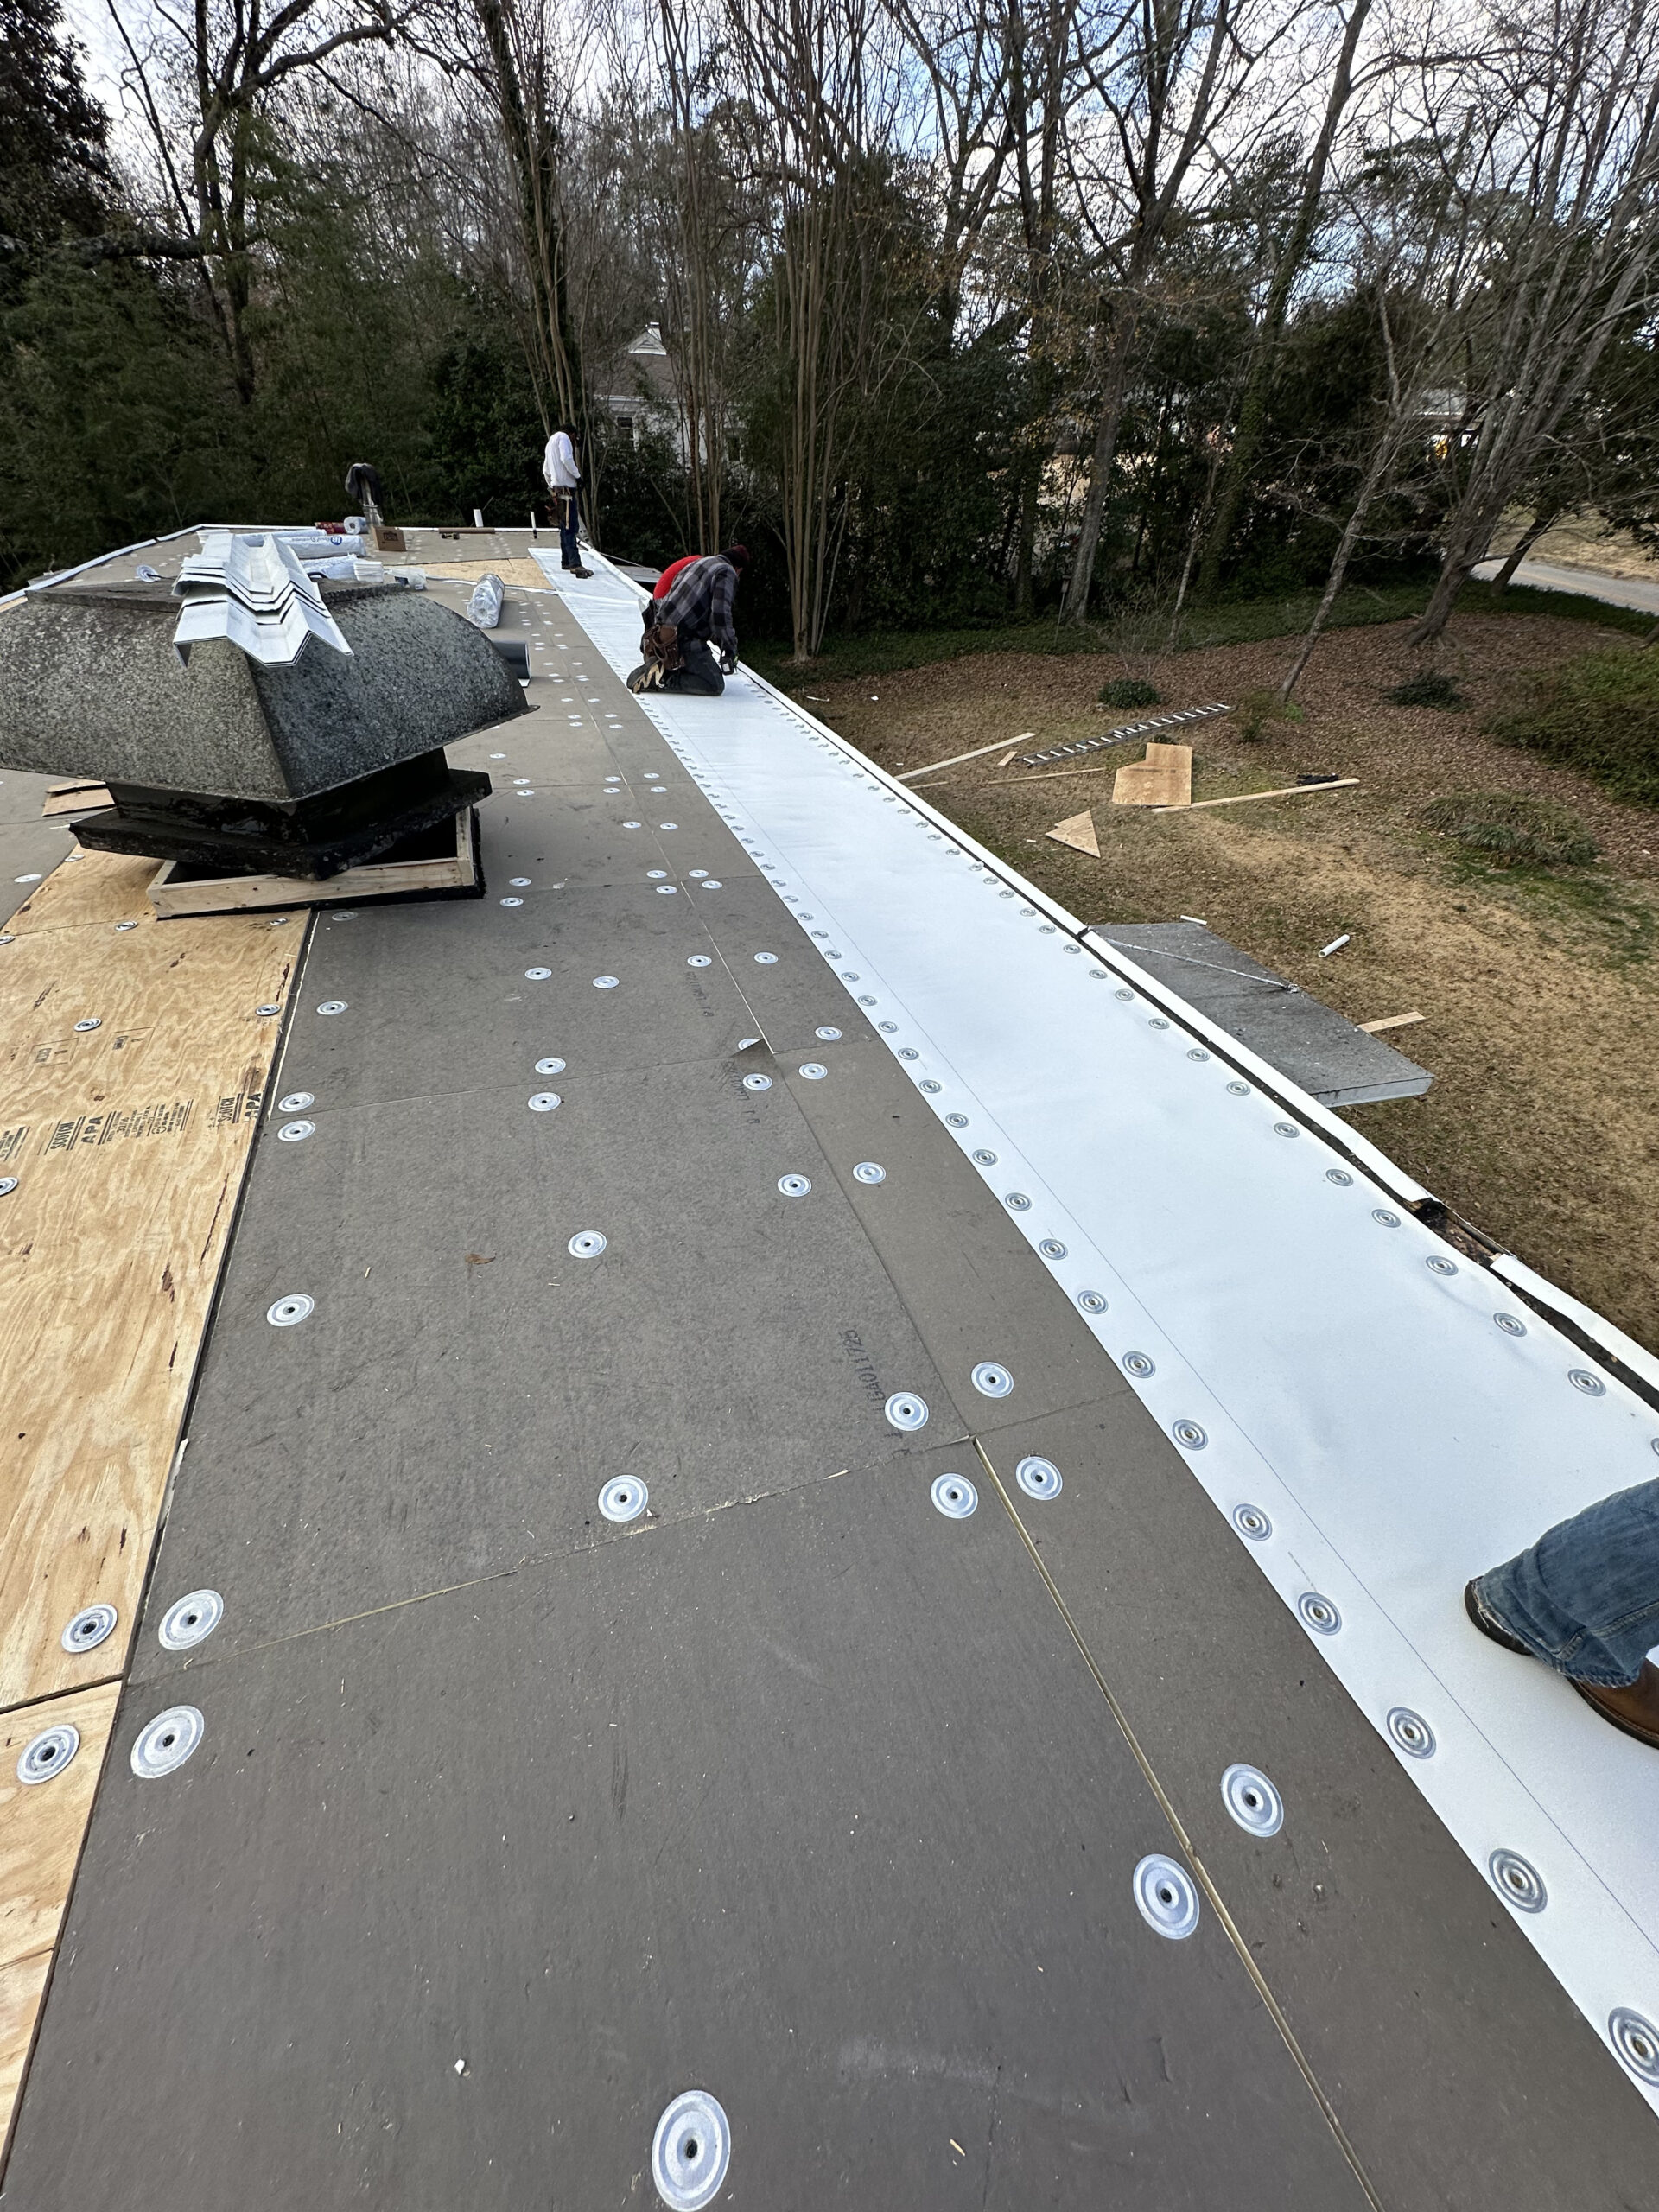
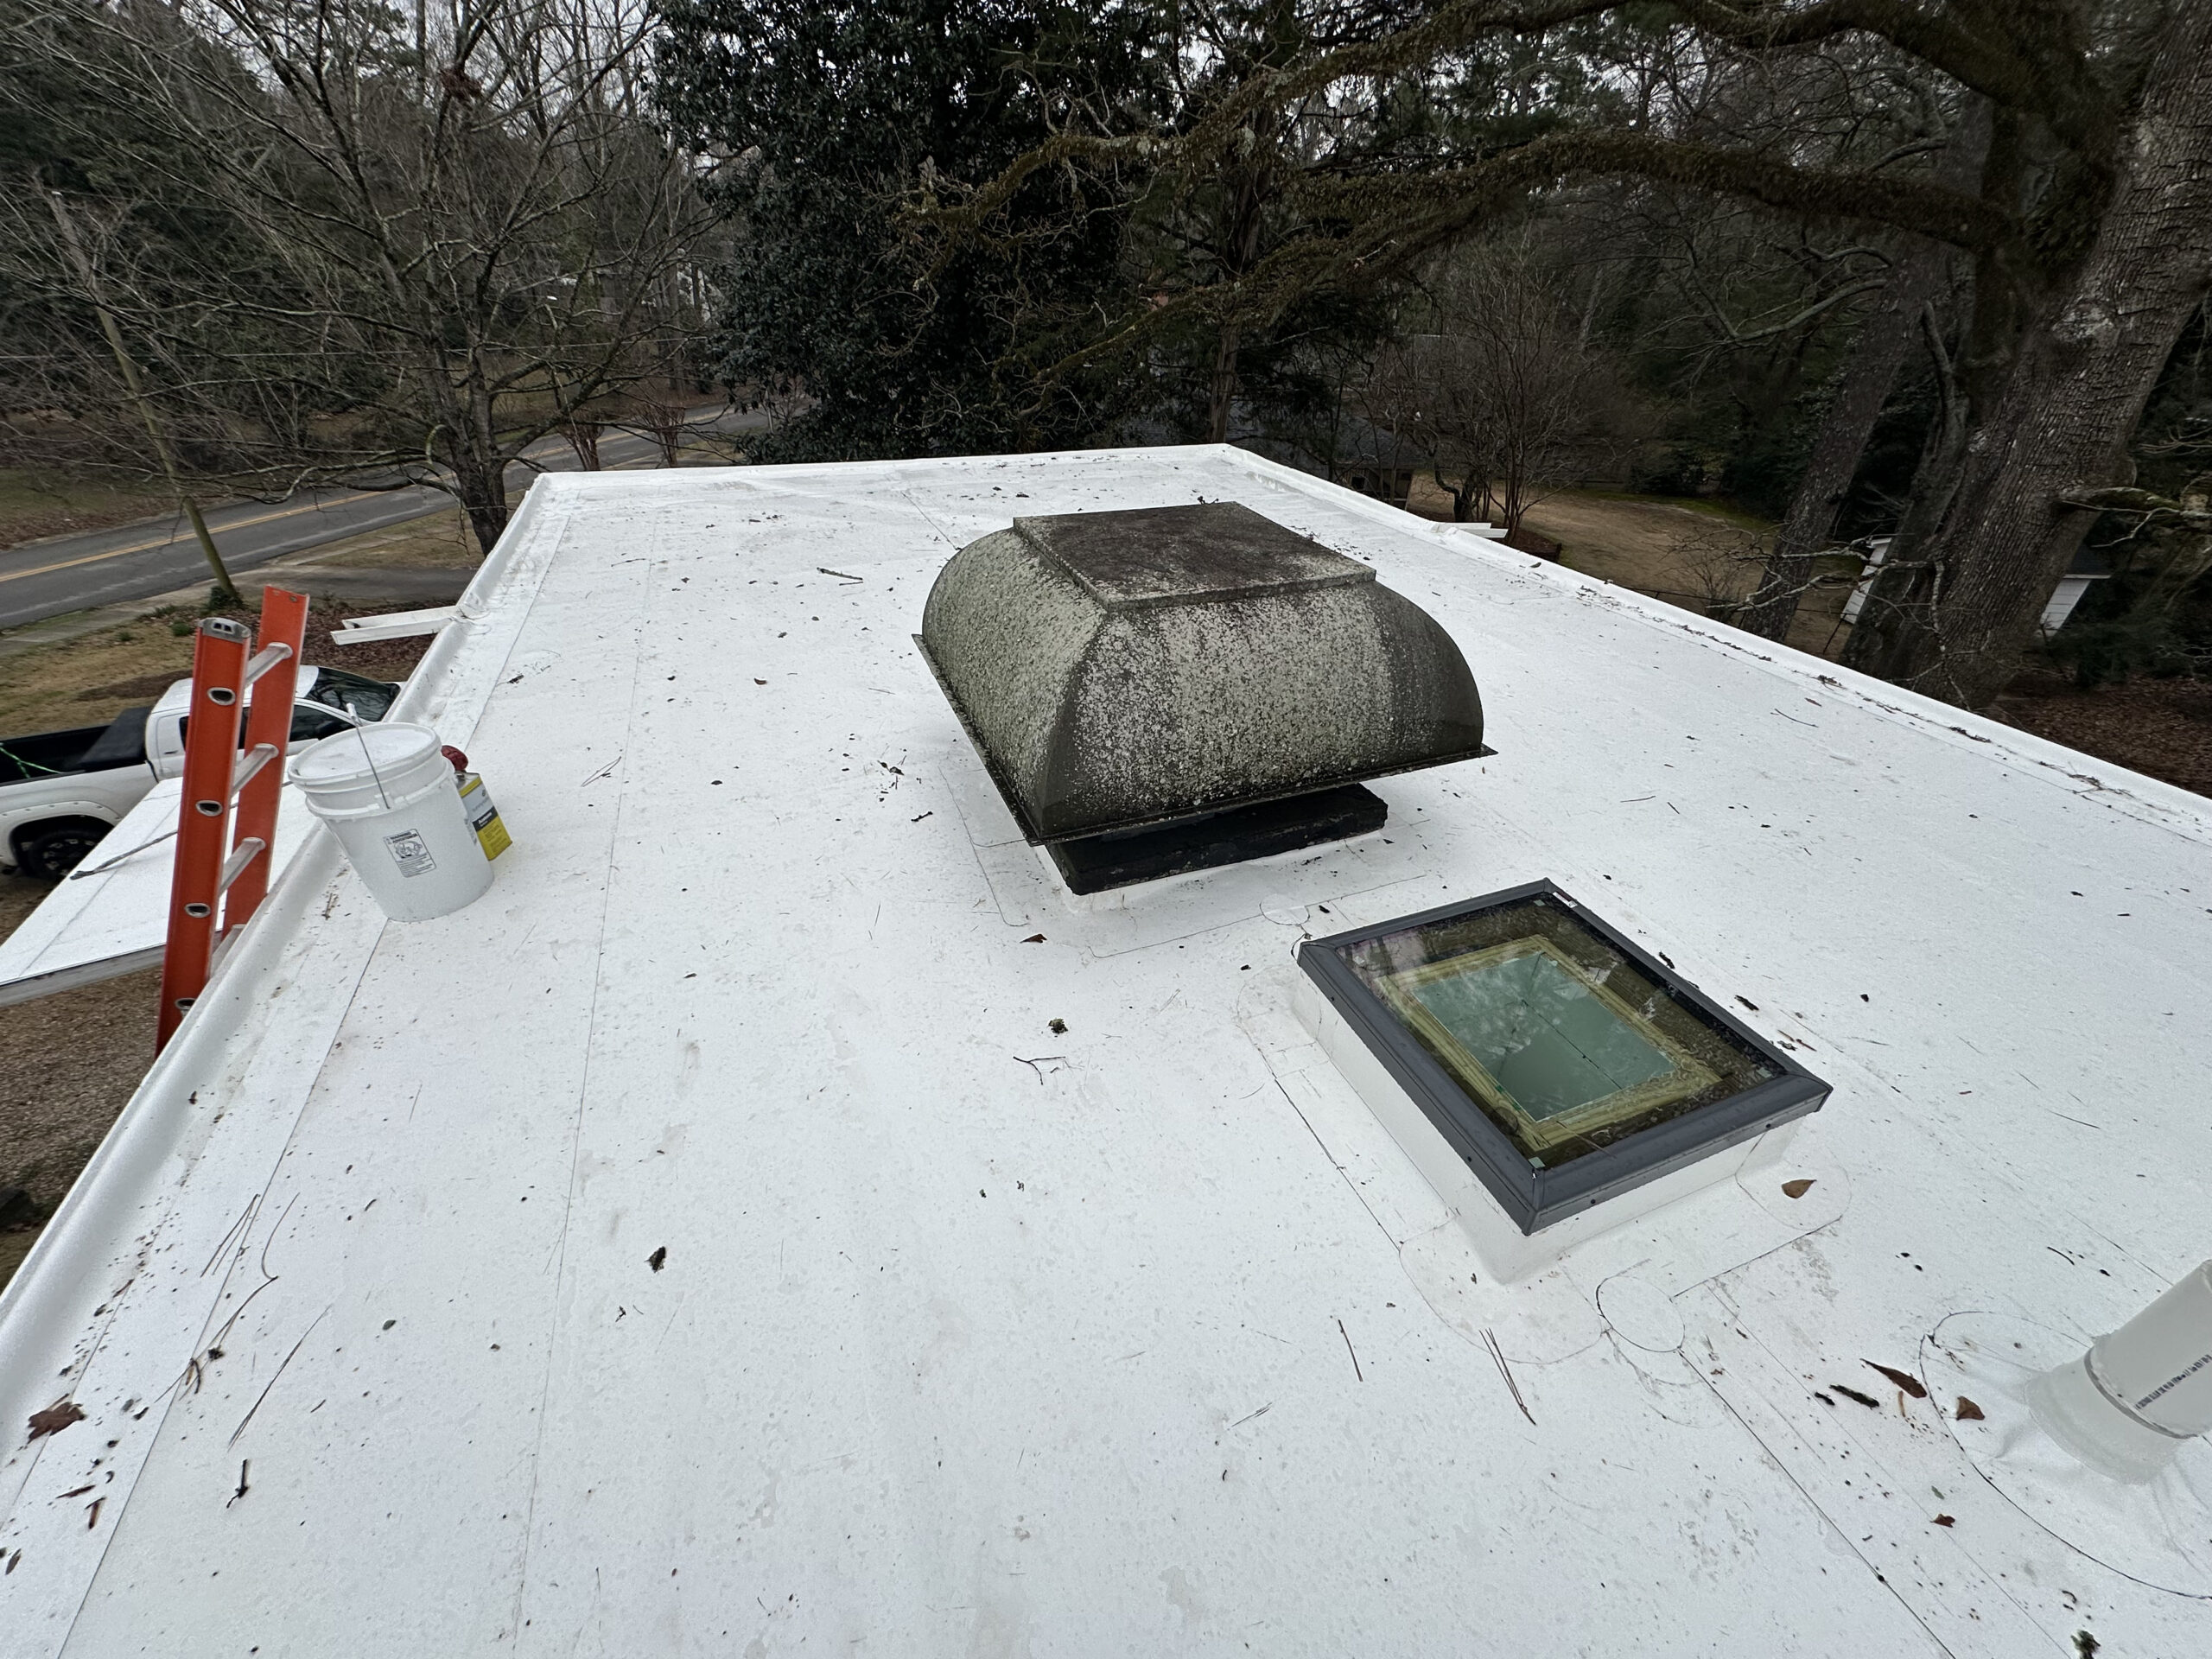
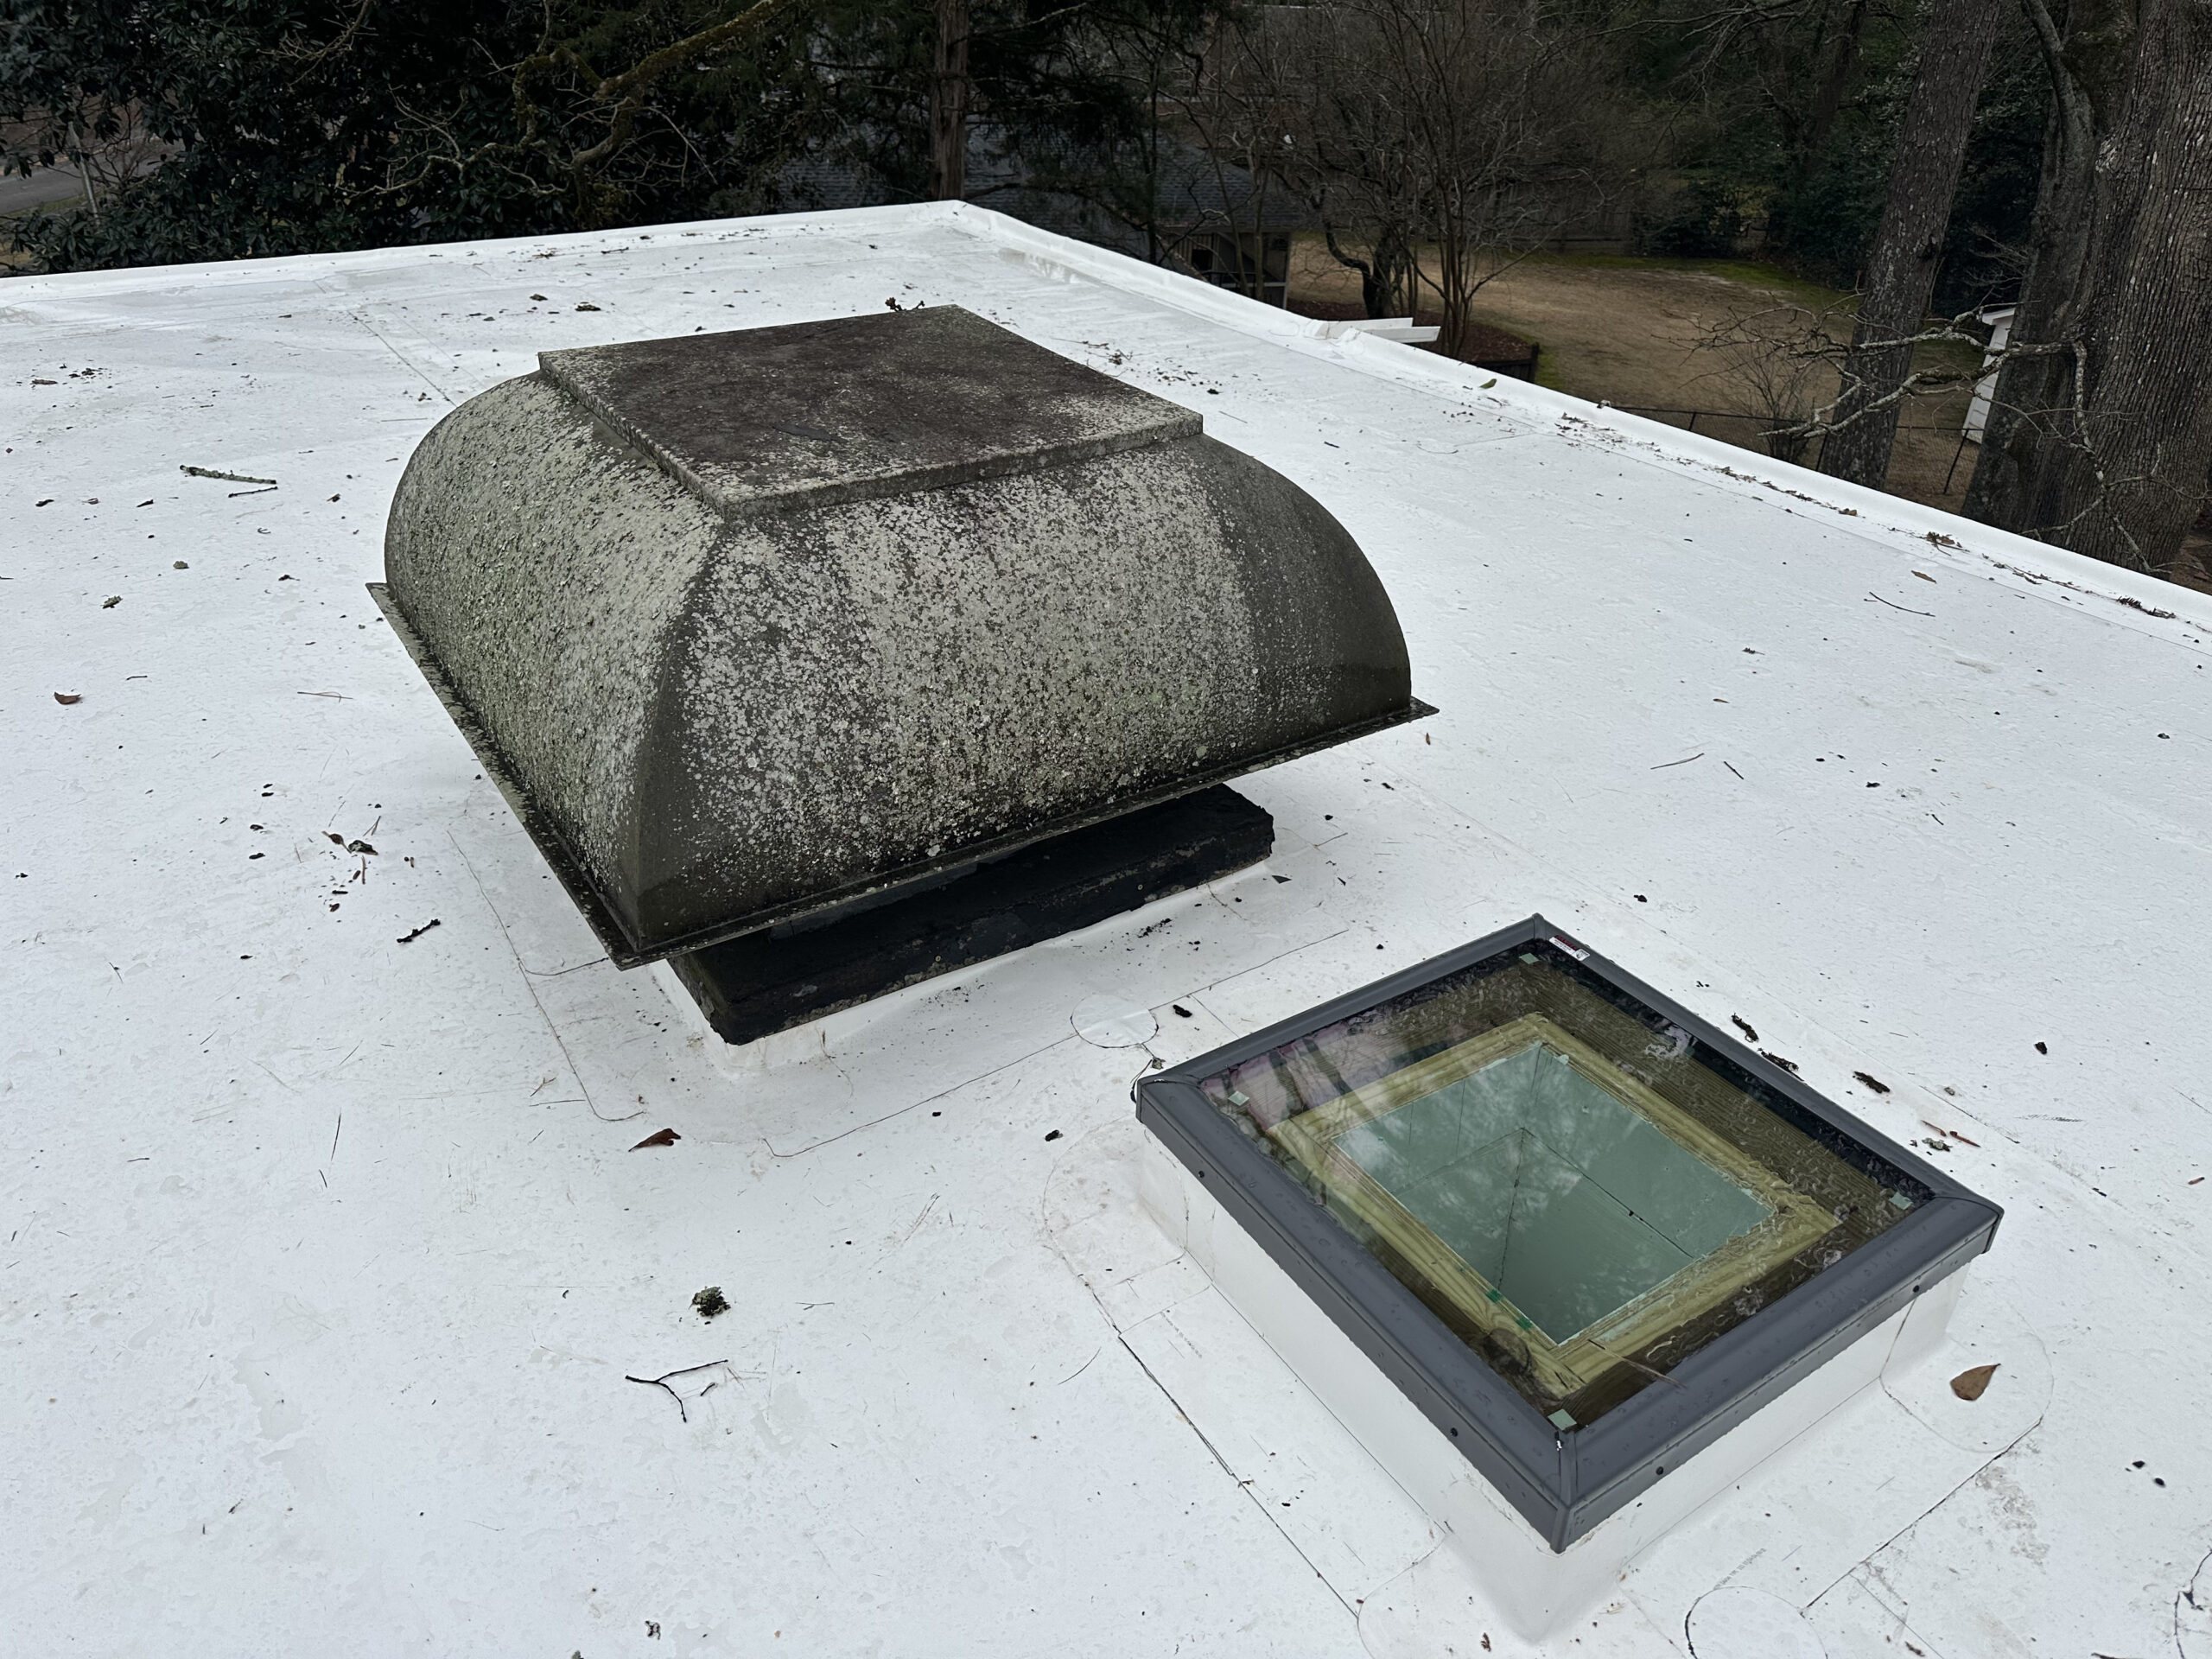
The roof presented a few challenges. Due to it not being perfectly planar (after the several decades since being built in 1954!), we used ‘Q’ type tapered insulation boards (they grow in height from 1/2″ to 2 1/2″ over 4′, offering 0.5″:12″ slope), and built reverse crickets on three areas that were pooling water. In one badly leaking area, we replaced decking, sistered joists, and installed a section of steel angle iron with lag screws to help repair the vulnerable section of house.
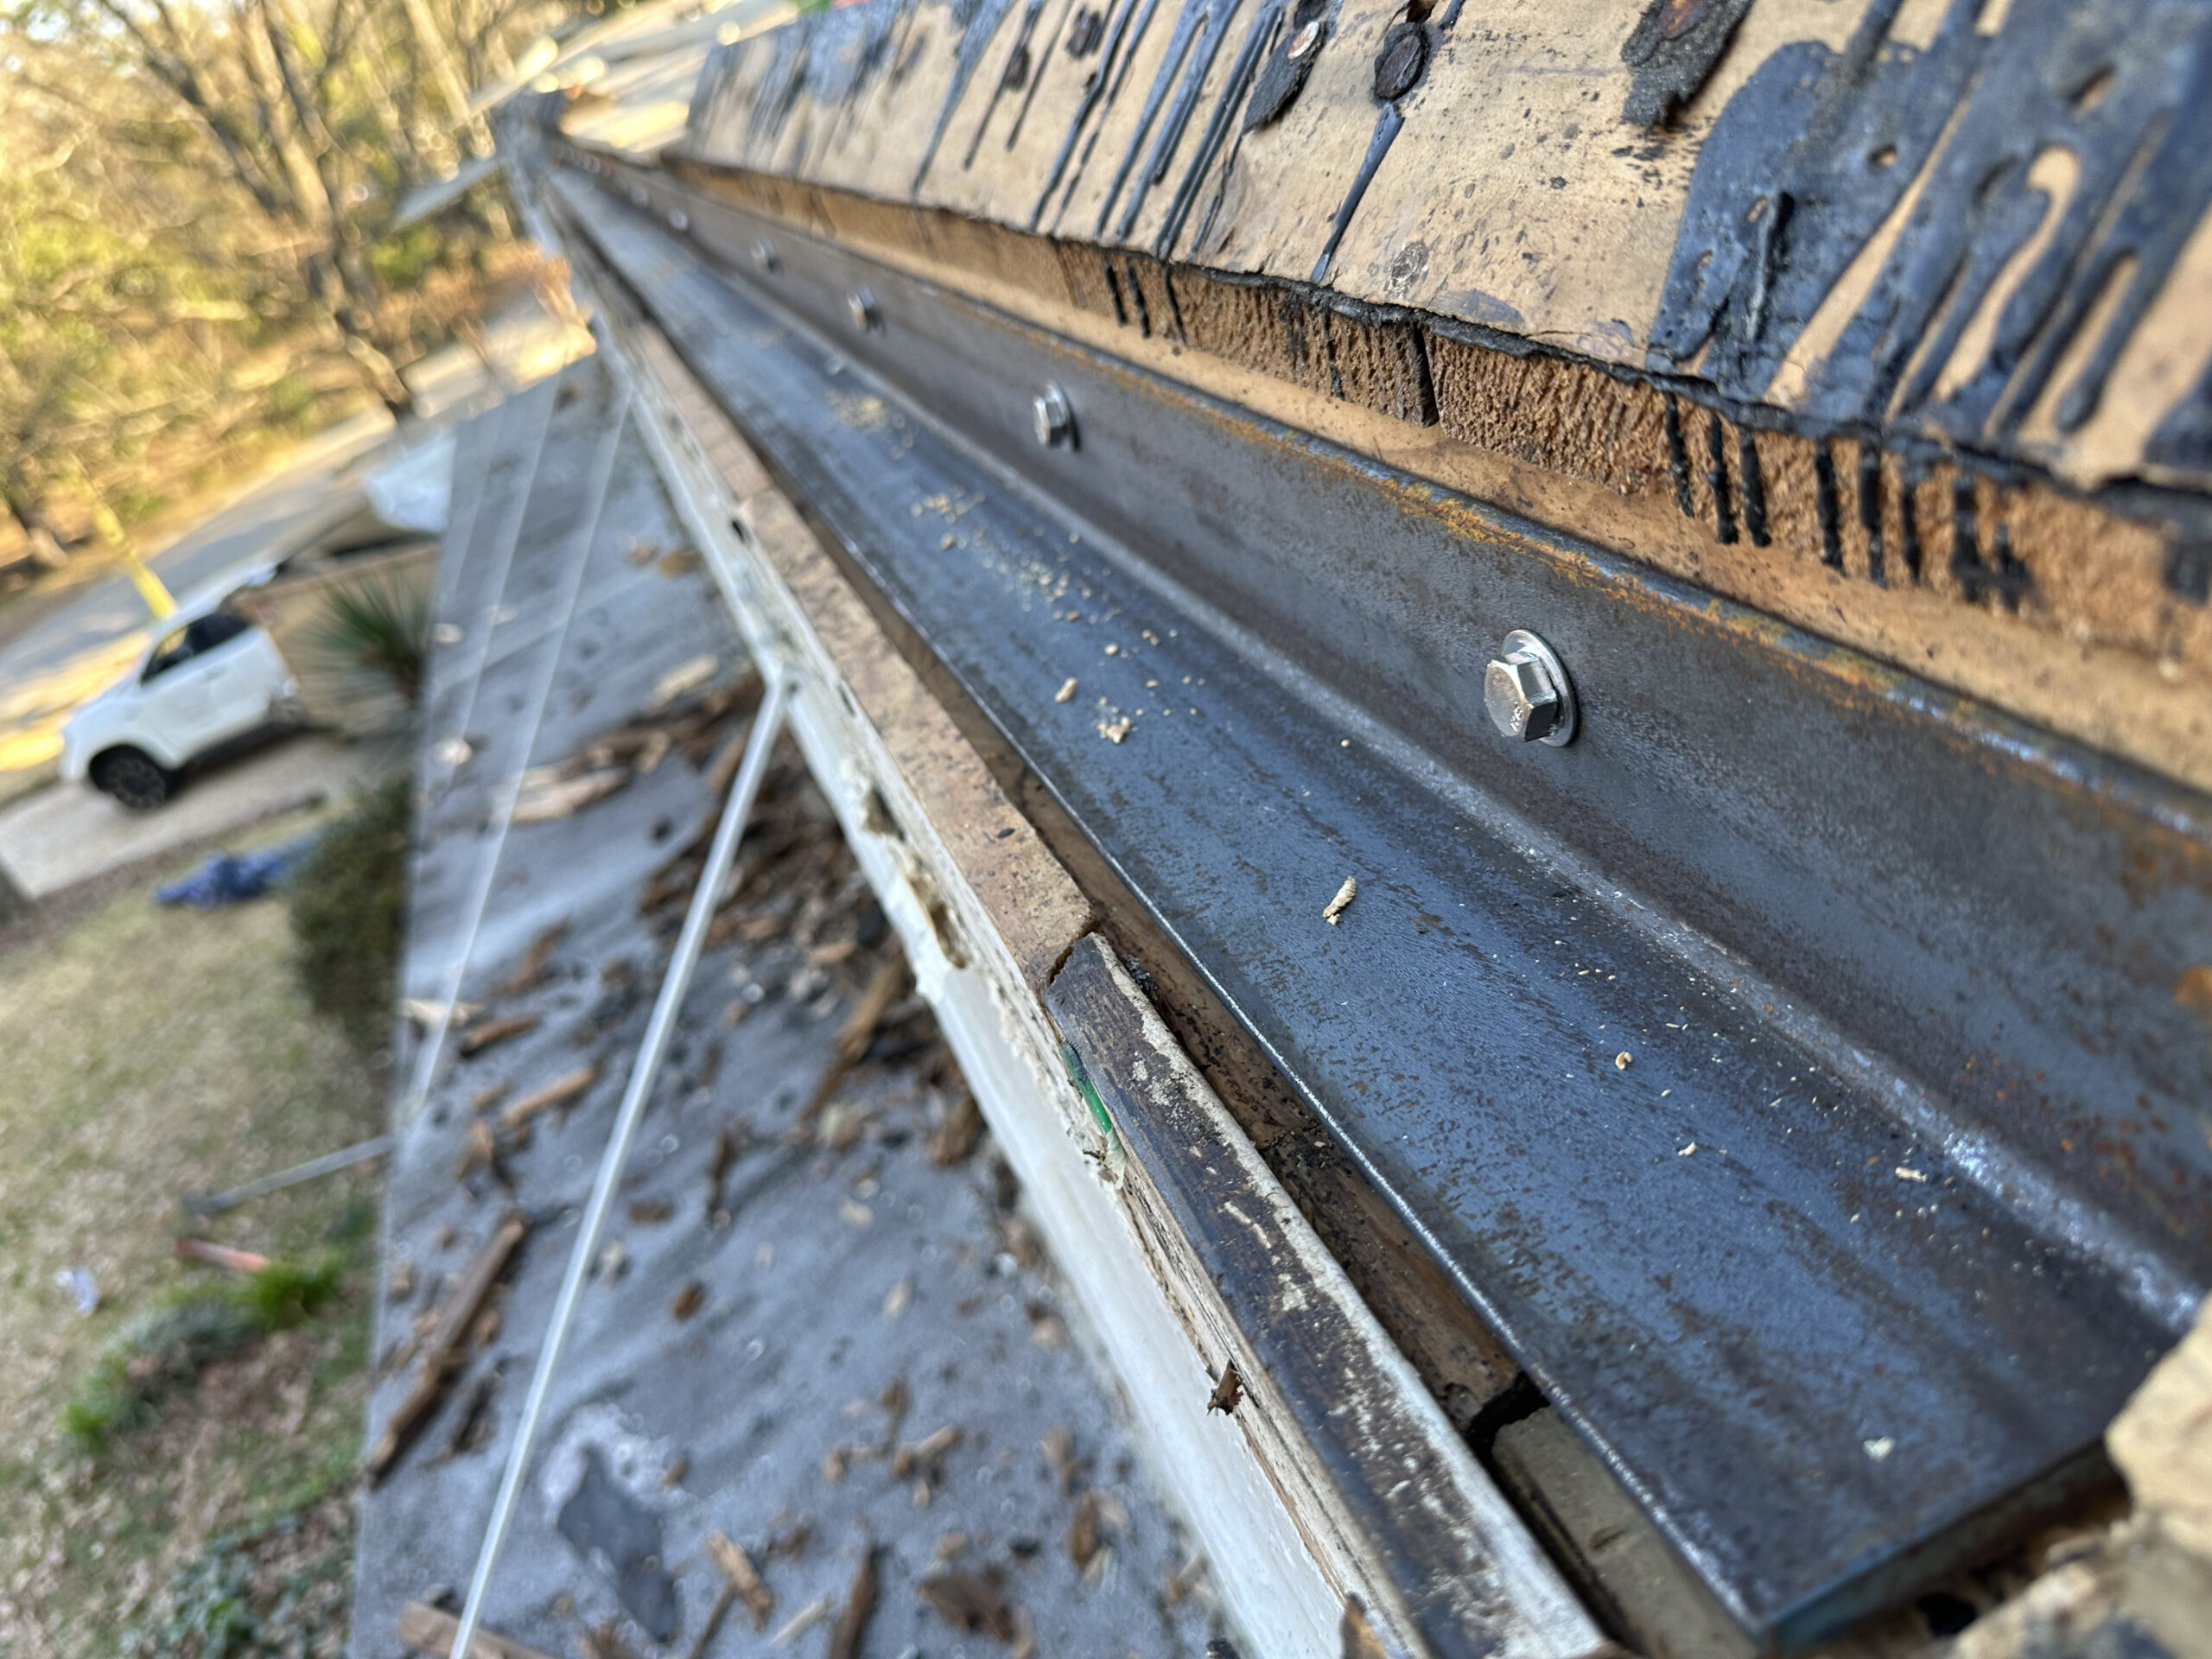
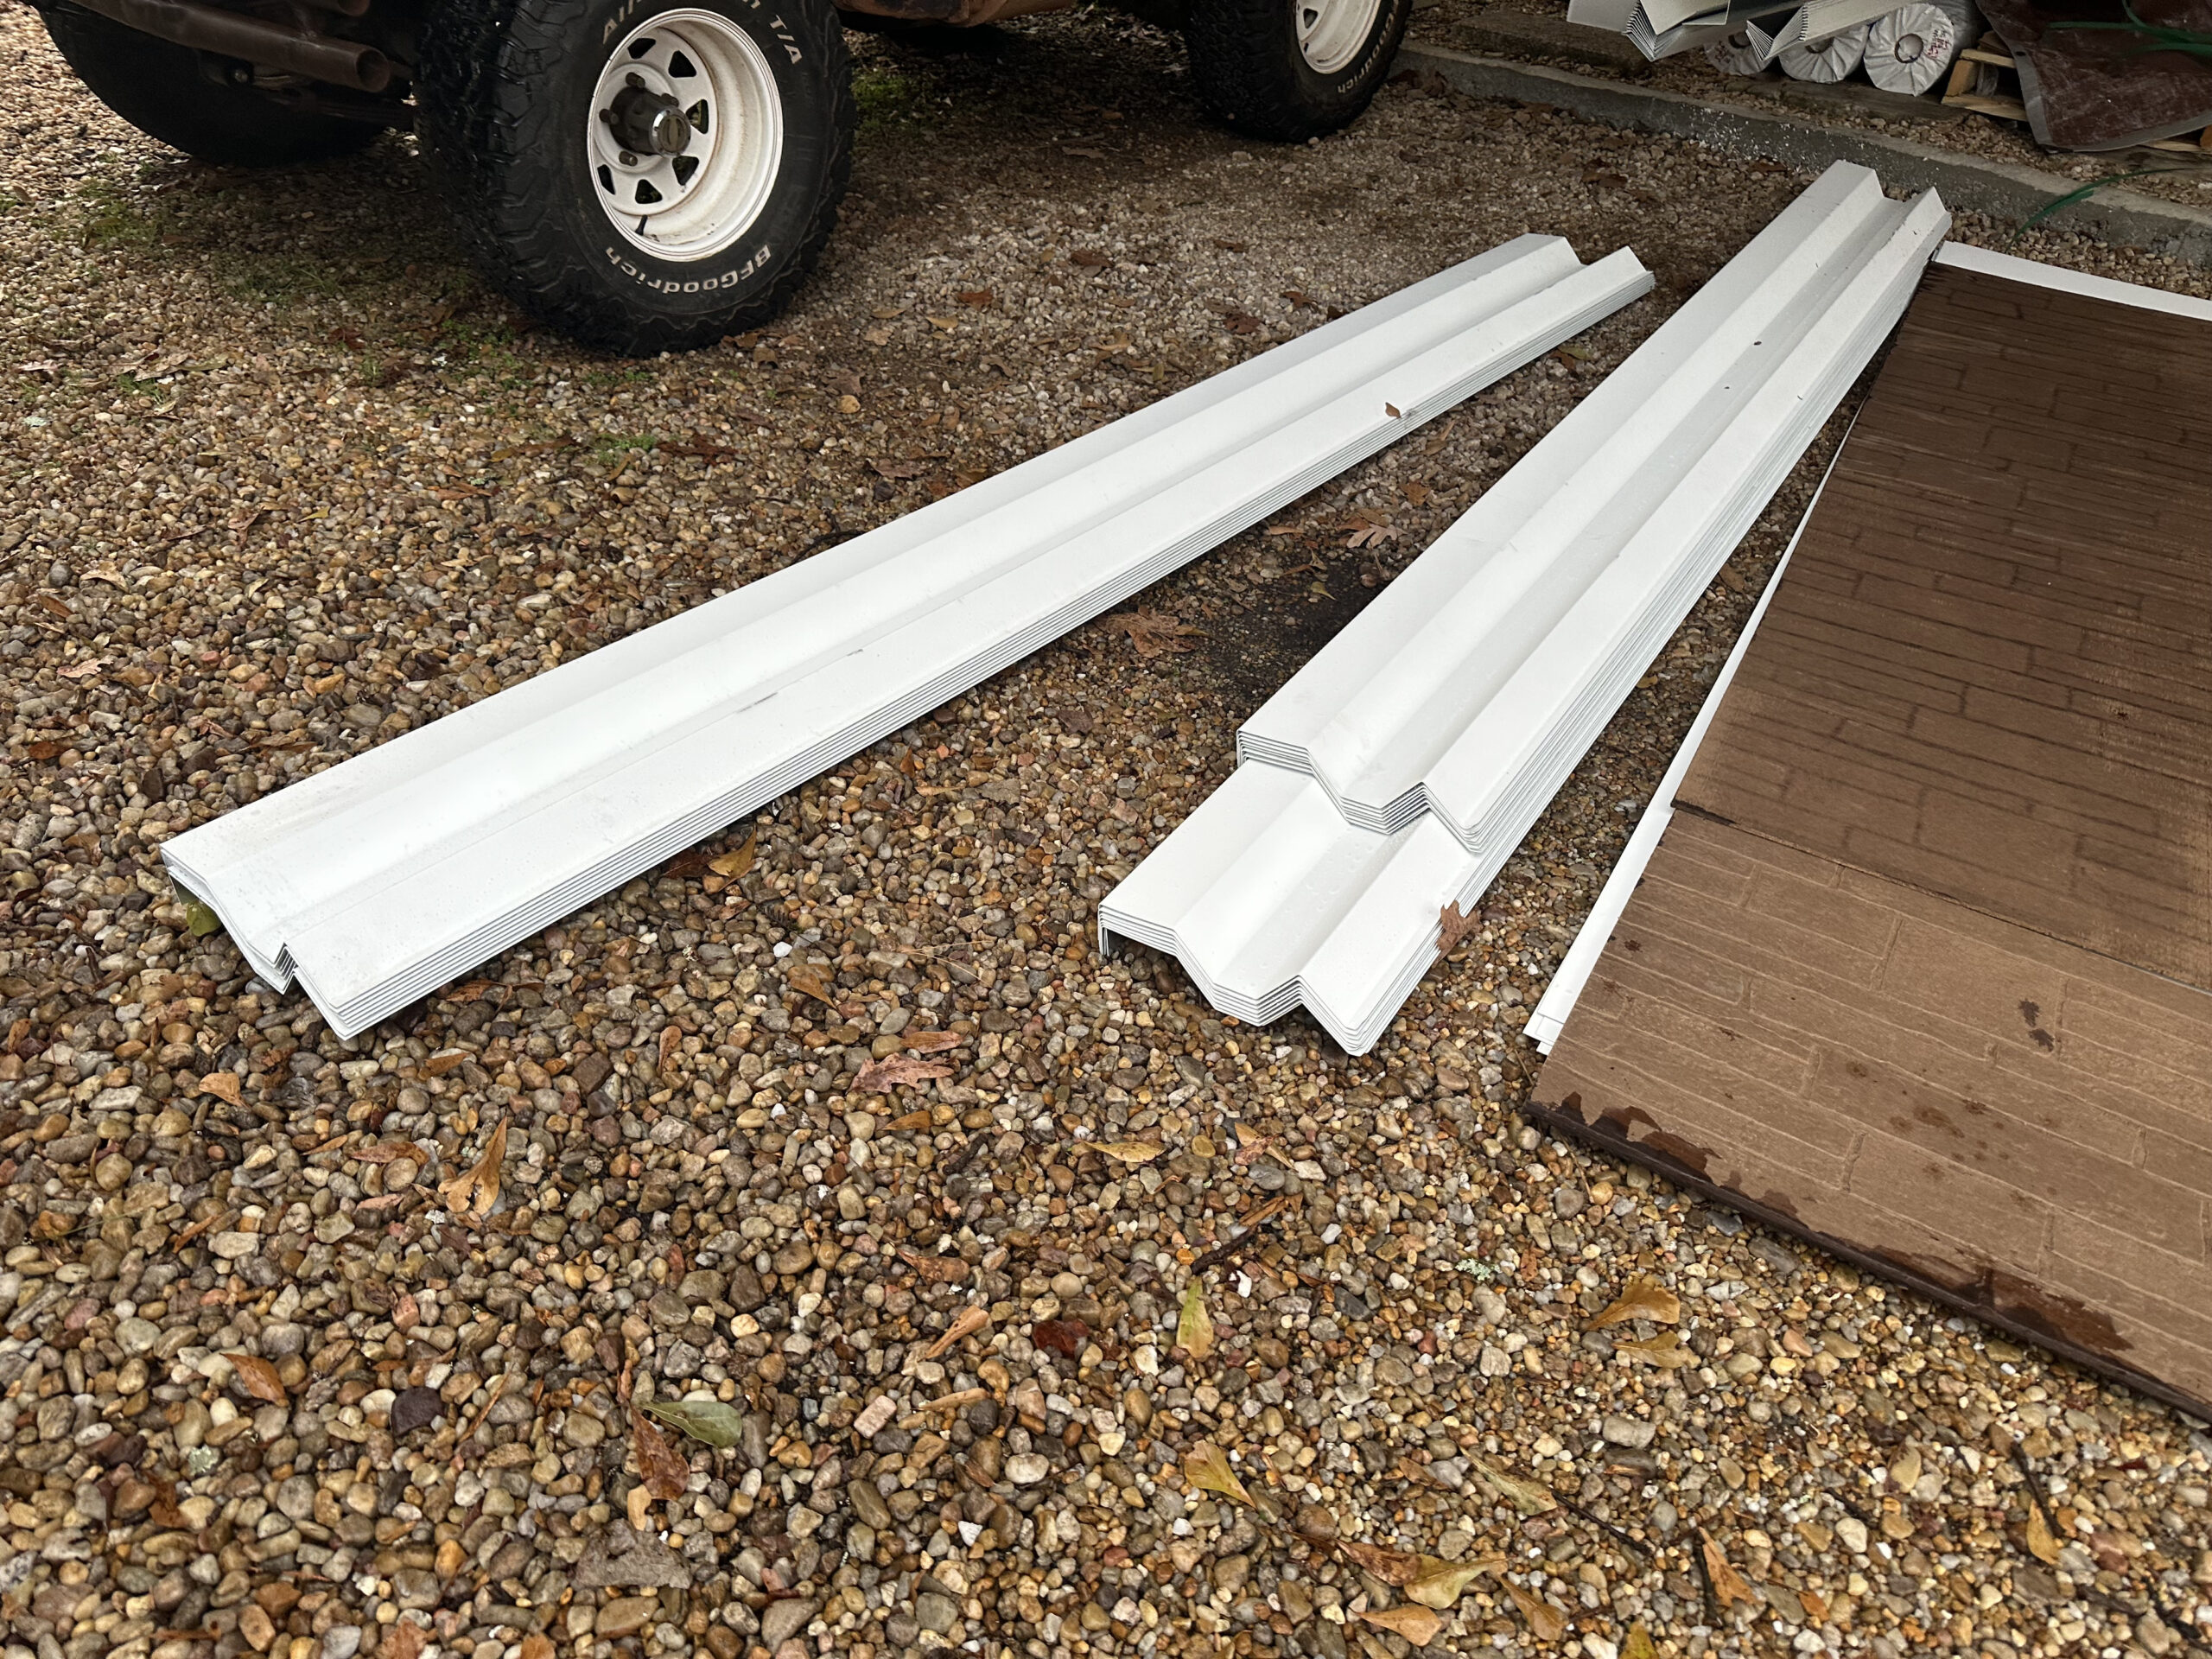
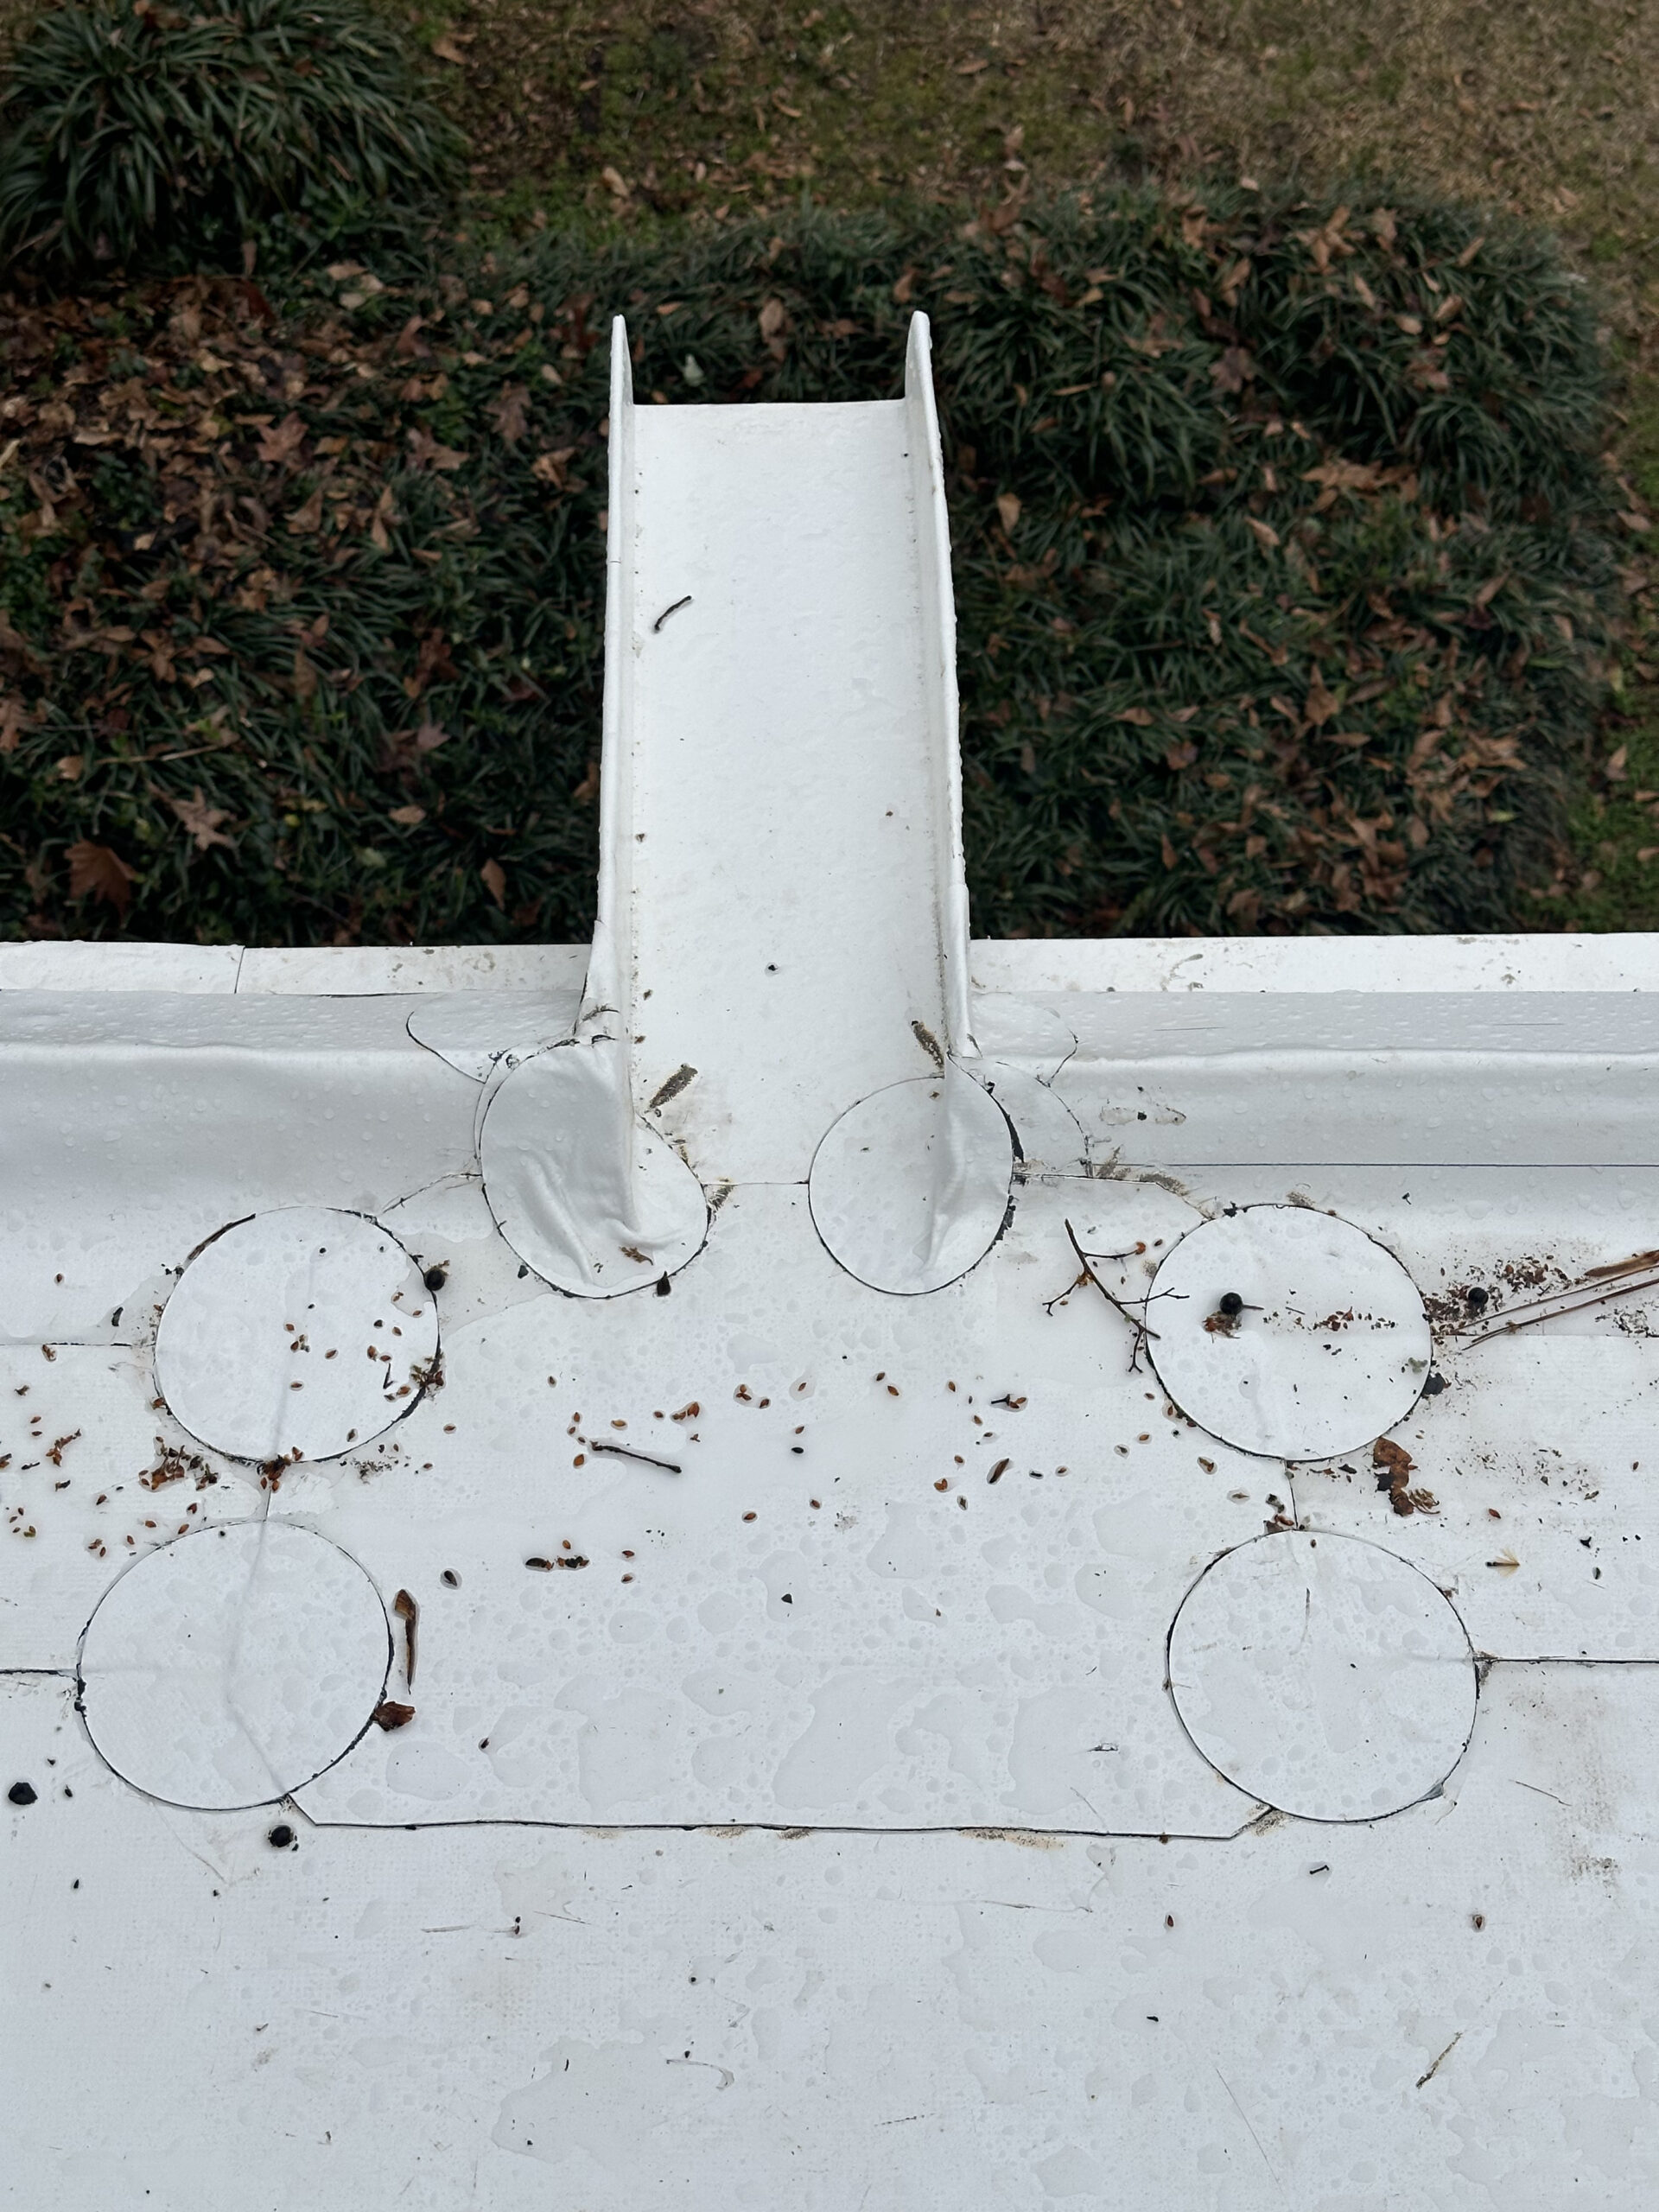
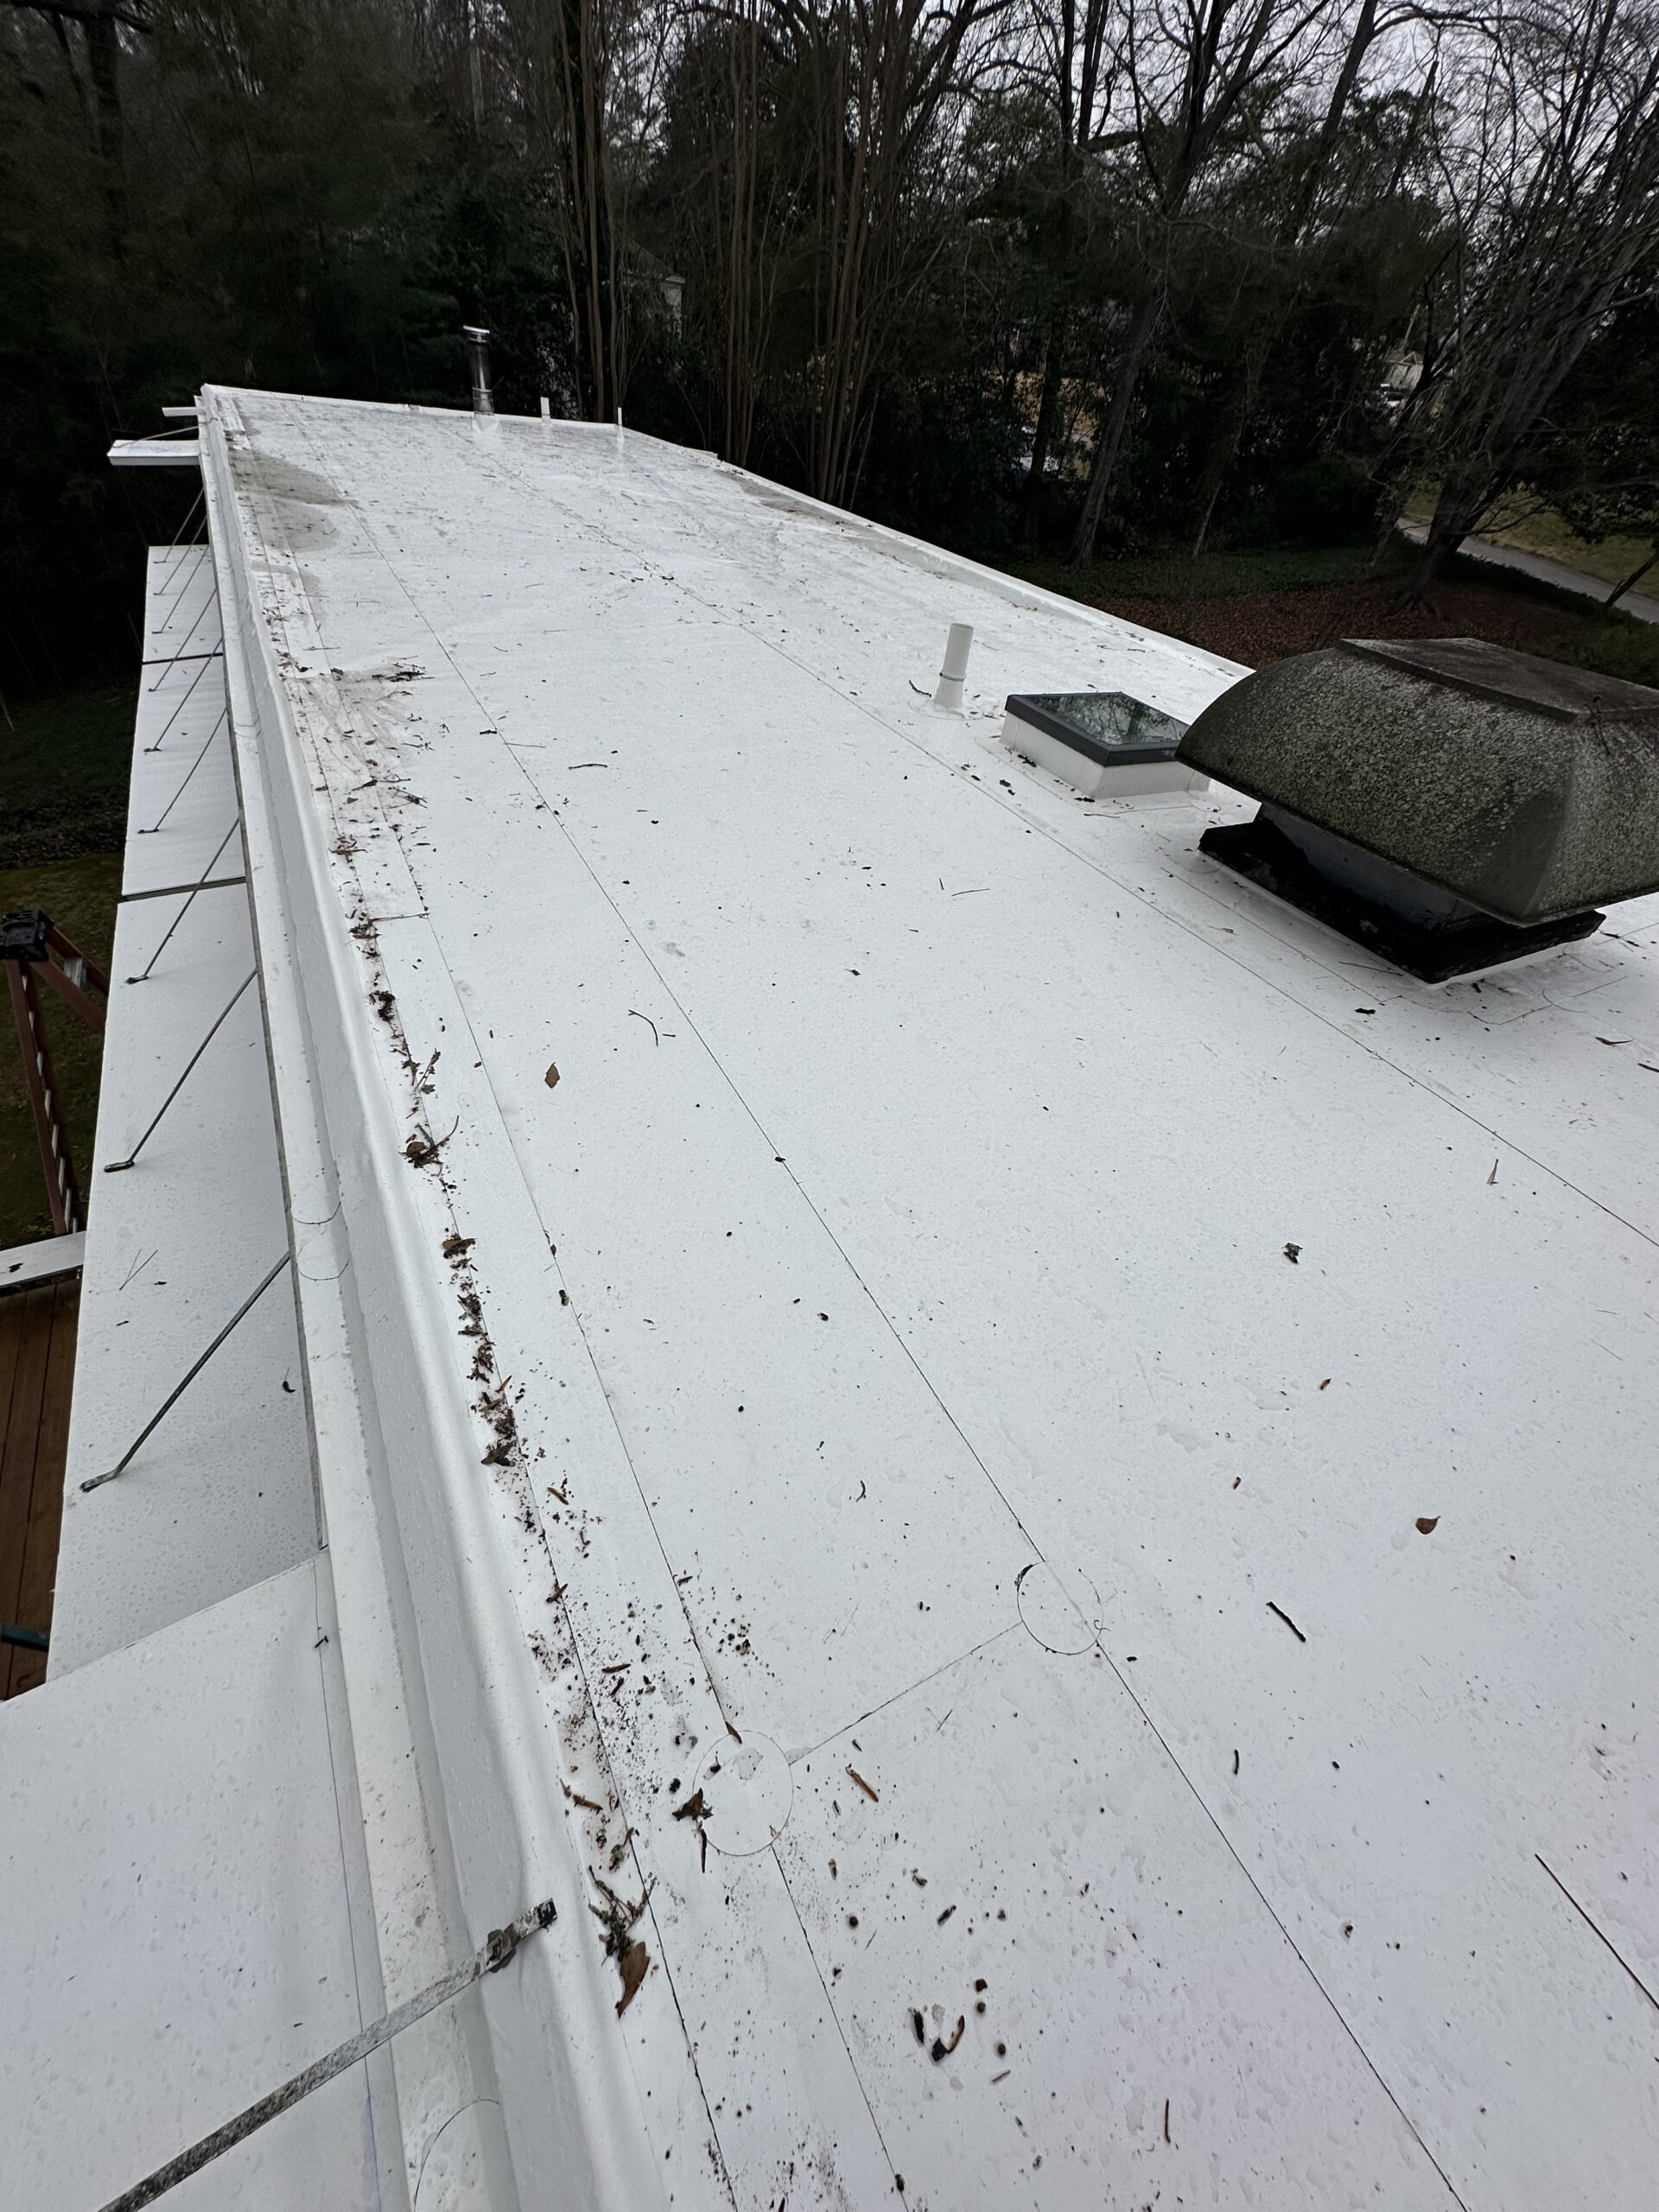
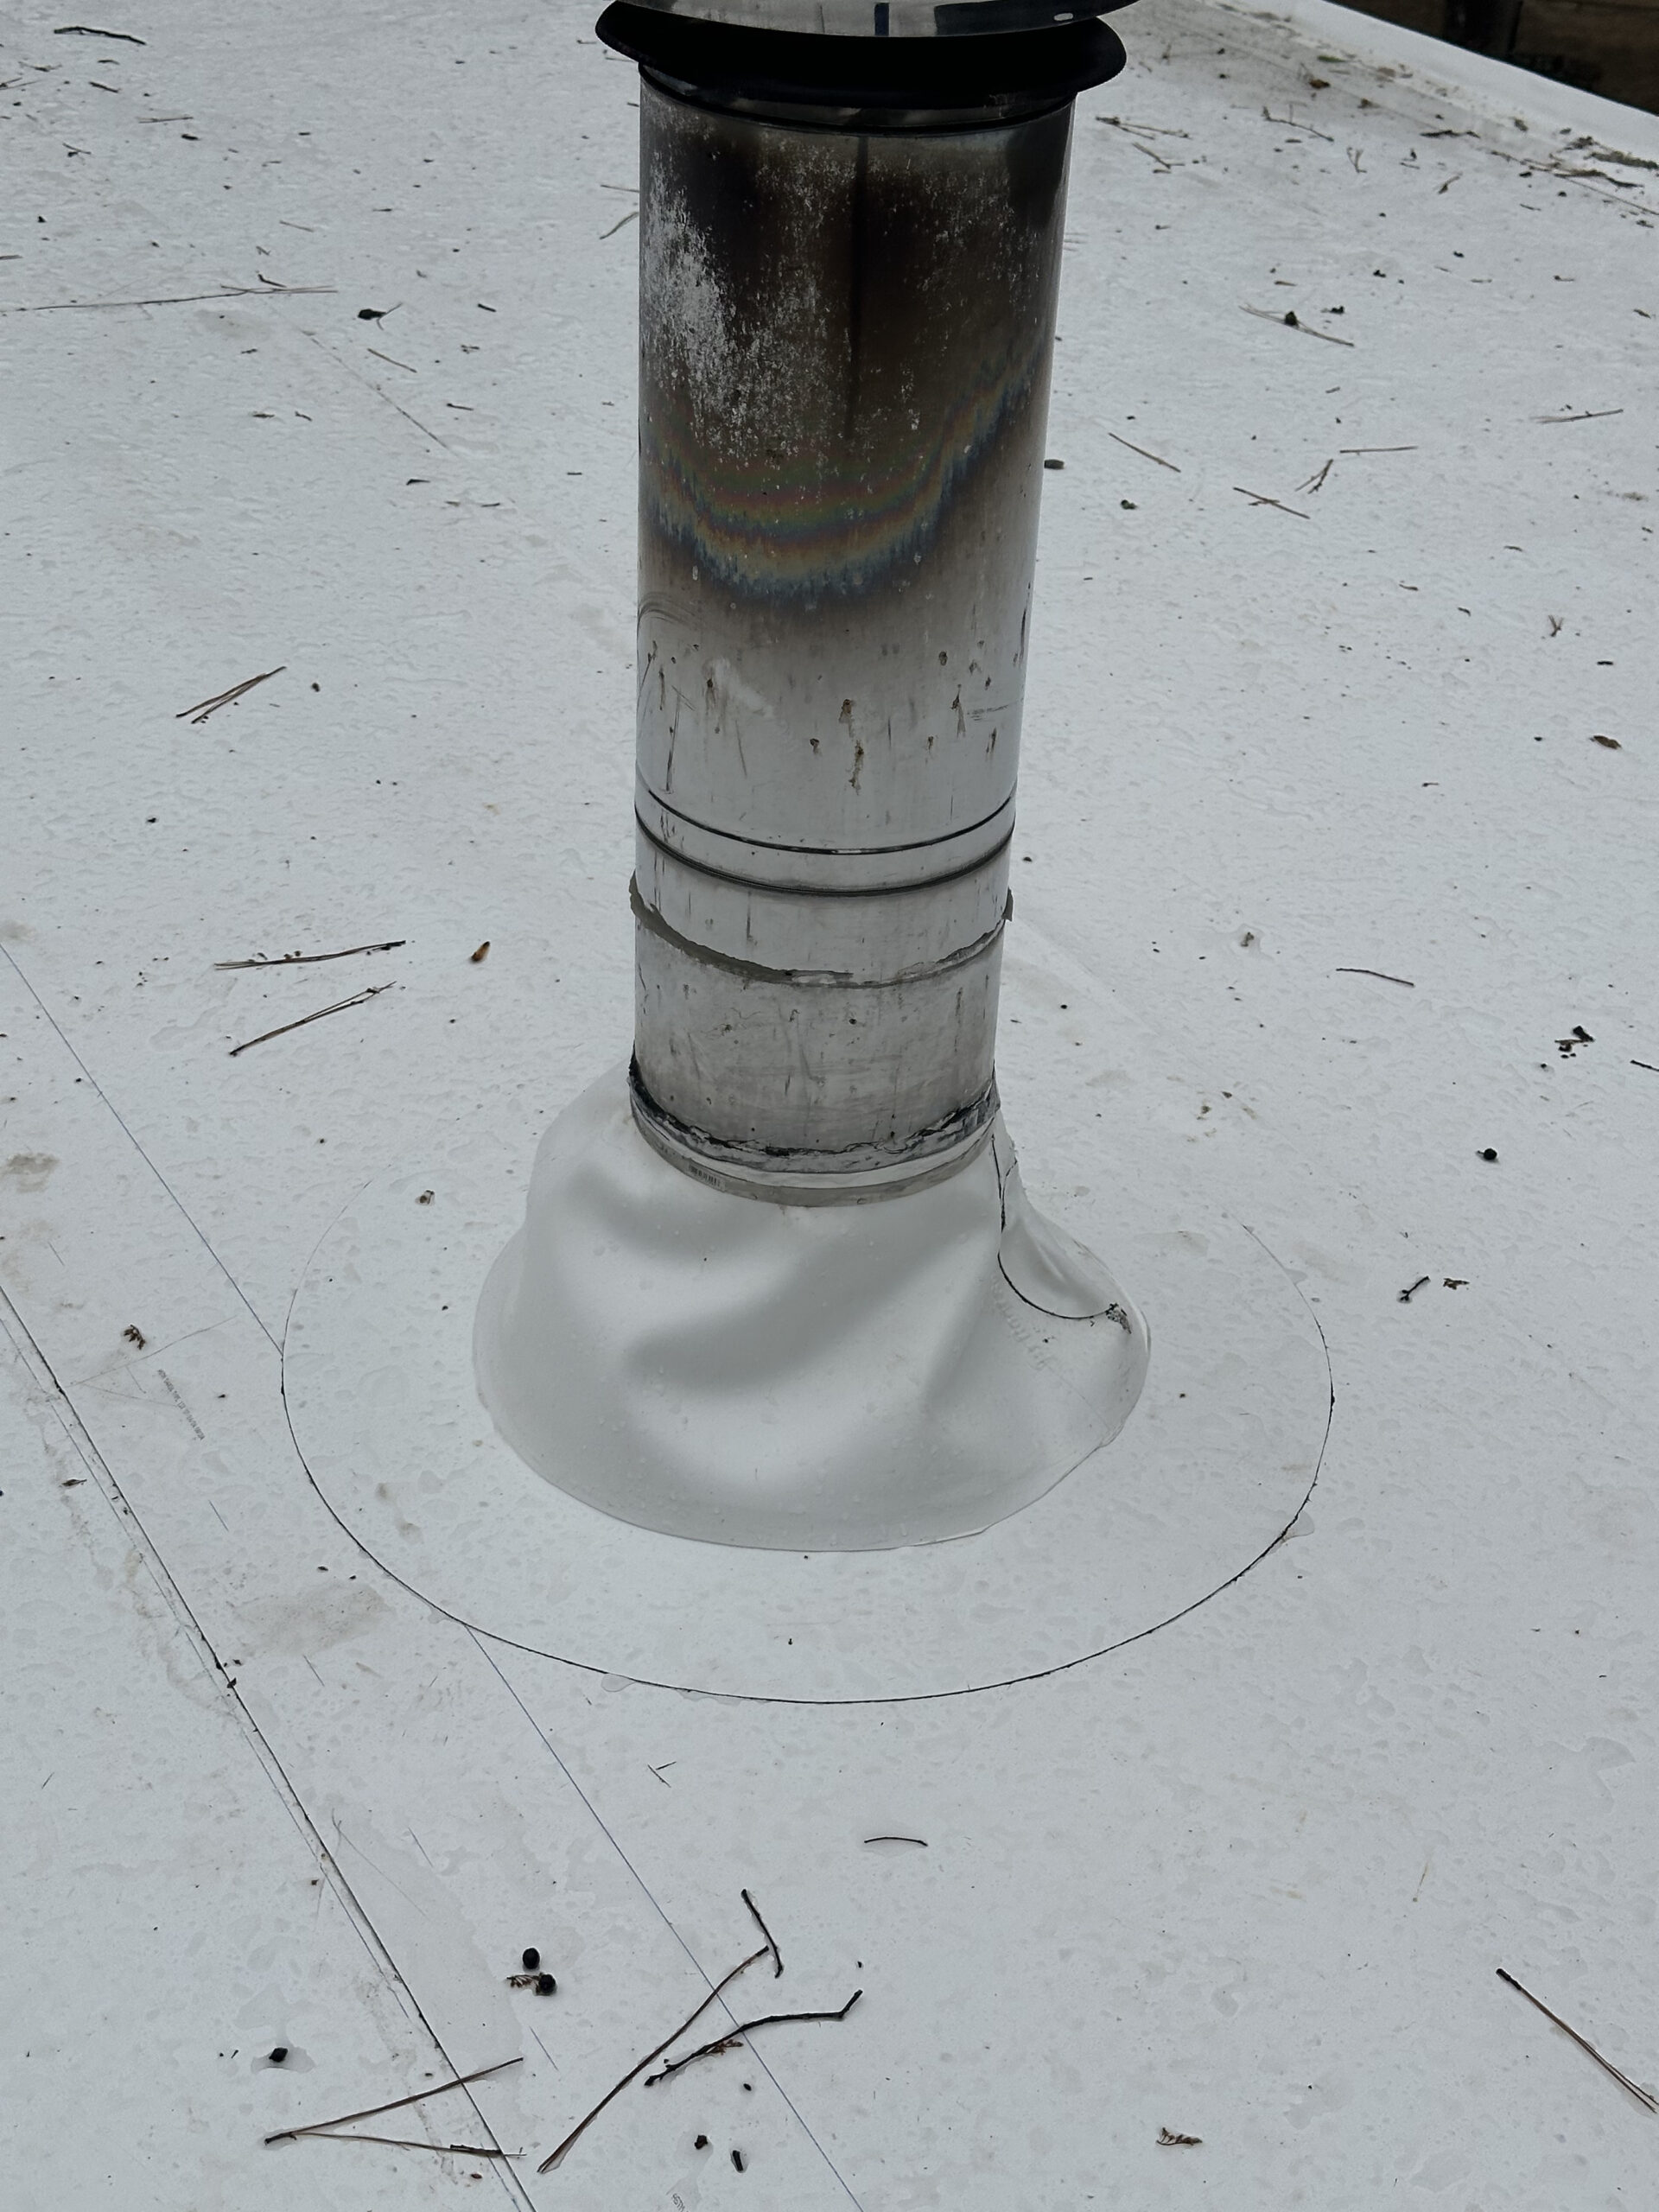
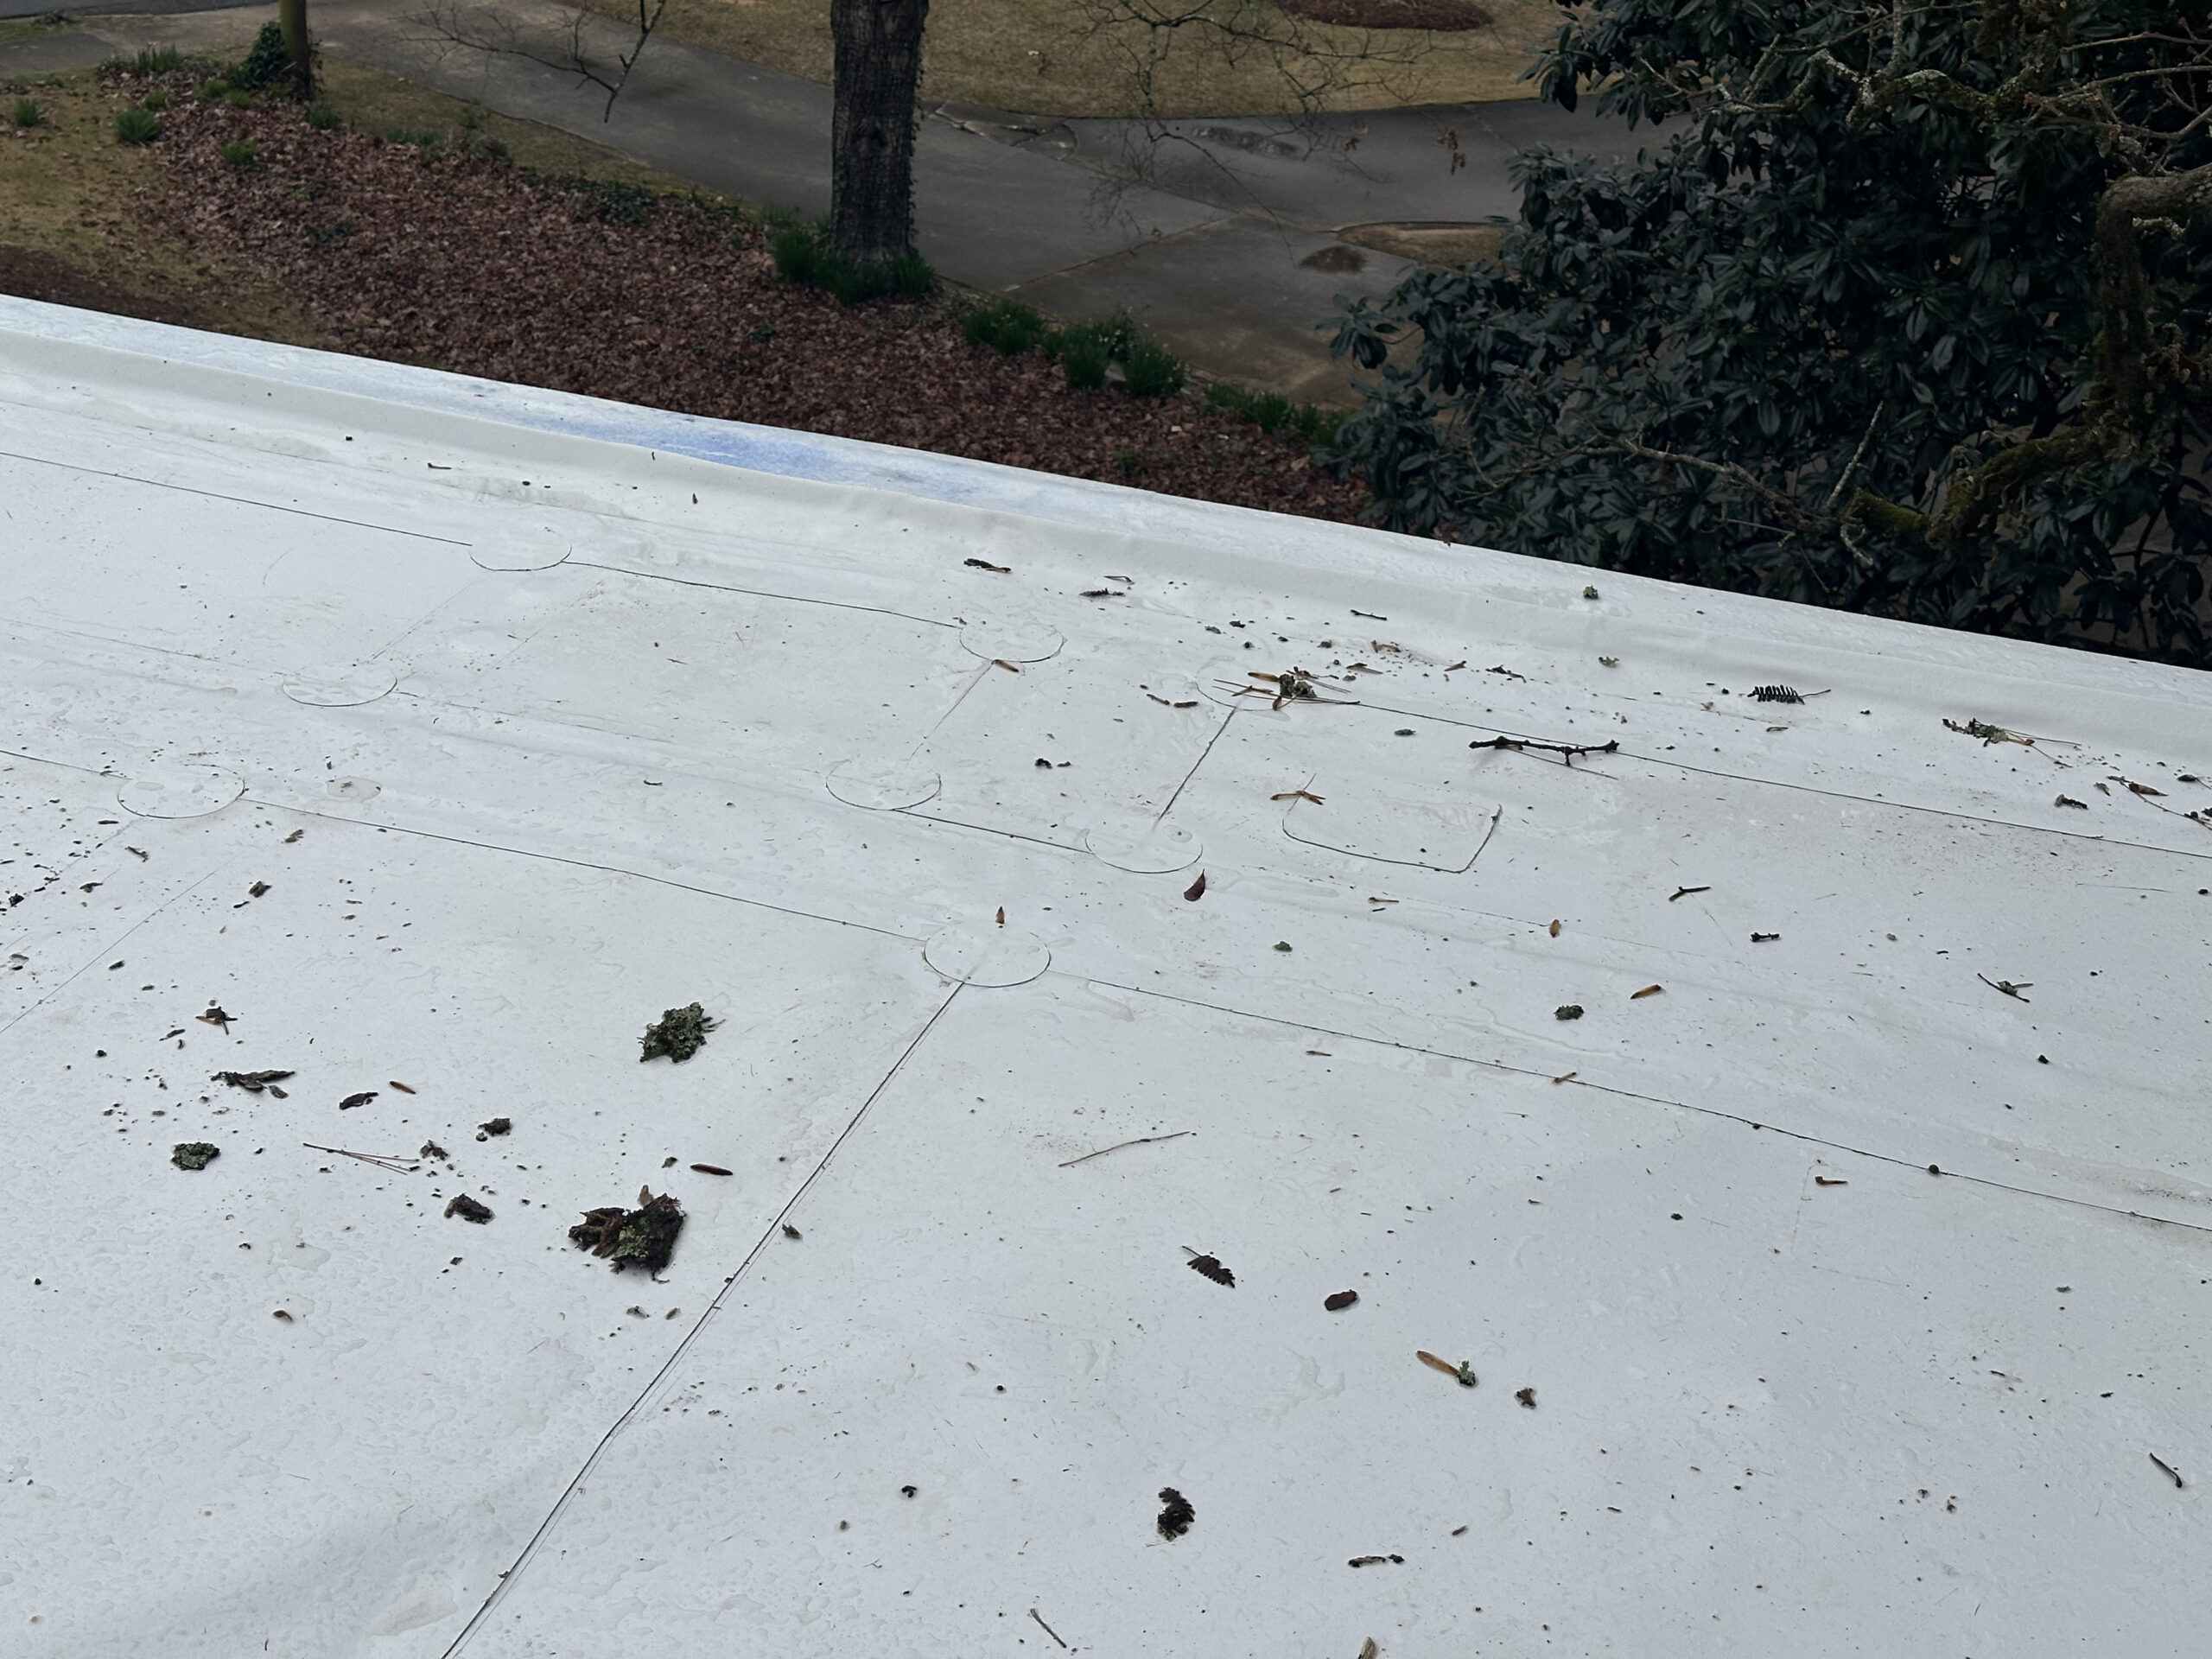
The drainage system for the roof was also unusual. It was a hip roof (with very low slope), but the bottom edge had a ‘gravel stop’ to guide the water to 6 scupper/gutter outlets. The gravel stop was unconventional though, having a profile of several bends to it. We used PVC-clad metal, bent to appropo profiles, to from the edging metal and the scupper/gutter outlets. This metal can then be welded to with the PVC membrane, ensuring a seamless, water-tight transition. Incidentally, on the lower overhang roofs, since they were had hardie board underneath, the owners requested an unusual detail—flat edging in lieu of traditional drip edge! You need an edge of PVC-clad metal for the membrane to weld to, but I’ve never bent or used a flat piece (with only a tiny 3/4″ closed hem under helping encourage water away from wicking under). I don’t recommend it, but for a decorative and water-hardy roof deck, it does fit the horizontal-only look.
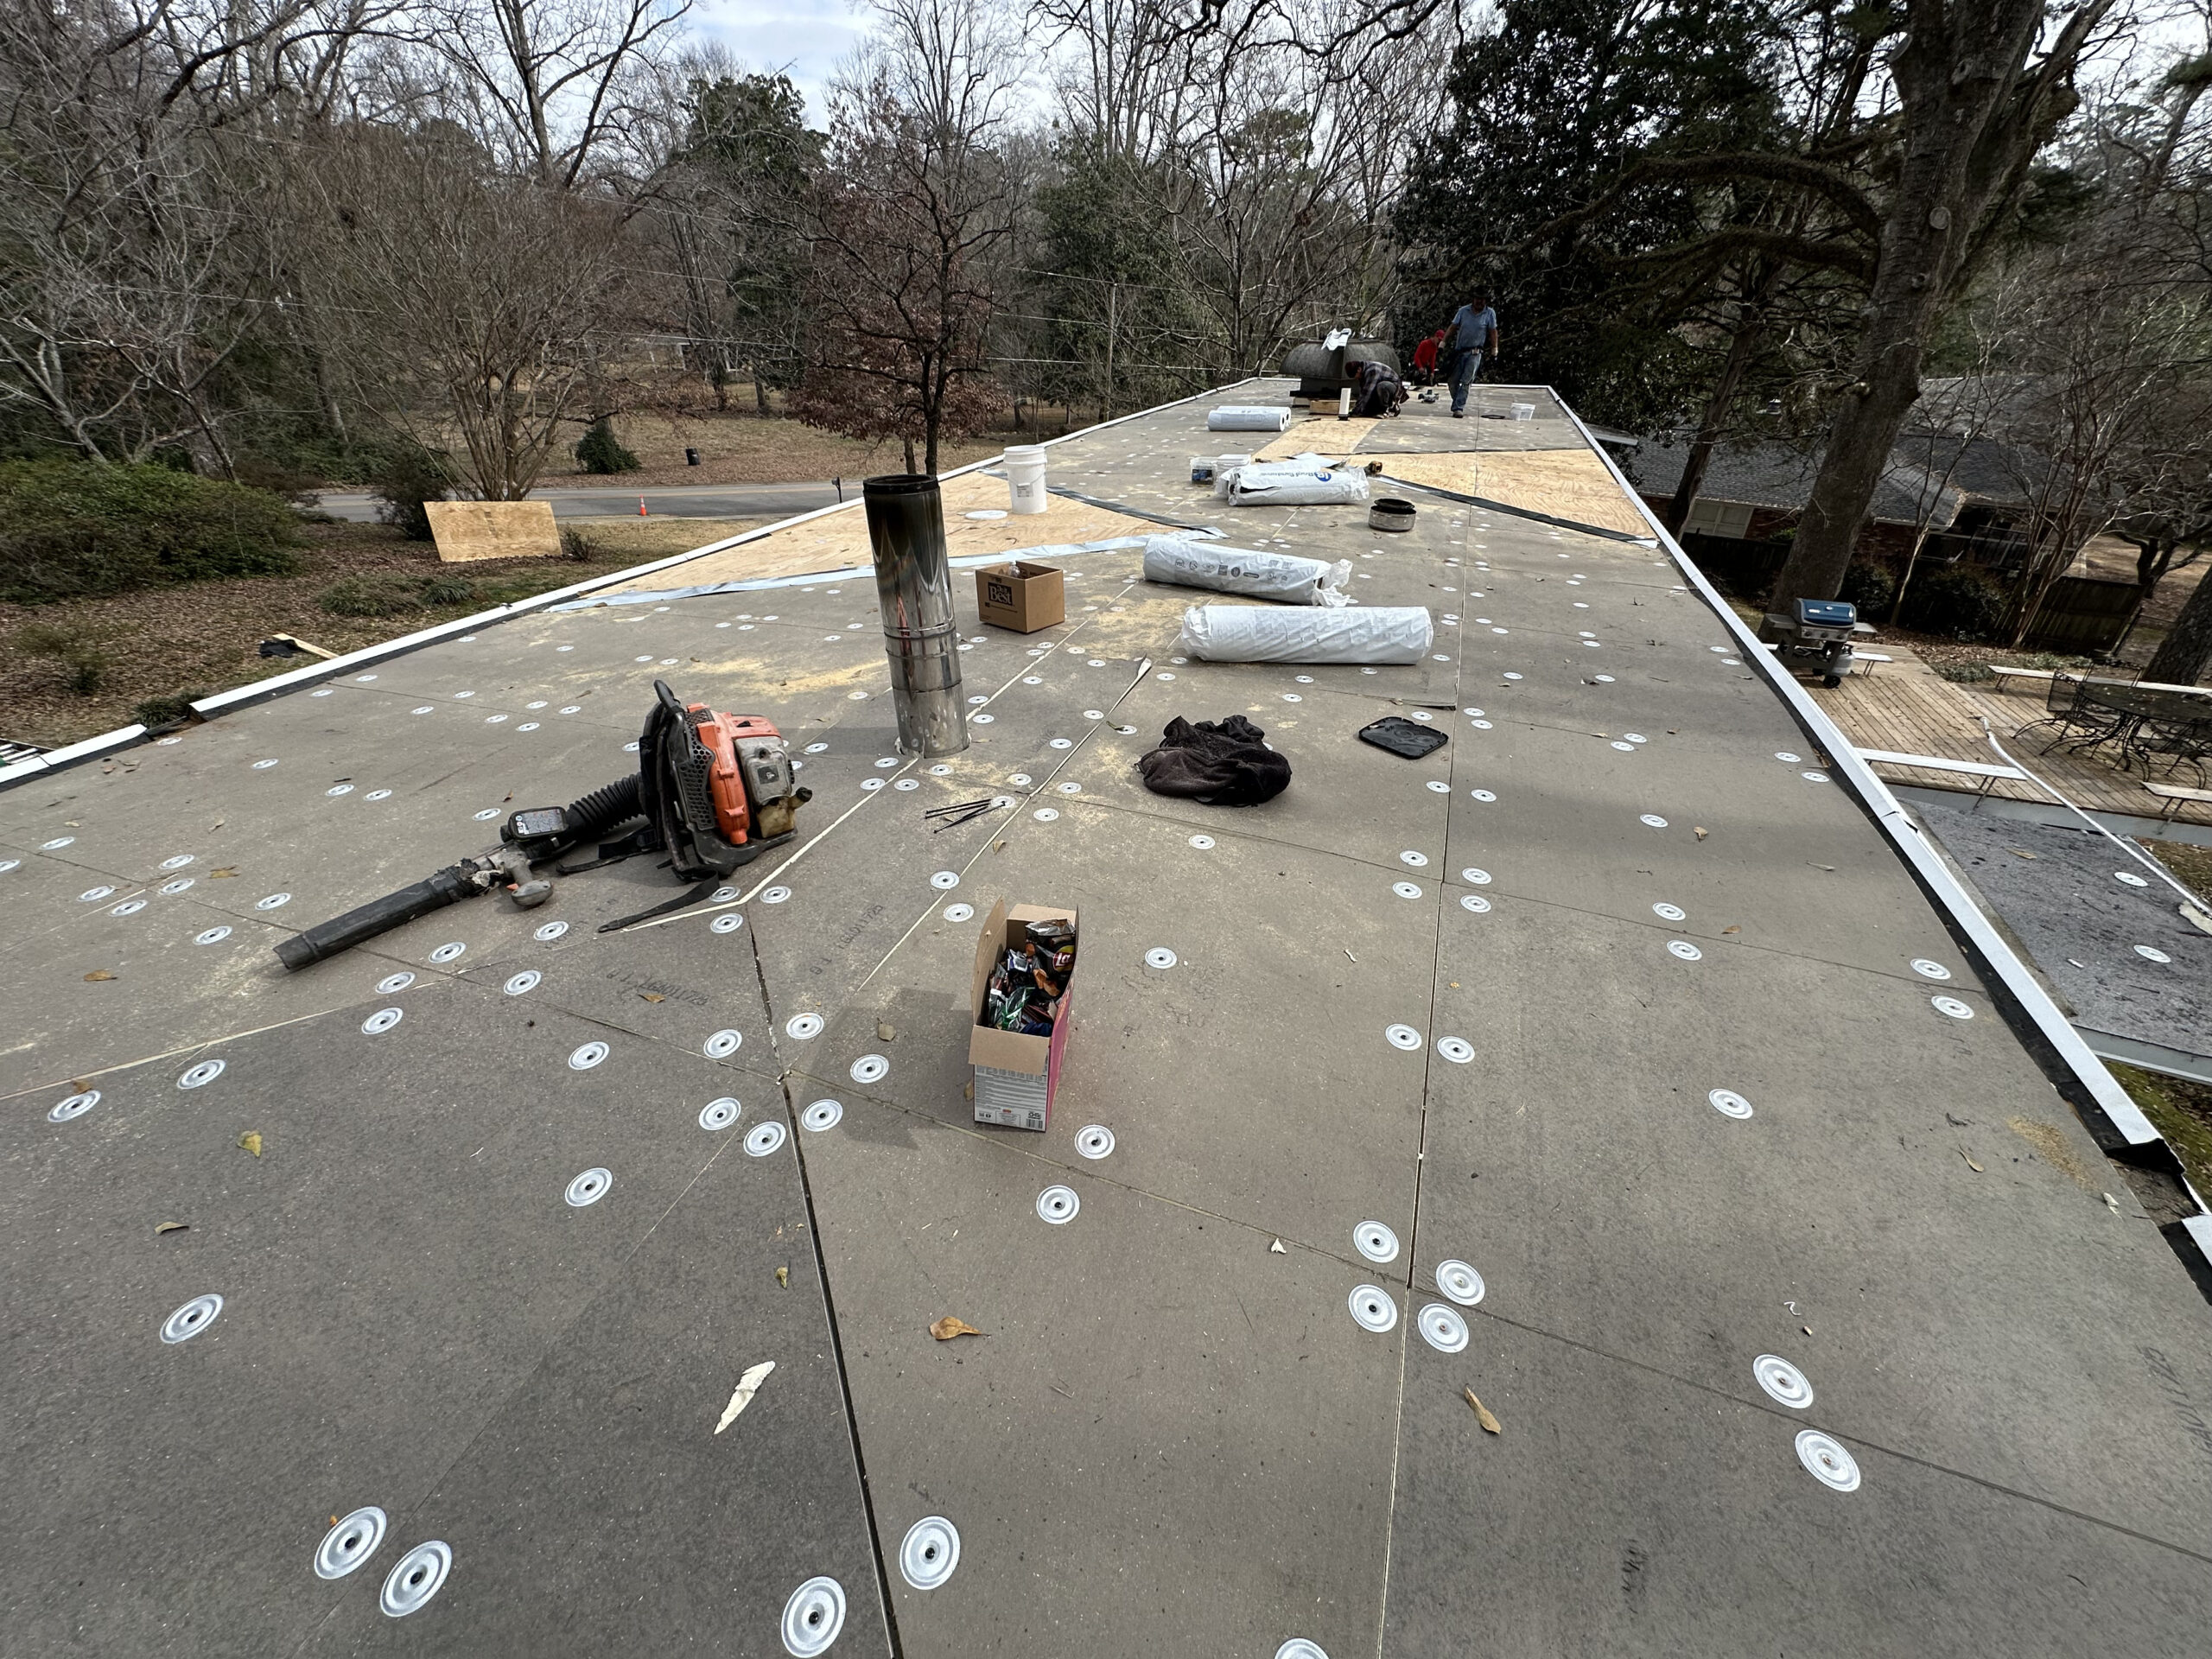
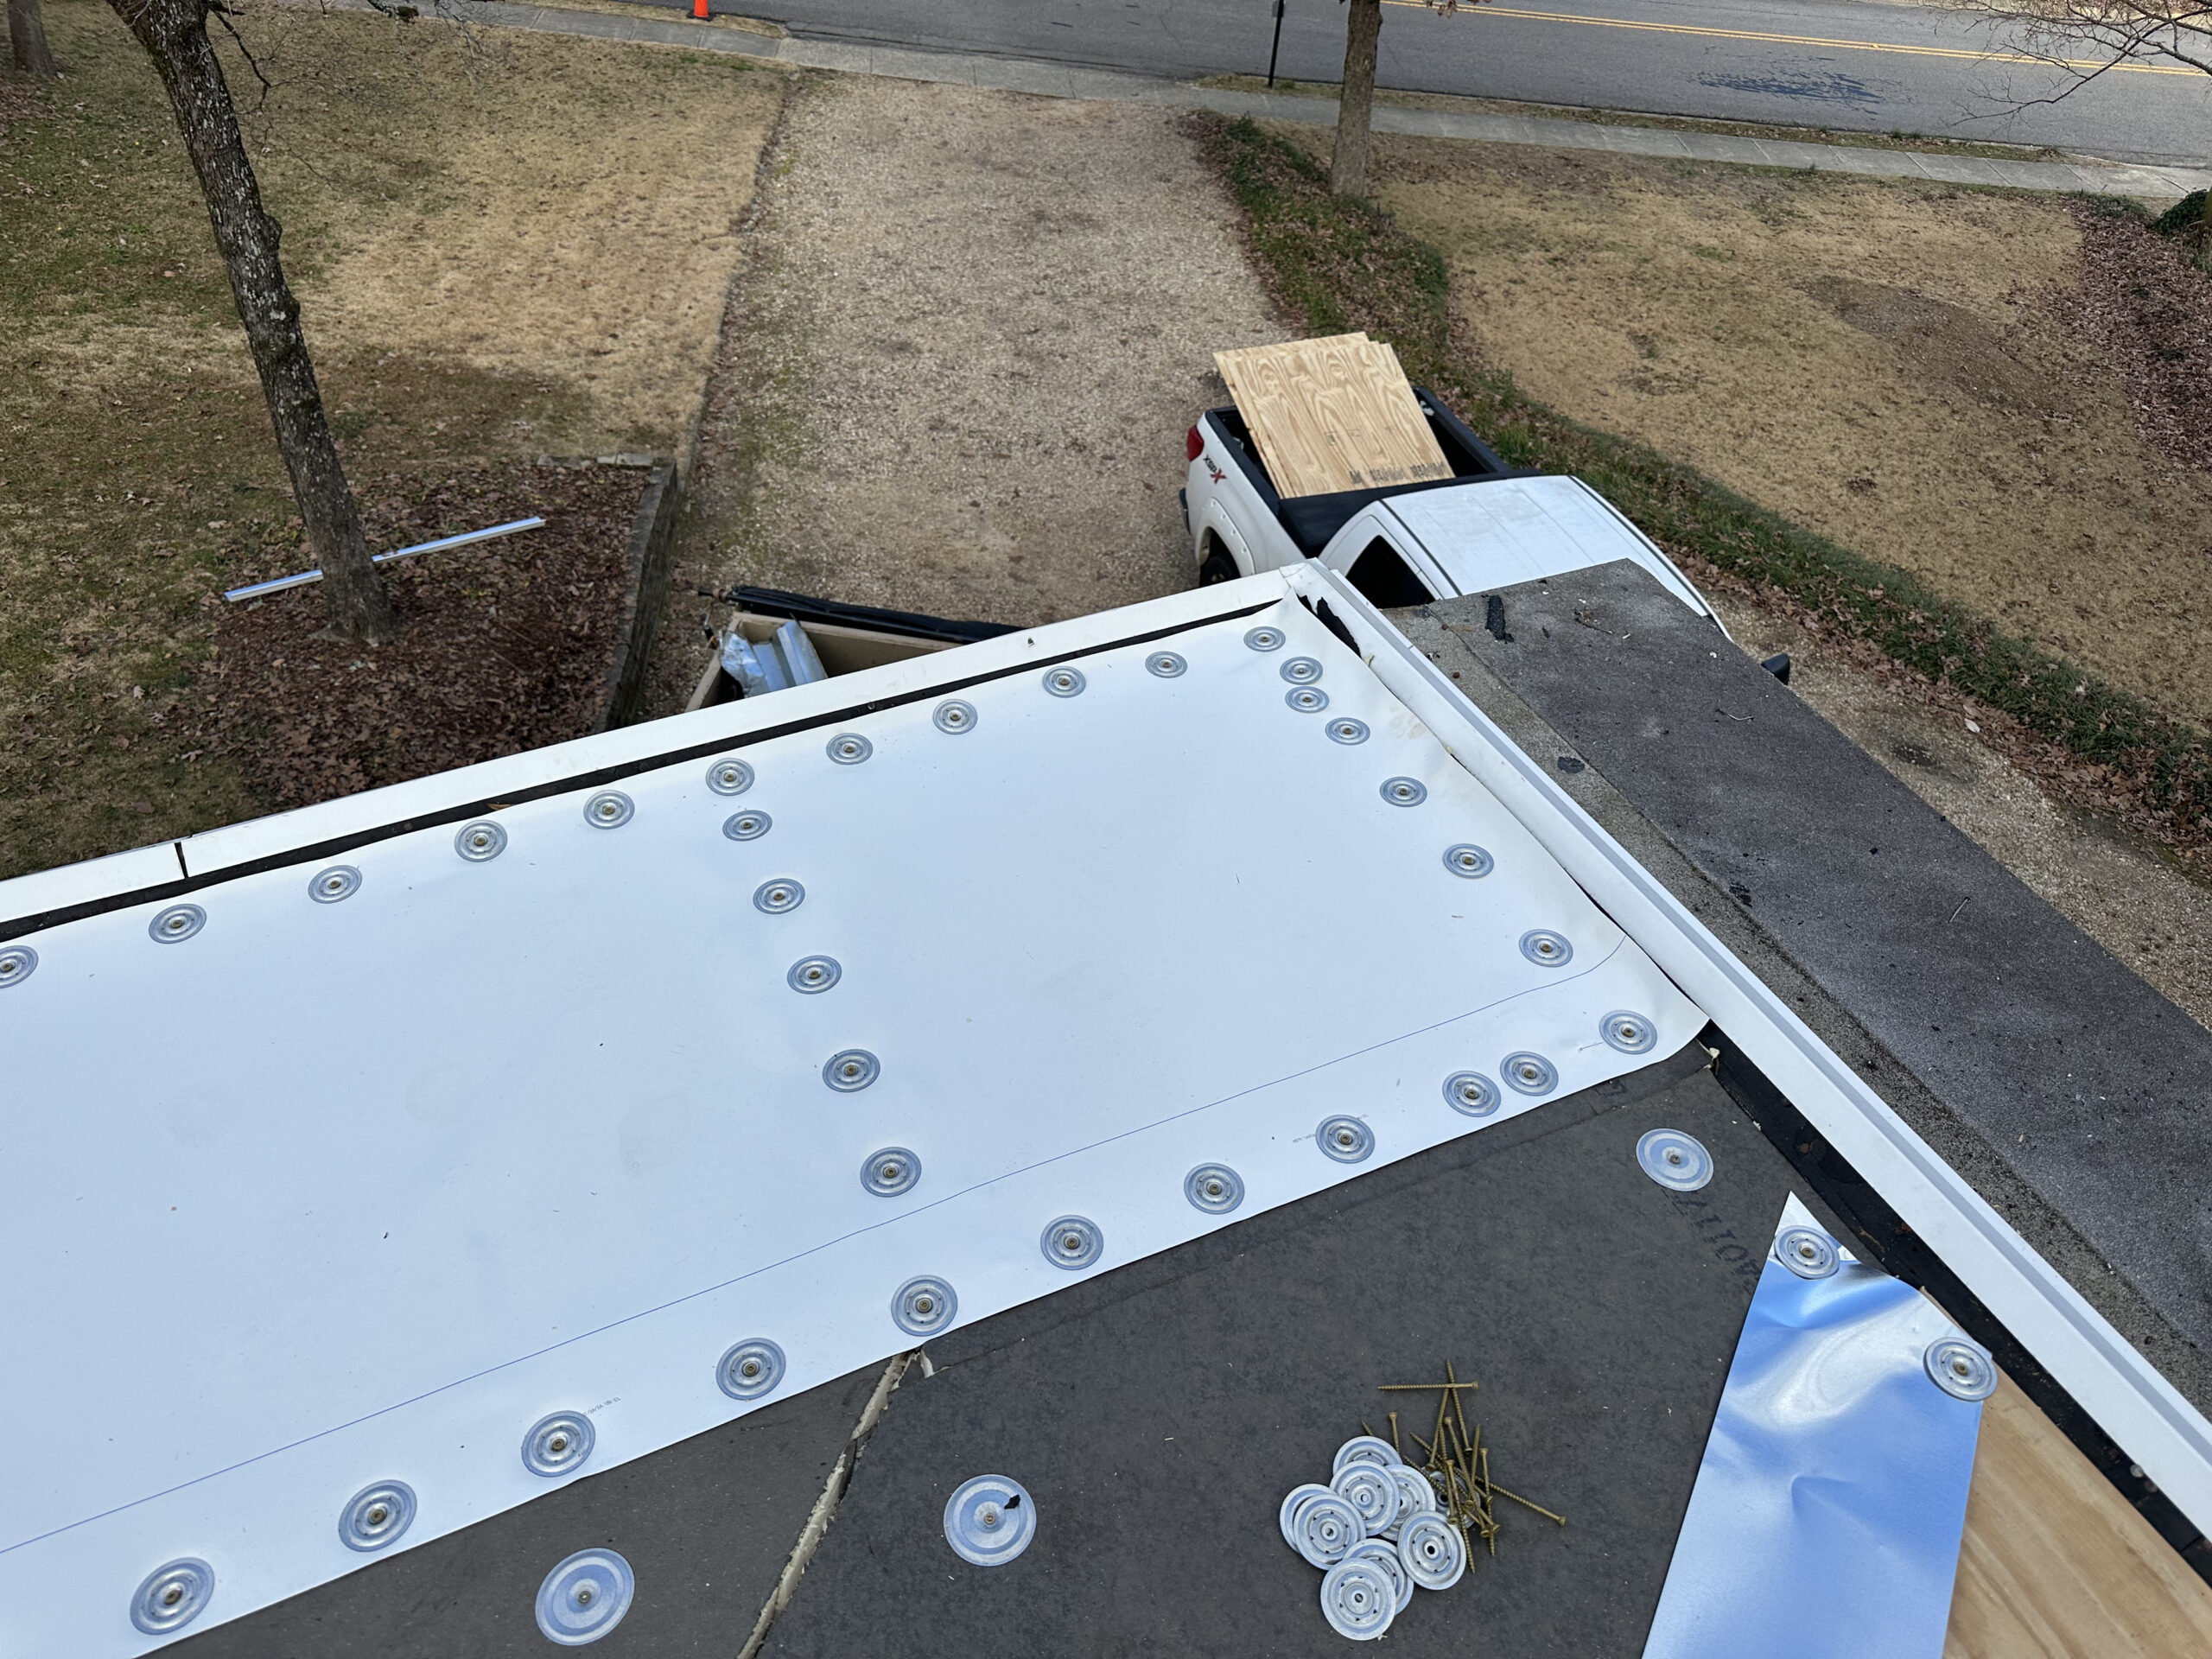
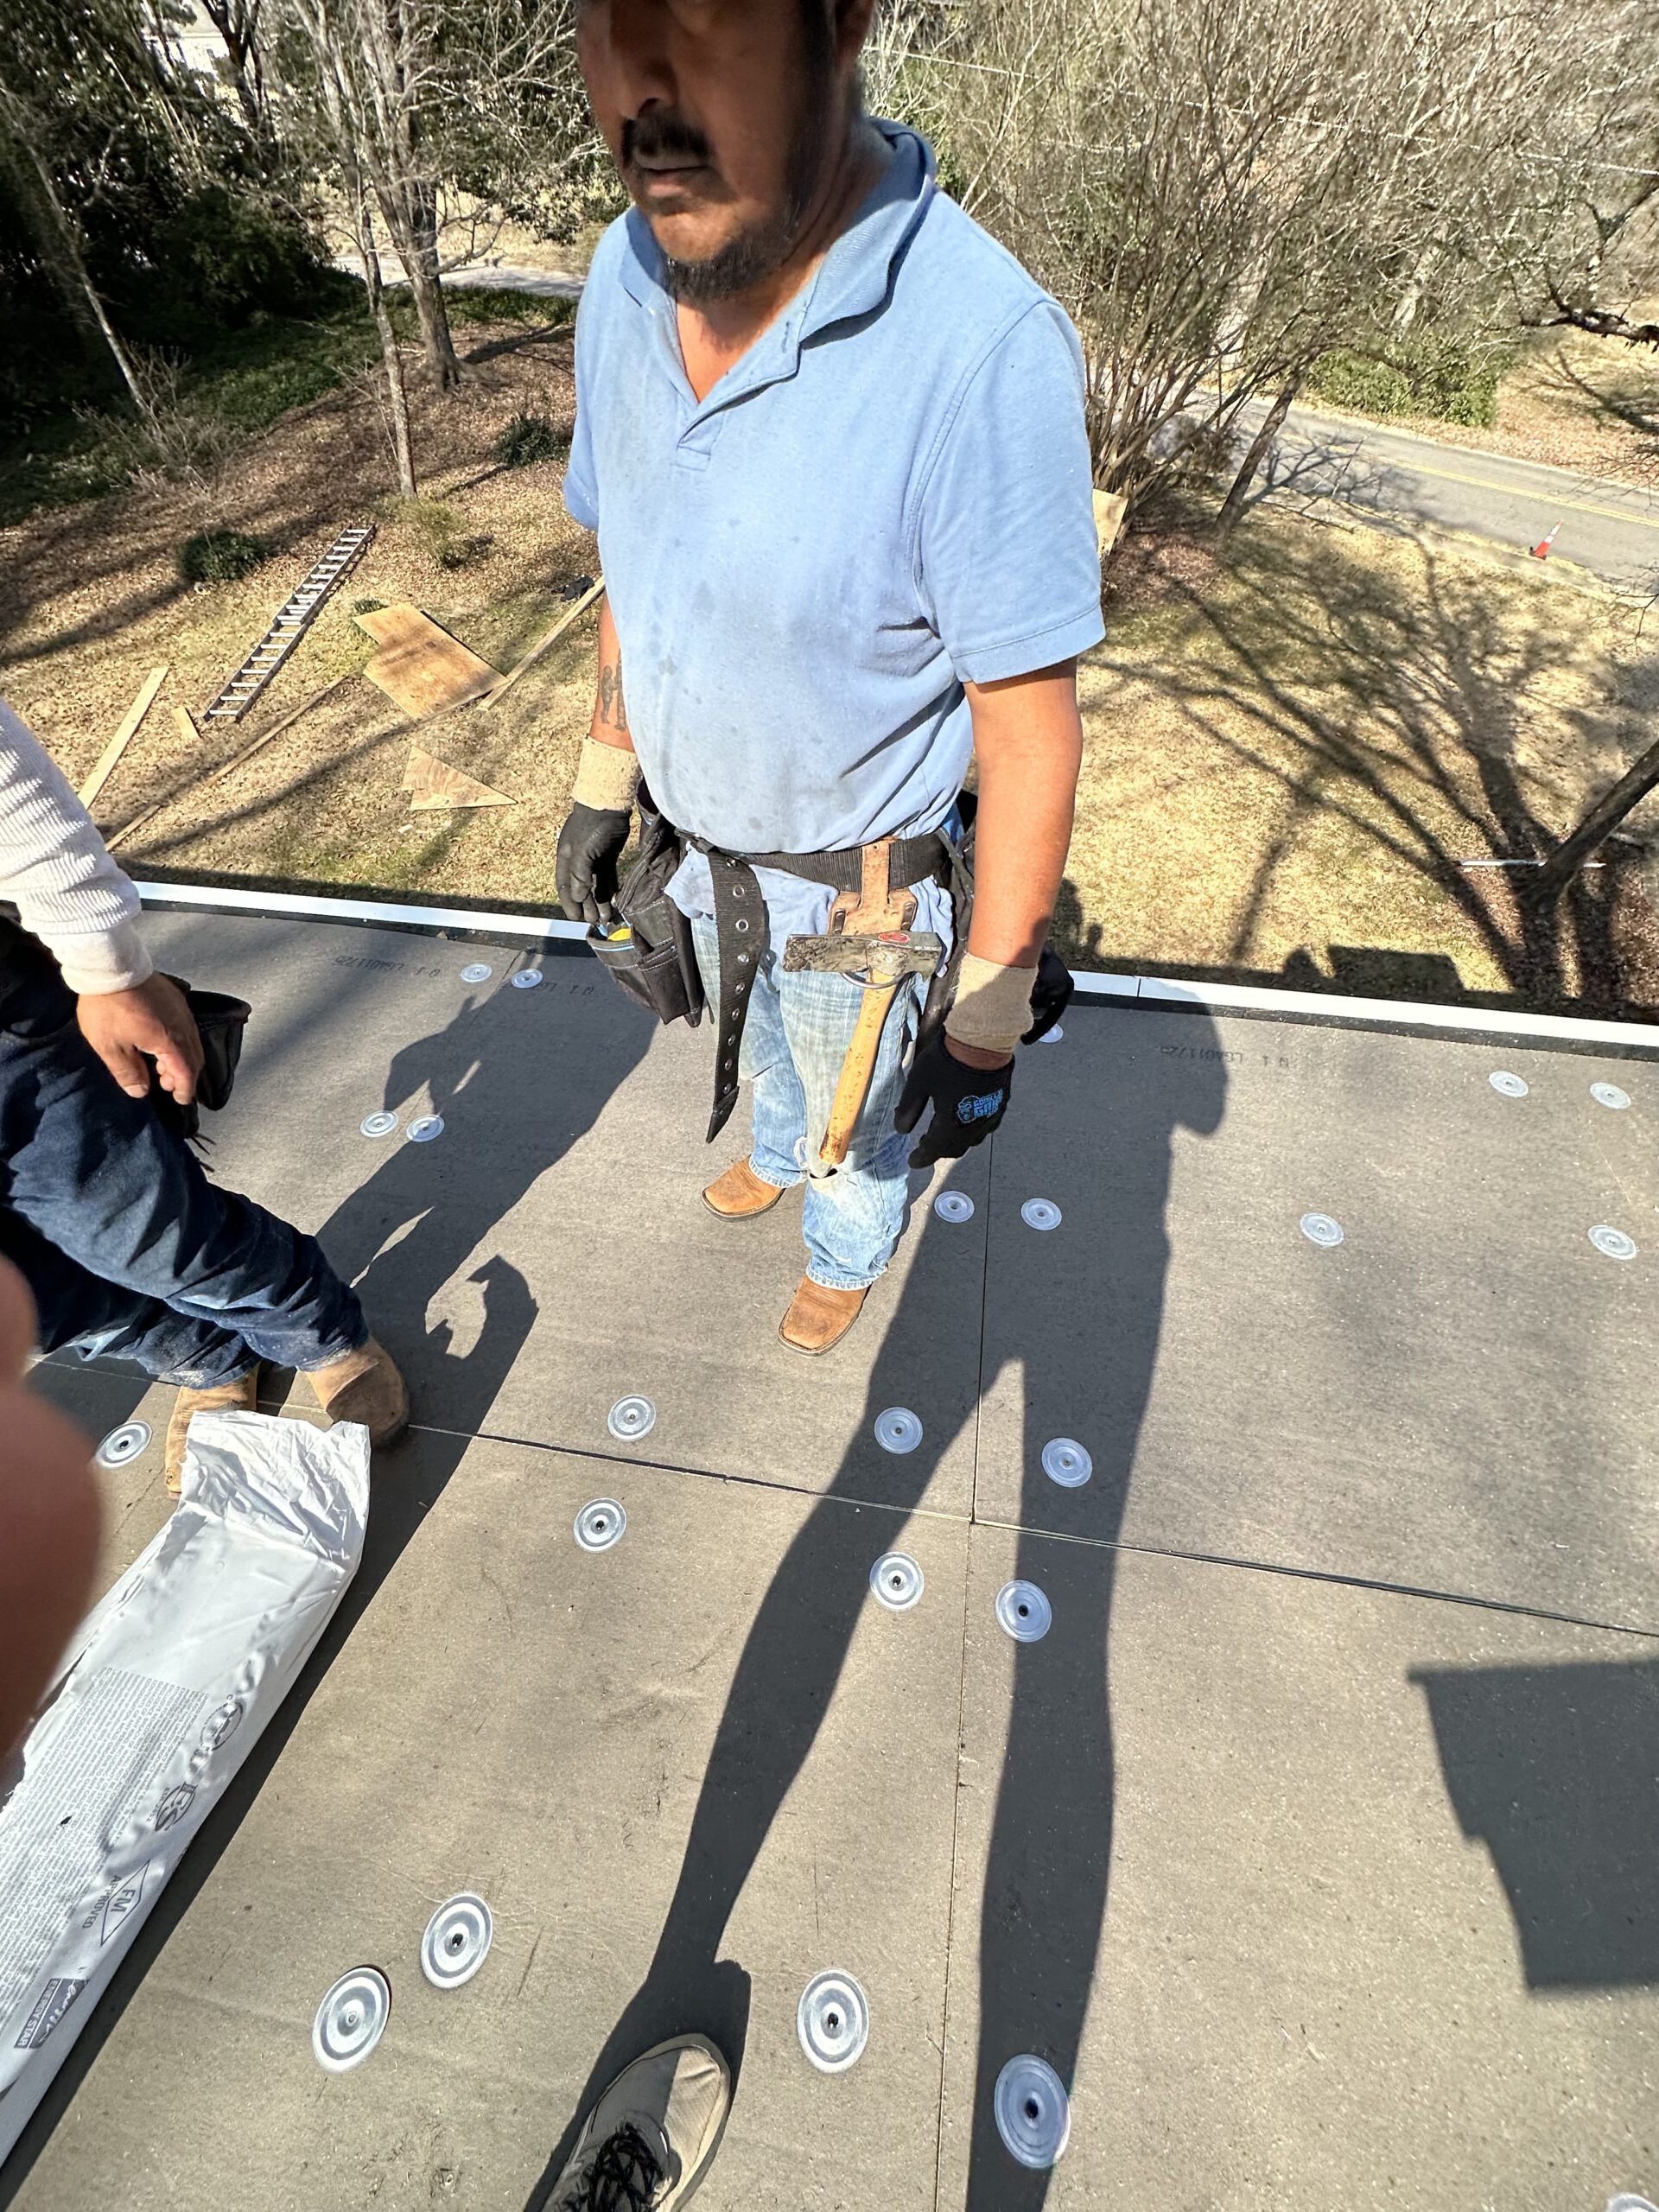
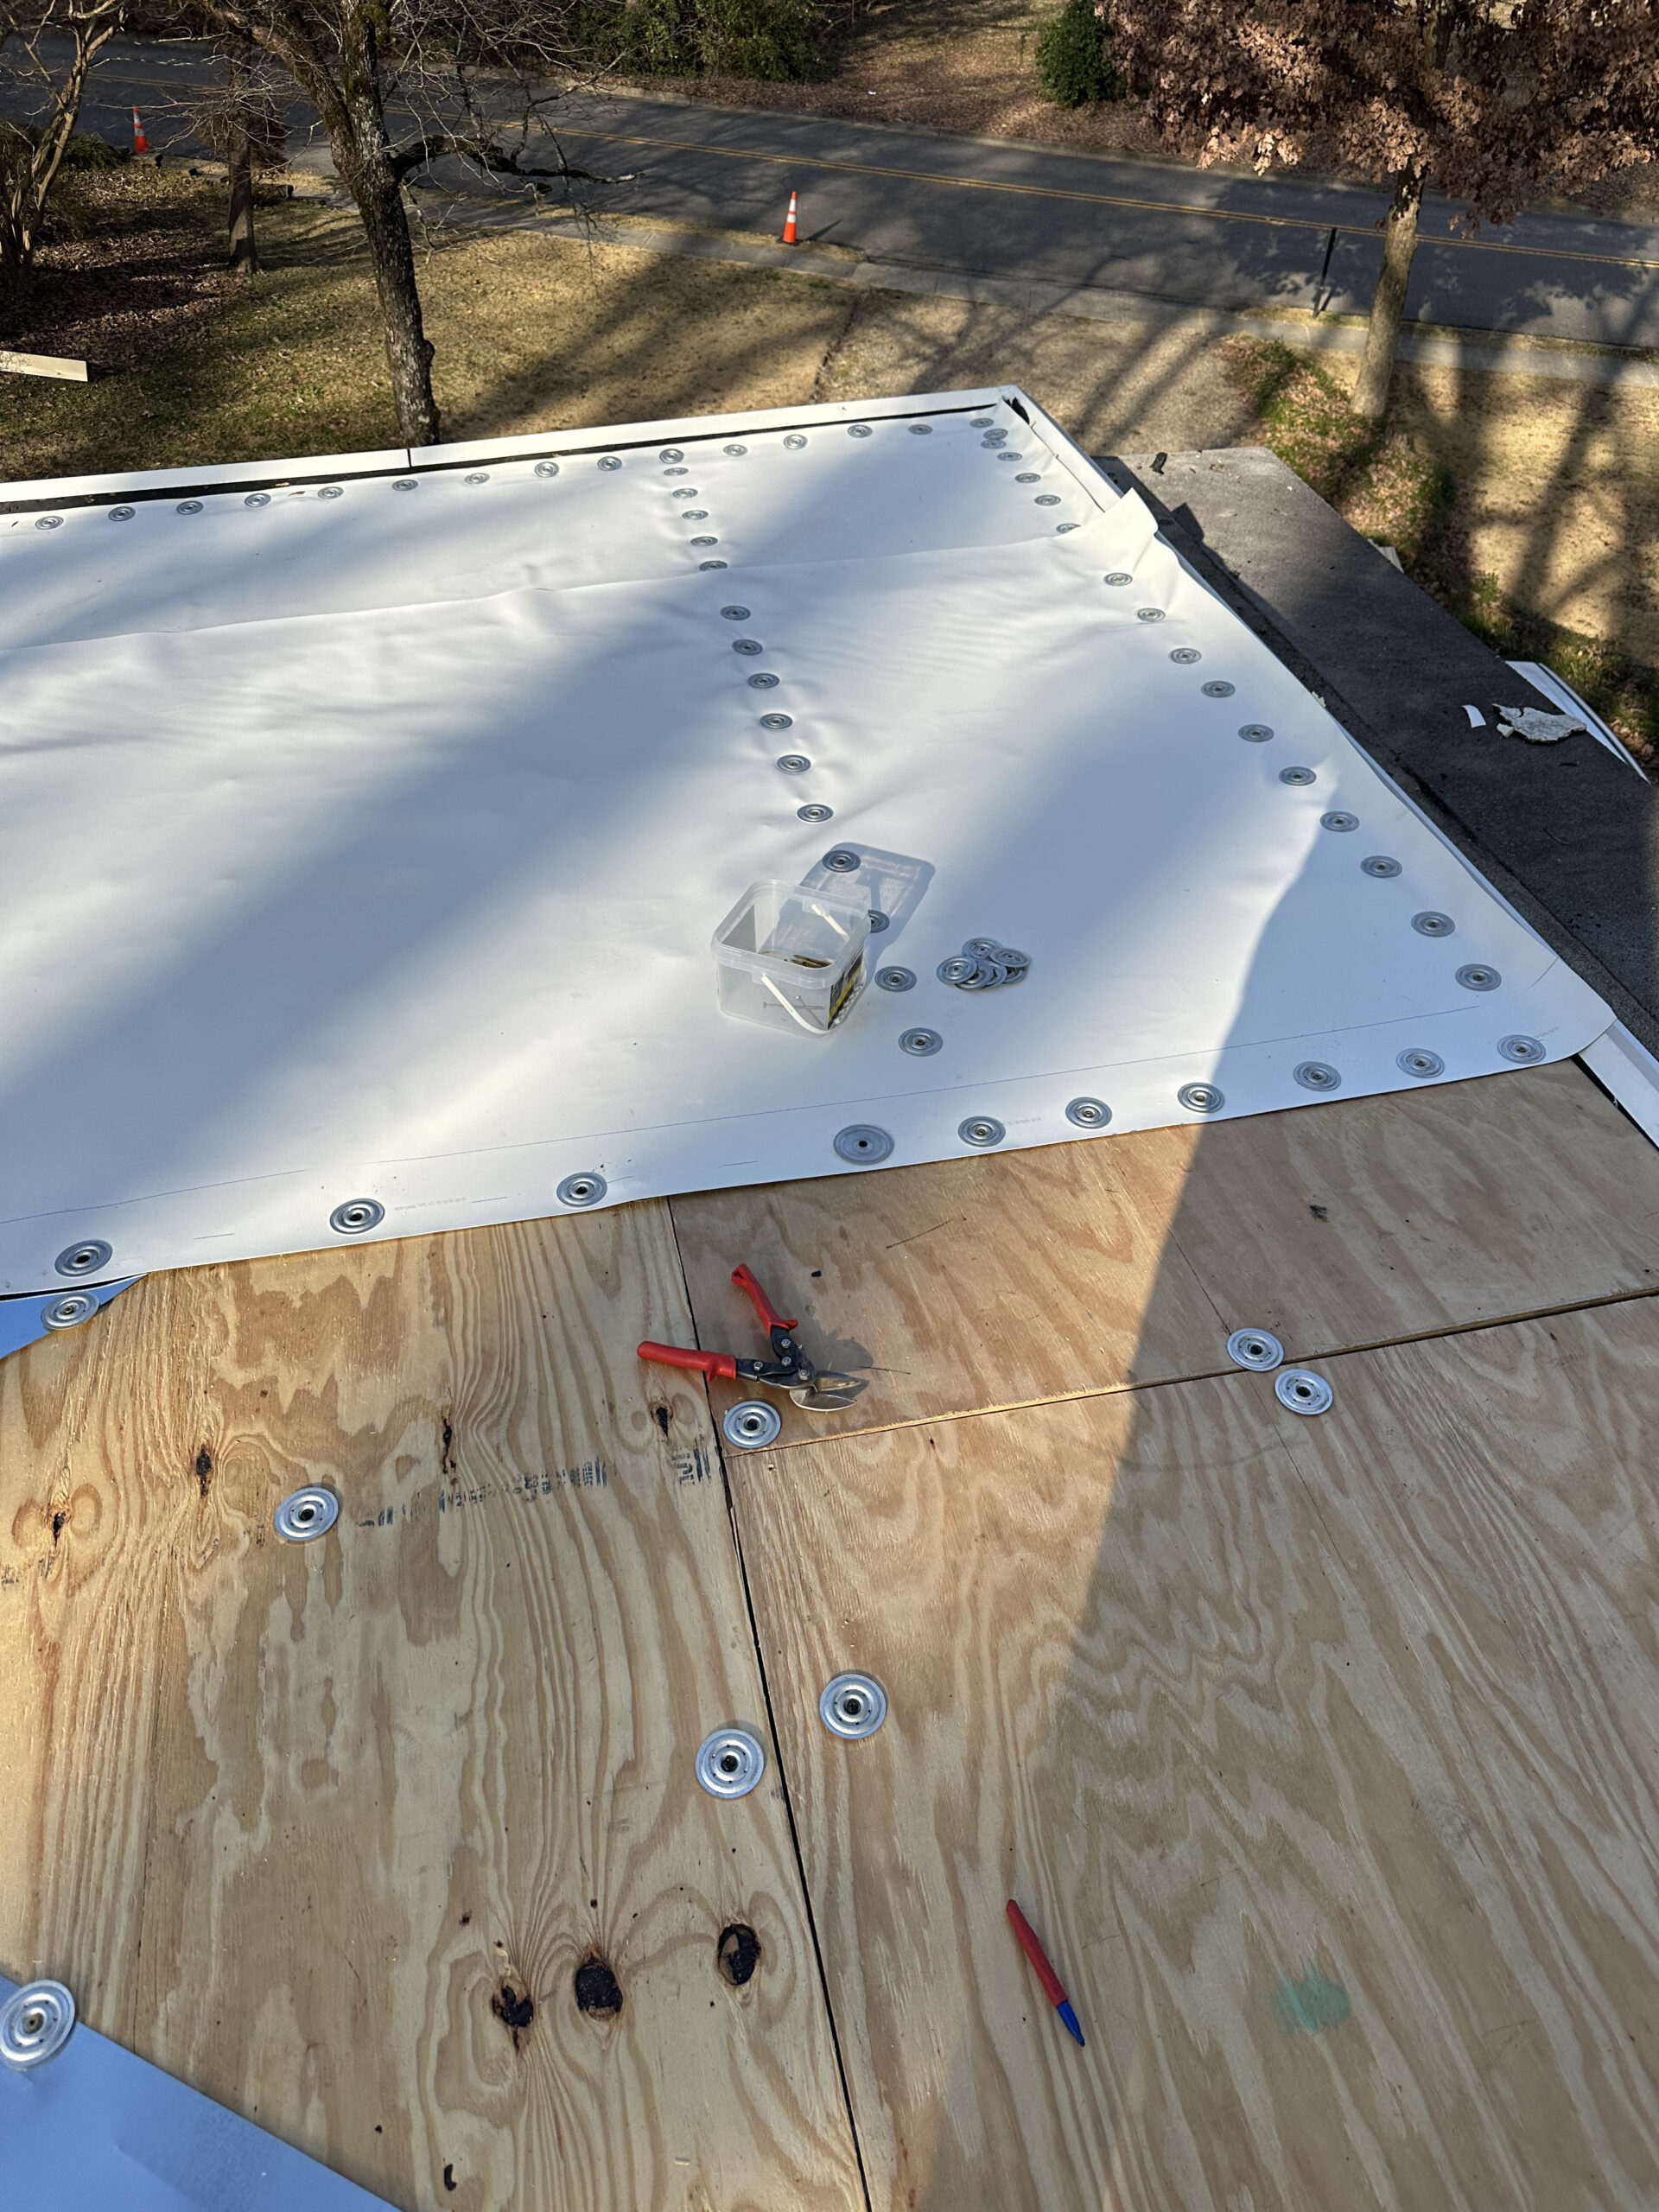
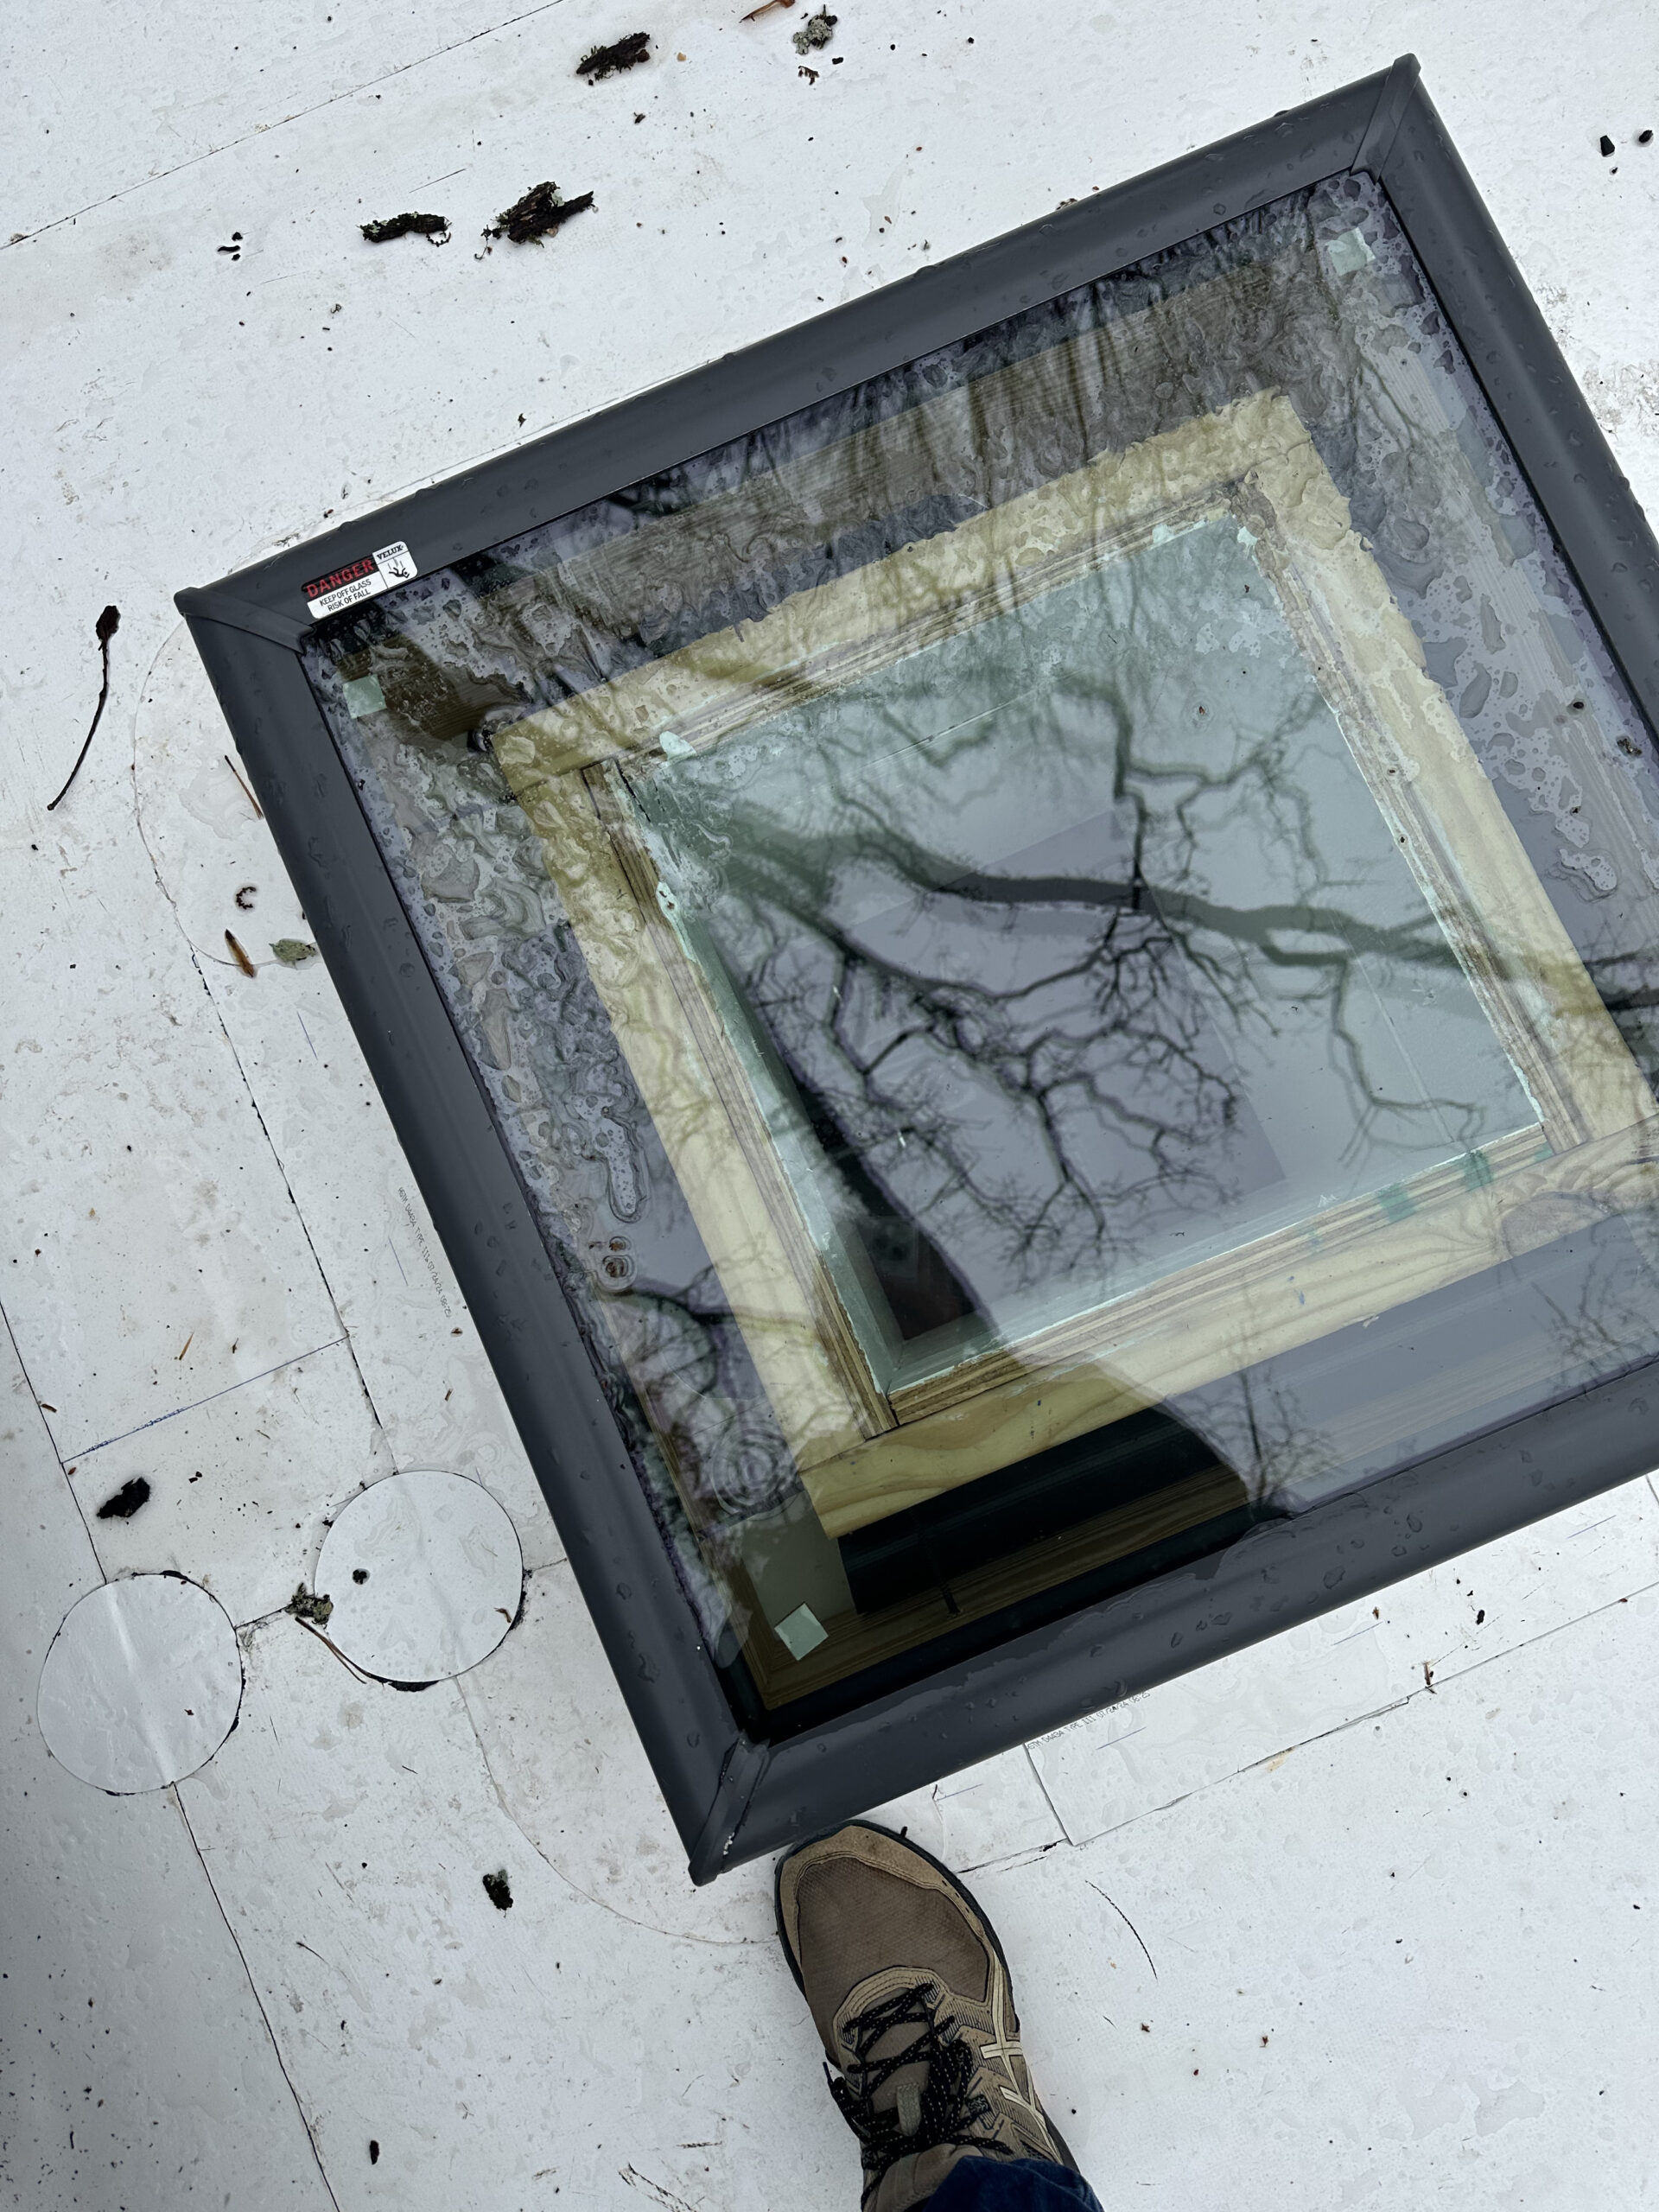
The owners requested an NDL warranty (added $400 for this residential project), so we made sure to follow or exceed IB’s installation guidelines, including placing T-patches on all intersections of weld seams, and placing mechanical fasteners at 6″ centers on the perimeter and 12″ centers in the field.
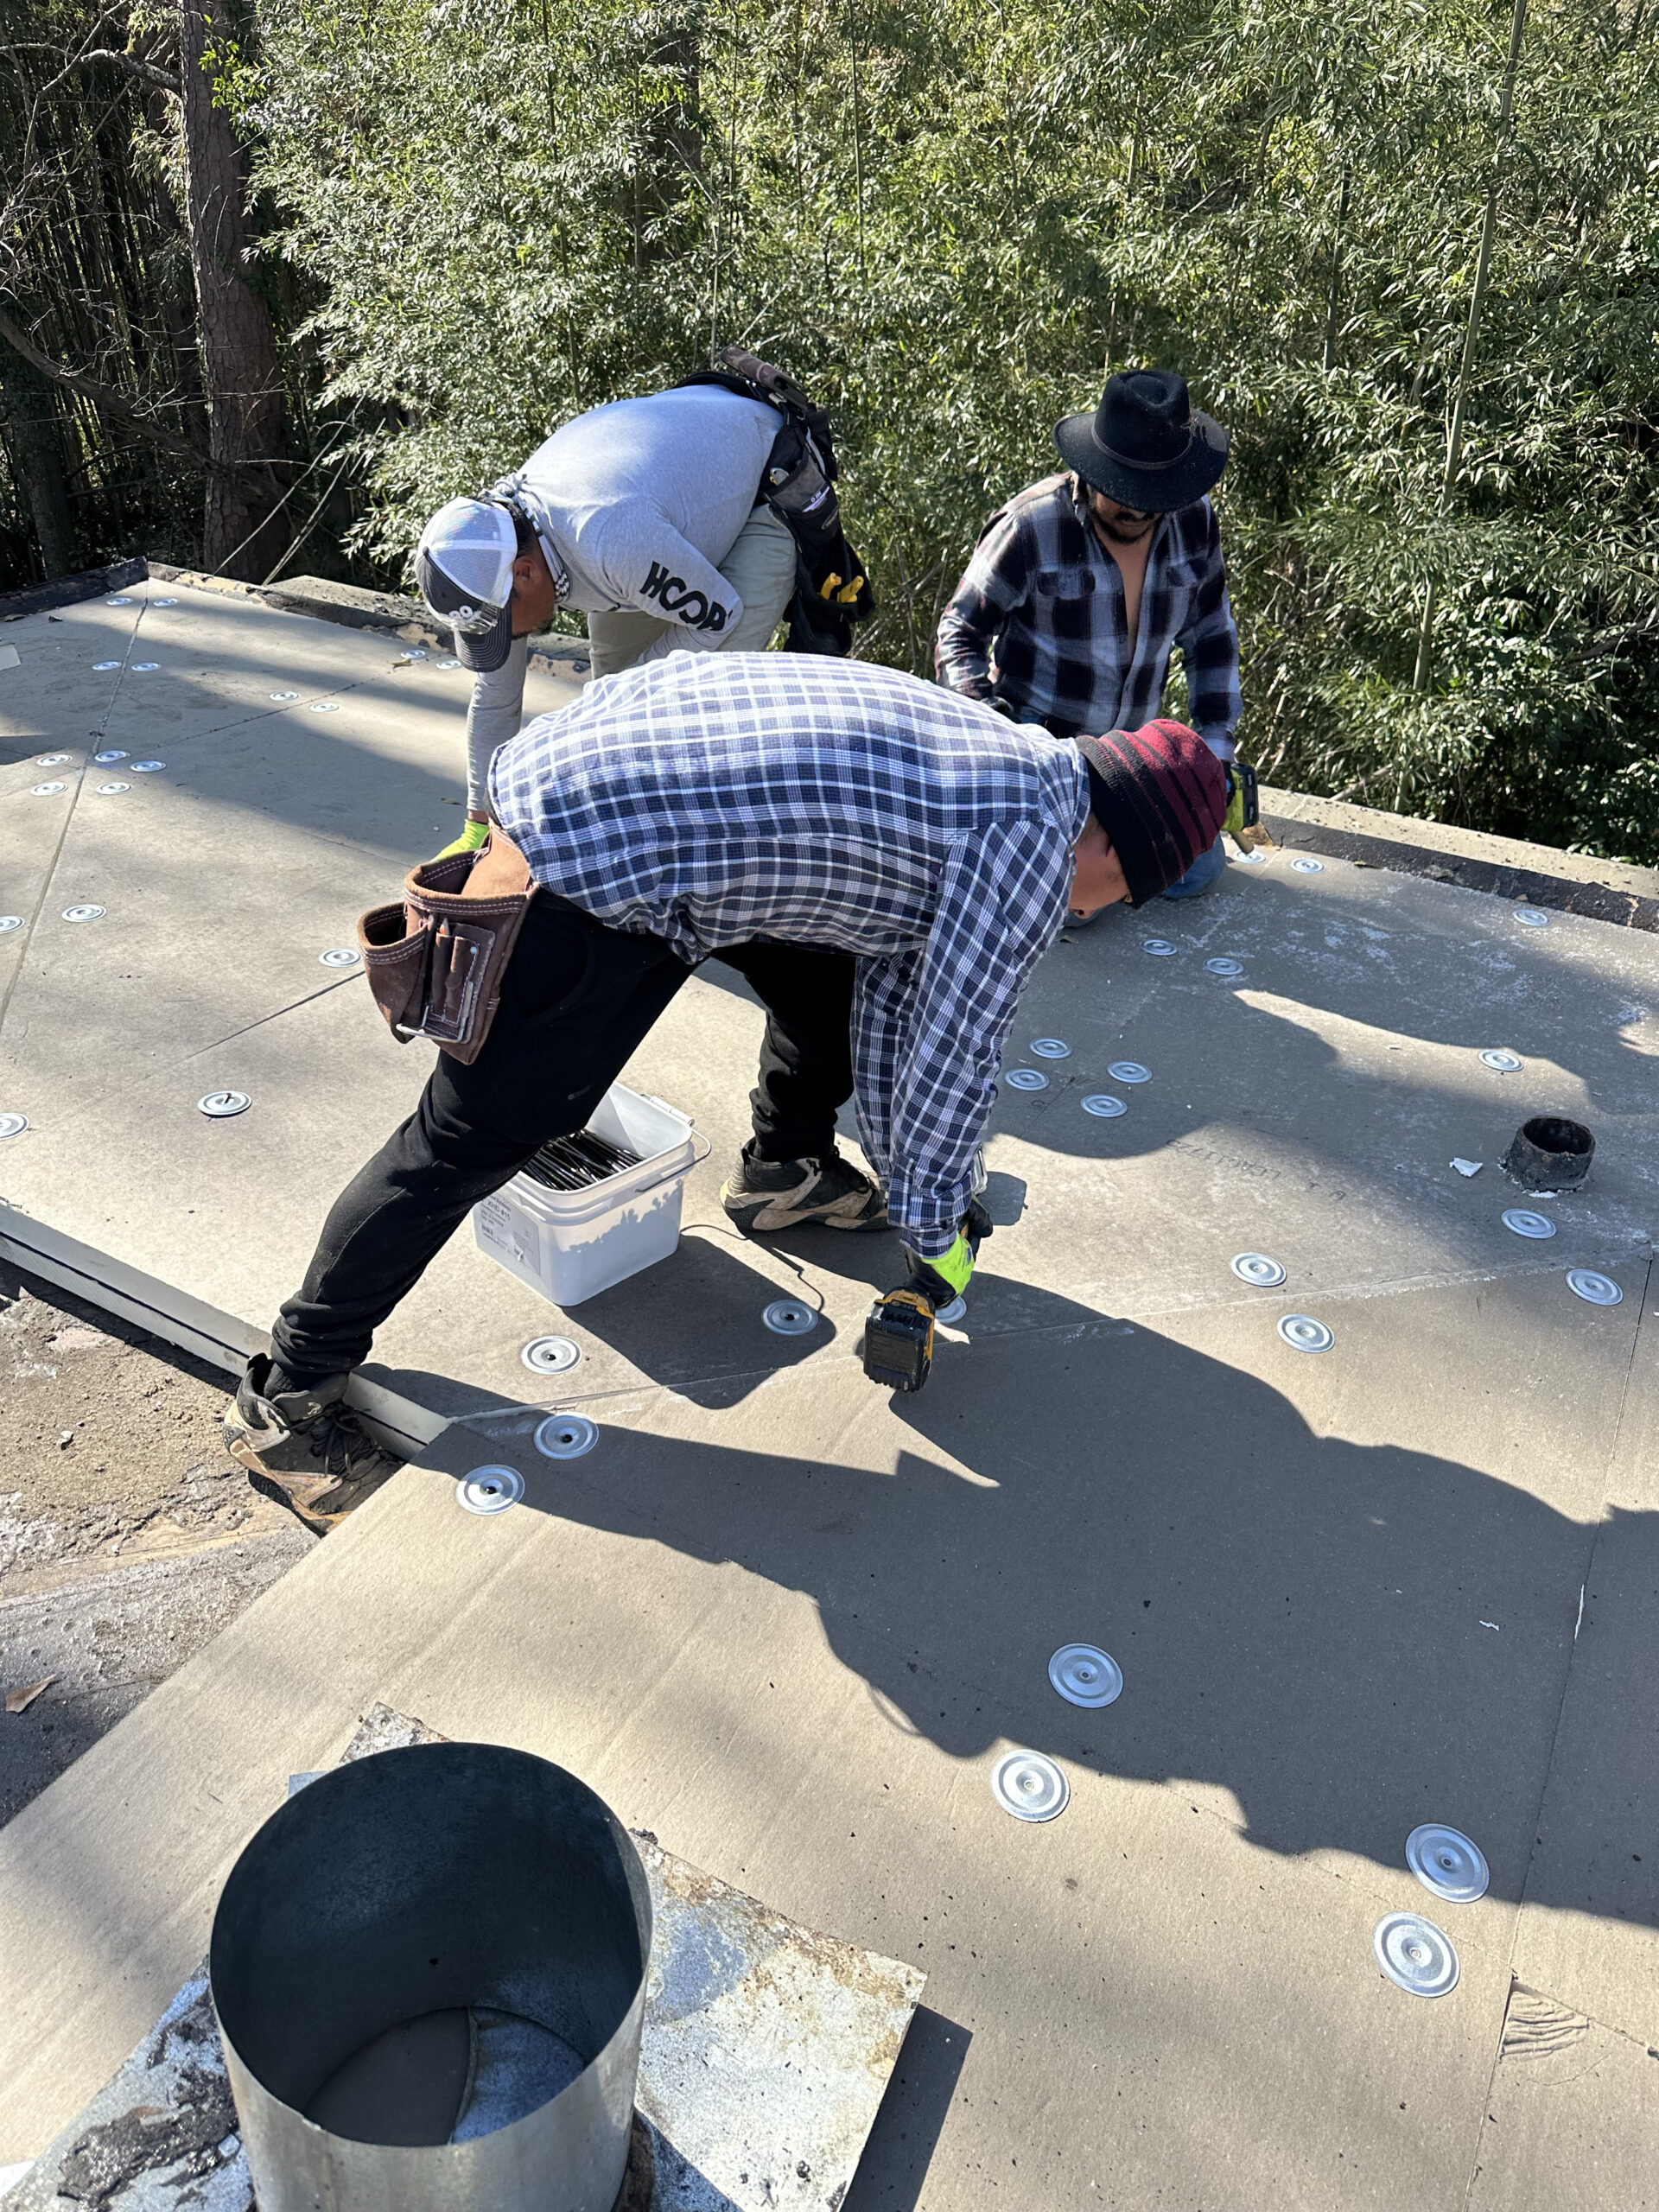
All in all, we’re quite pleased with how it turned out! We spent a week of heavy labor on it, and another couple weeks on the tedious details such as the overhang roofs. The house was a joy to work on, getting to see all the various architectural touches that were made in the design.
The owners requested an NDL warranty (added $400 for this residential project), so we made sure to follow or exceed IB’s installation guidelines, including placing T-patches on all intersections of weld seams, and placing mechanical fasteners at 6″ centers on the perimeter and 12″ centers in the field.