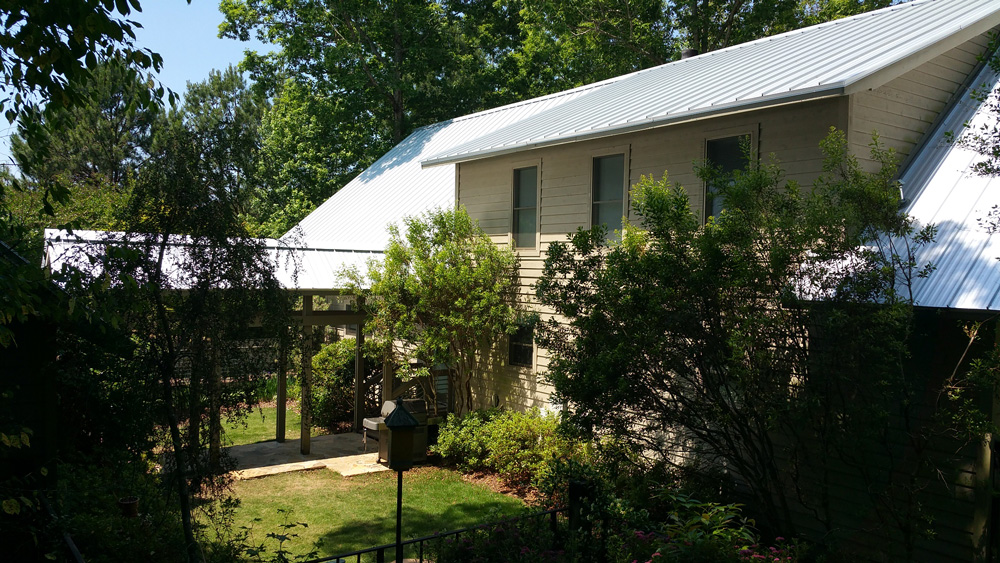
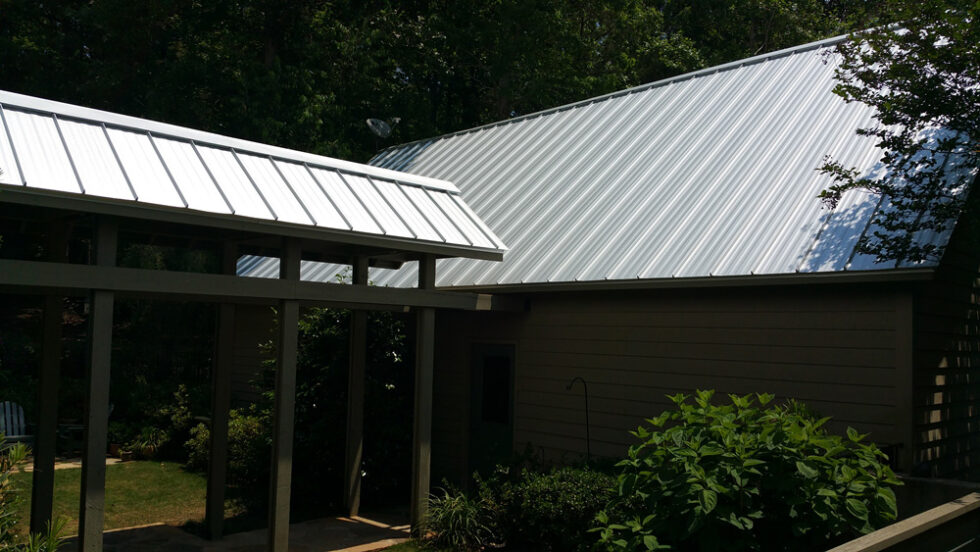
Installing a Galvalume Standing Seam Metal Roof
We installed a shiny galvalume metal roof for this customer. We’ll check out some of the details below.
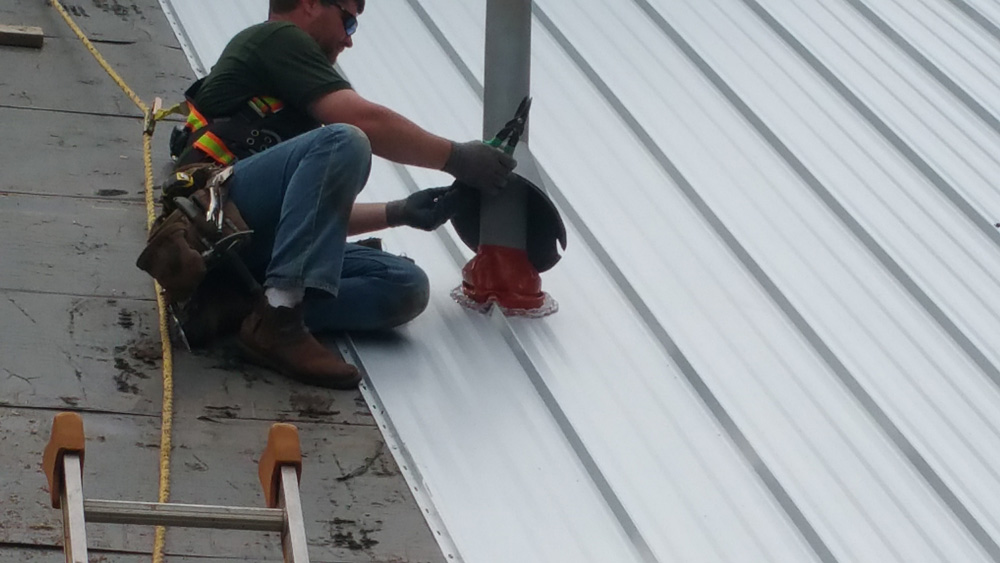
For this type B gas vent, we first installed a heat-resistant orange EPDM boot (with compression mastic fit using screws at 1″ on center around the boot perimeter), then slid a decorative metal shroud over for better aesthetics. You can also see how standing seam panels have a perforated edge for screws that gets covered and hidden by the next panel. Flathead screws are used, and for long panels, it is good to place each screw in the center of its slot to allow a little expansion/contraction of the panel. We also used heat-resistant ice and water shield visible under the panels. This isn’t required for metal at this slope, but was a desired upgrade of the customer.
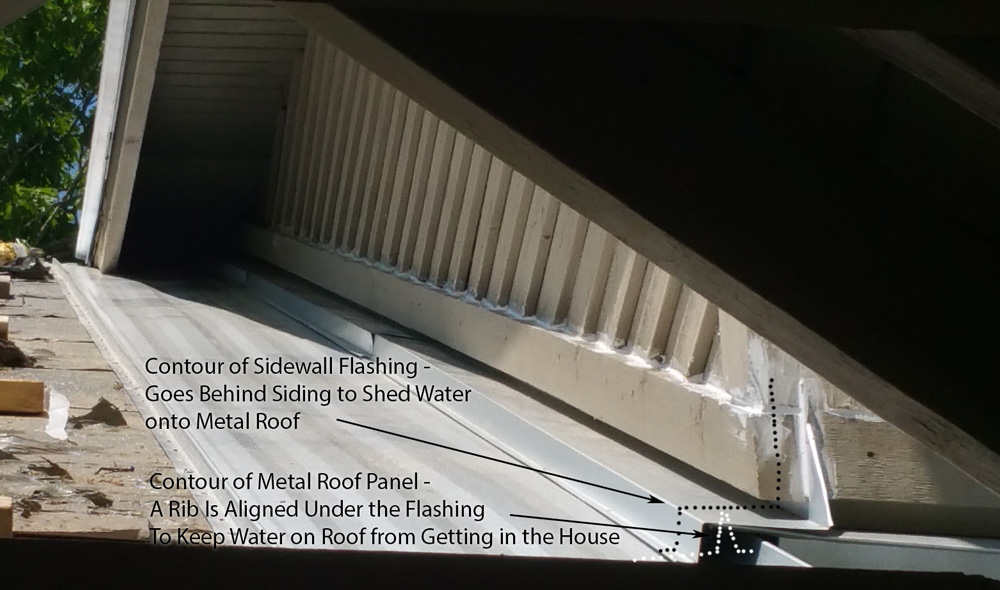
Sidewall flashings are another detail to make sure to do right. We ensure that there is a vertical rib of the panel (white dotted line profile in image), even if we must manually bend it up ourselves using a ‘Wuko bender.’ In the image below, you are at the base of the roof looking upwards (although your first impression might be the opposite!). The flashing (black dotted line profile in image) extends behind the siding, and comes downward over the ‘apron flashing’ at base termination (we bent it at a 45º angle for better aesthetics). All these details are critical to ensure there are no pinpoint spots vulnerable to water leaks. Just remember: water runs downhill!
For the ridge here, we used the z-flashing method (and mastic compression fit between it and the panels where screws went through). Since then, we’ve developed another method using an 8″ x ~1″ x 7″ ‘J-channel’ method that enables us to build the ridge prior to the panel installation using one ridge spanning over two J-channels, all riveted together, and riveted to the panels once they later get slid in. This is a much safer method in our opinion, as it enables installing the most dangerous detail while there is still a non-slick walking surface (prior to panels). A harness or other protection is still required for steep slopes, though.

You can also see that for the rakes (side edges of roof), we used two Wuko benders (one for 0º–90º, the other for 90º–180º, although the second phase can also be bent by hand if using gloves and caution) to bend the entire edge of the panel (yes, the full ~20′) around the drip edge. We also crafted a triangular diverter for the ends of under the ridges (probably not necessary).