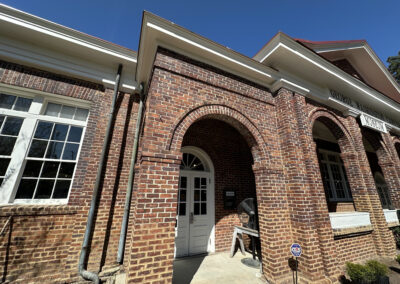
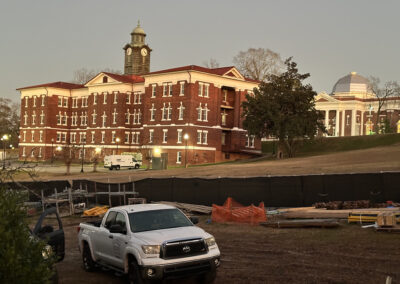
Installing Flat-Lock Copper on Carver Museum Porches
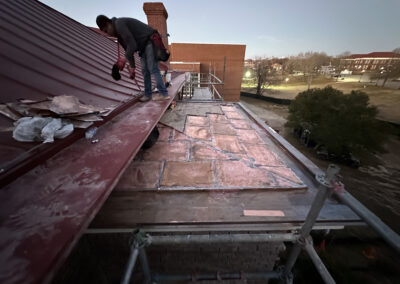
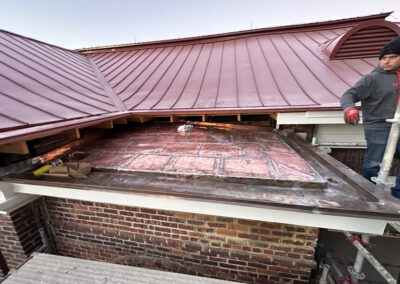
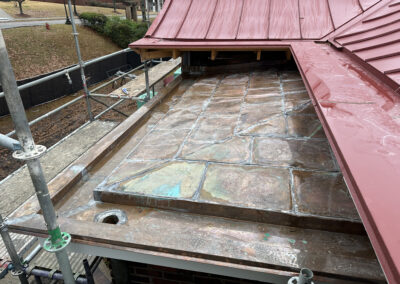
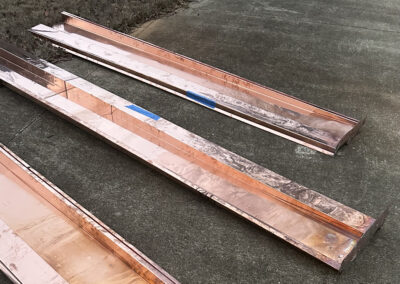
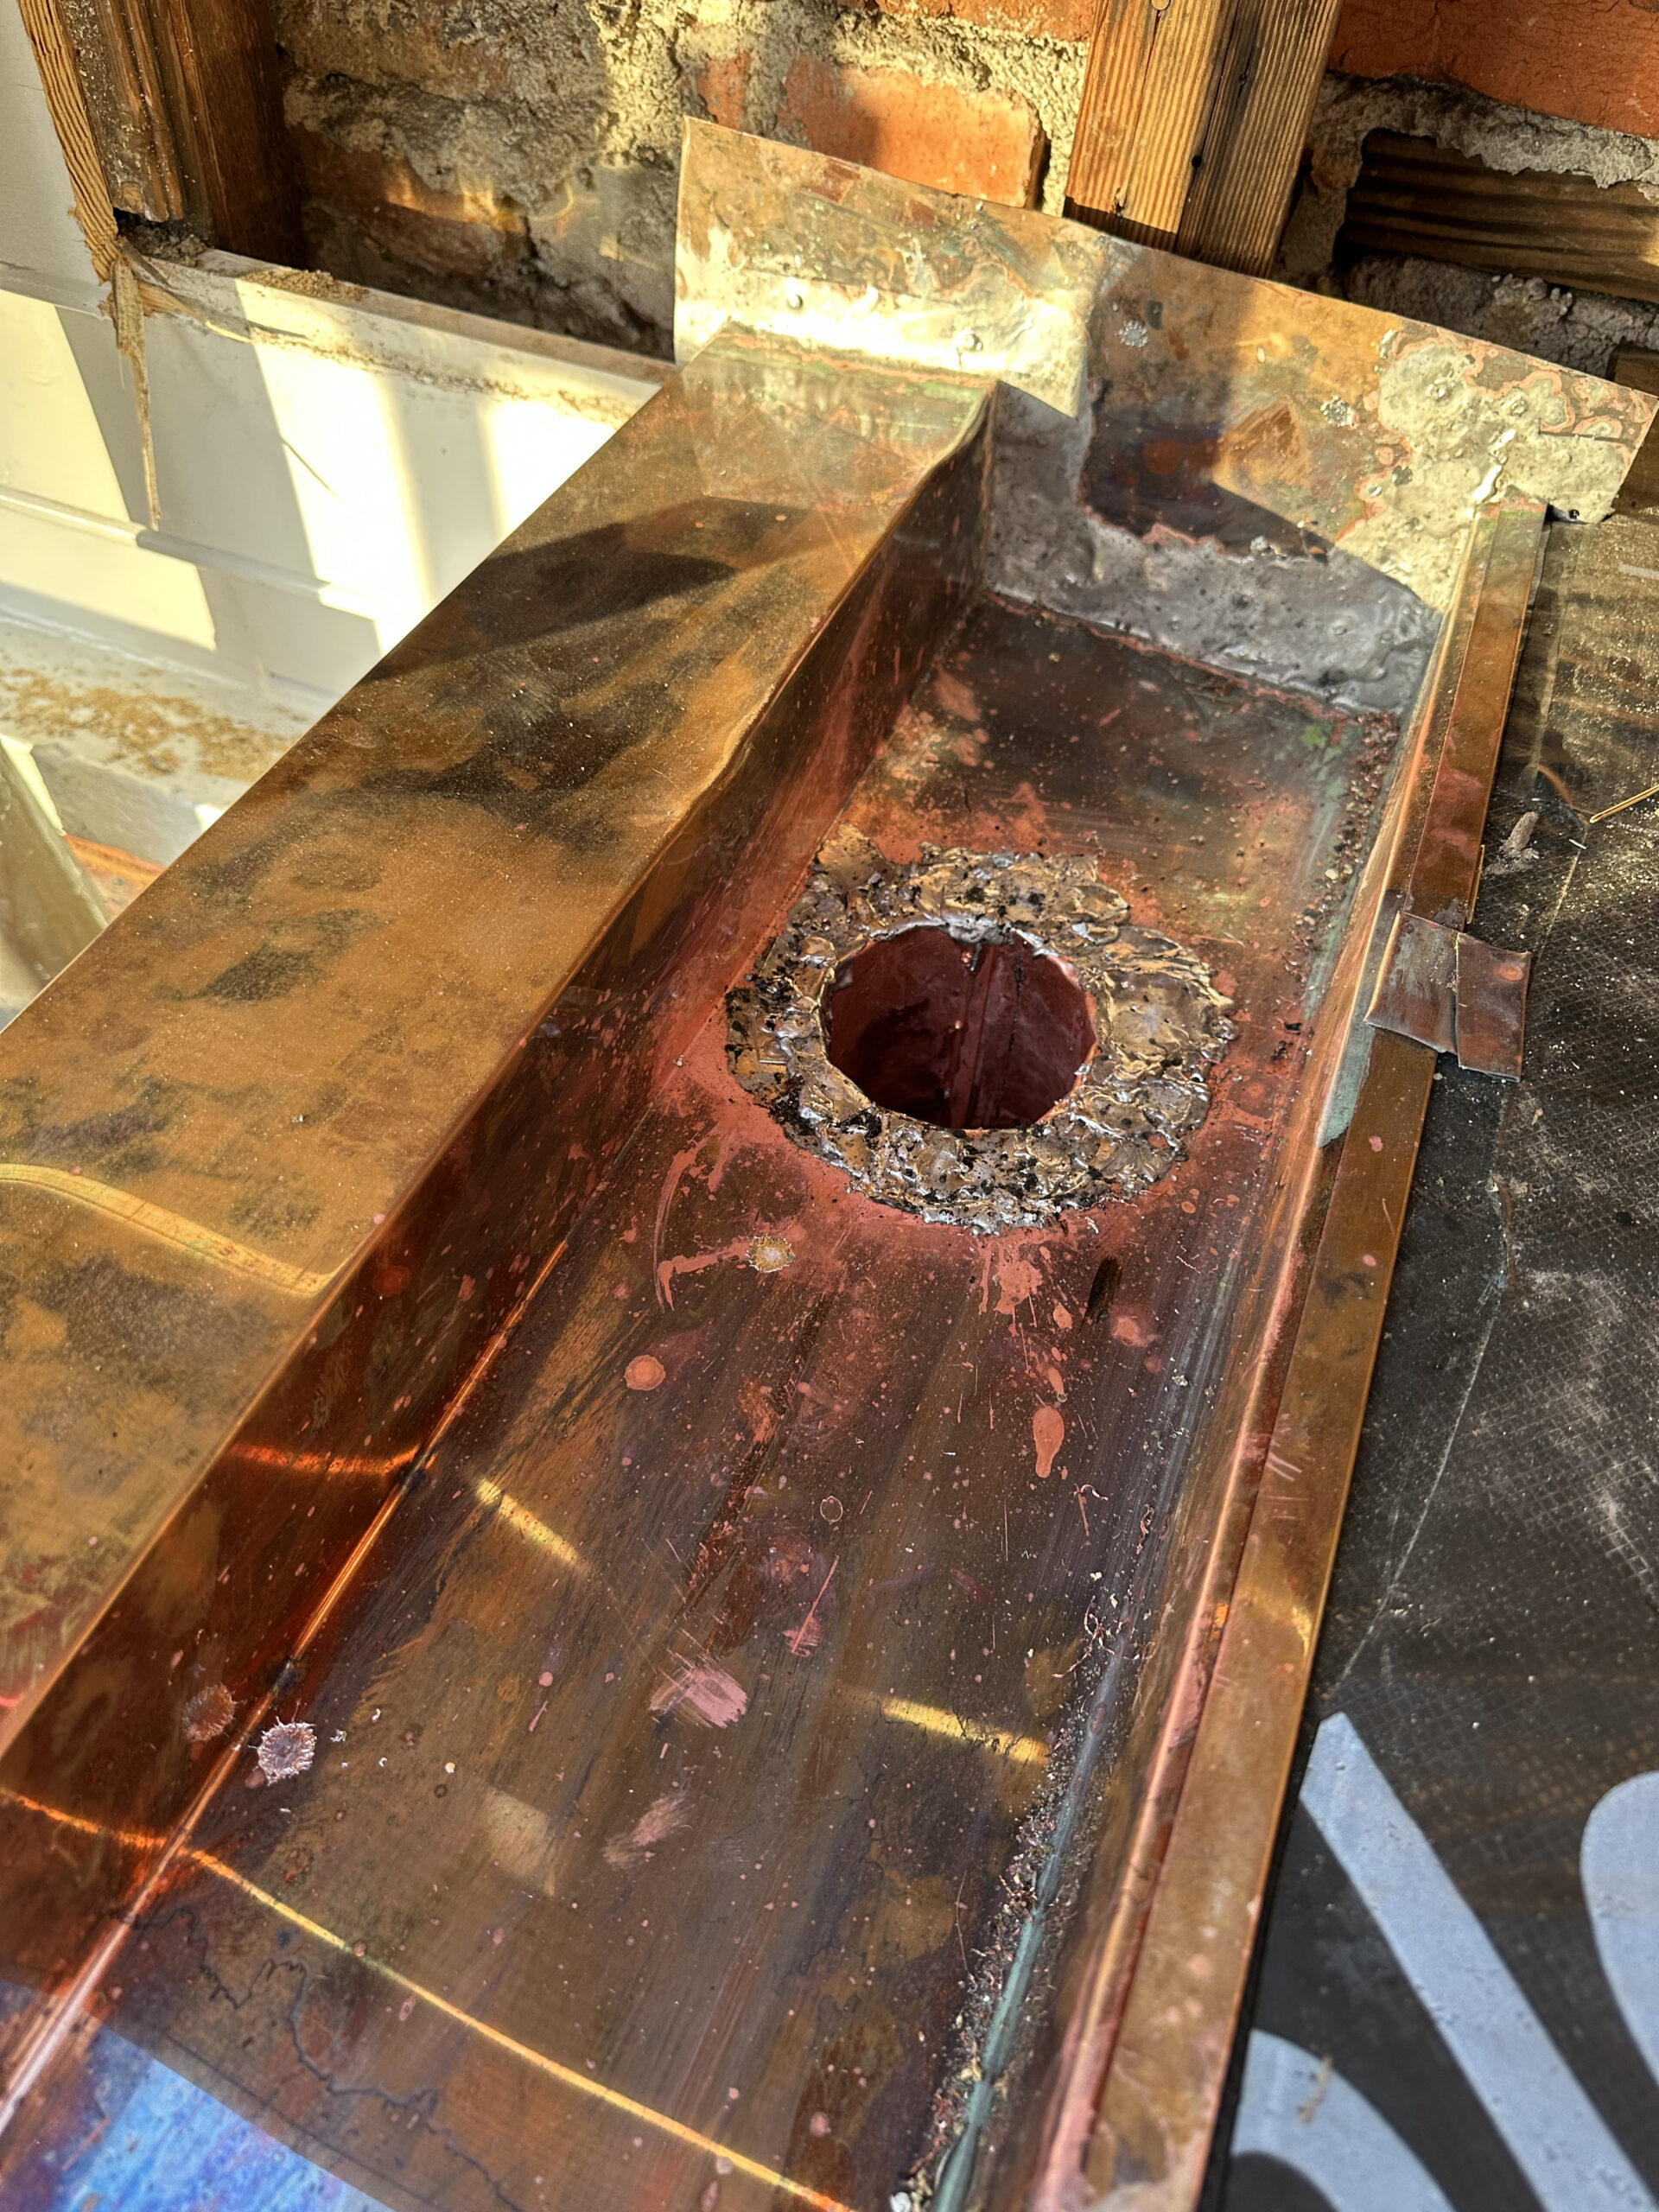
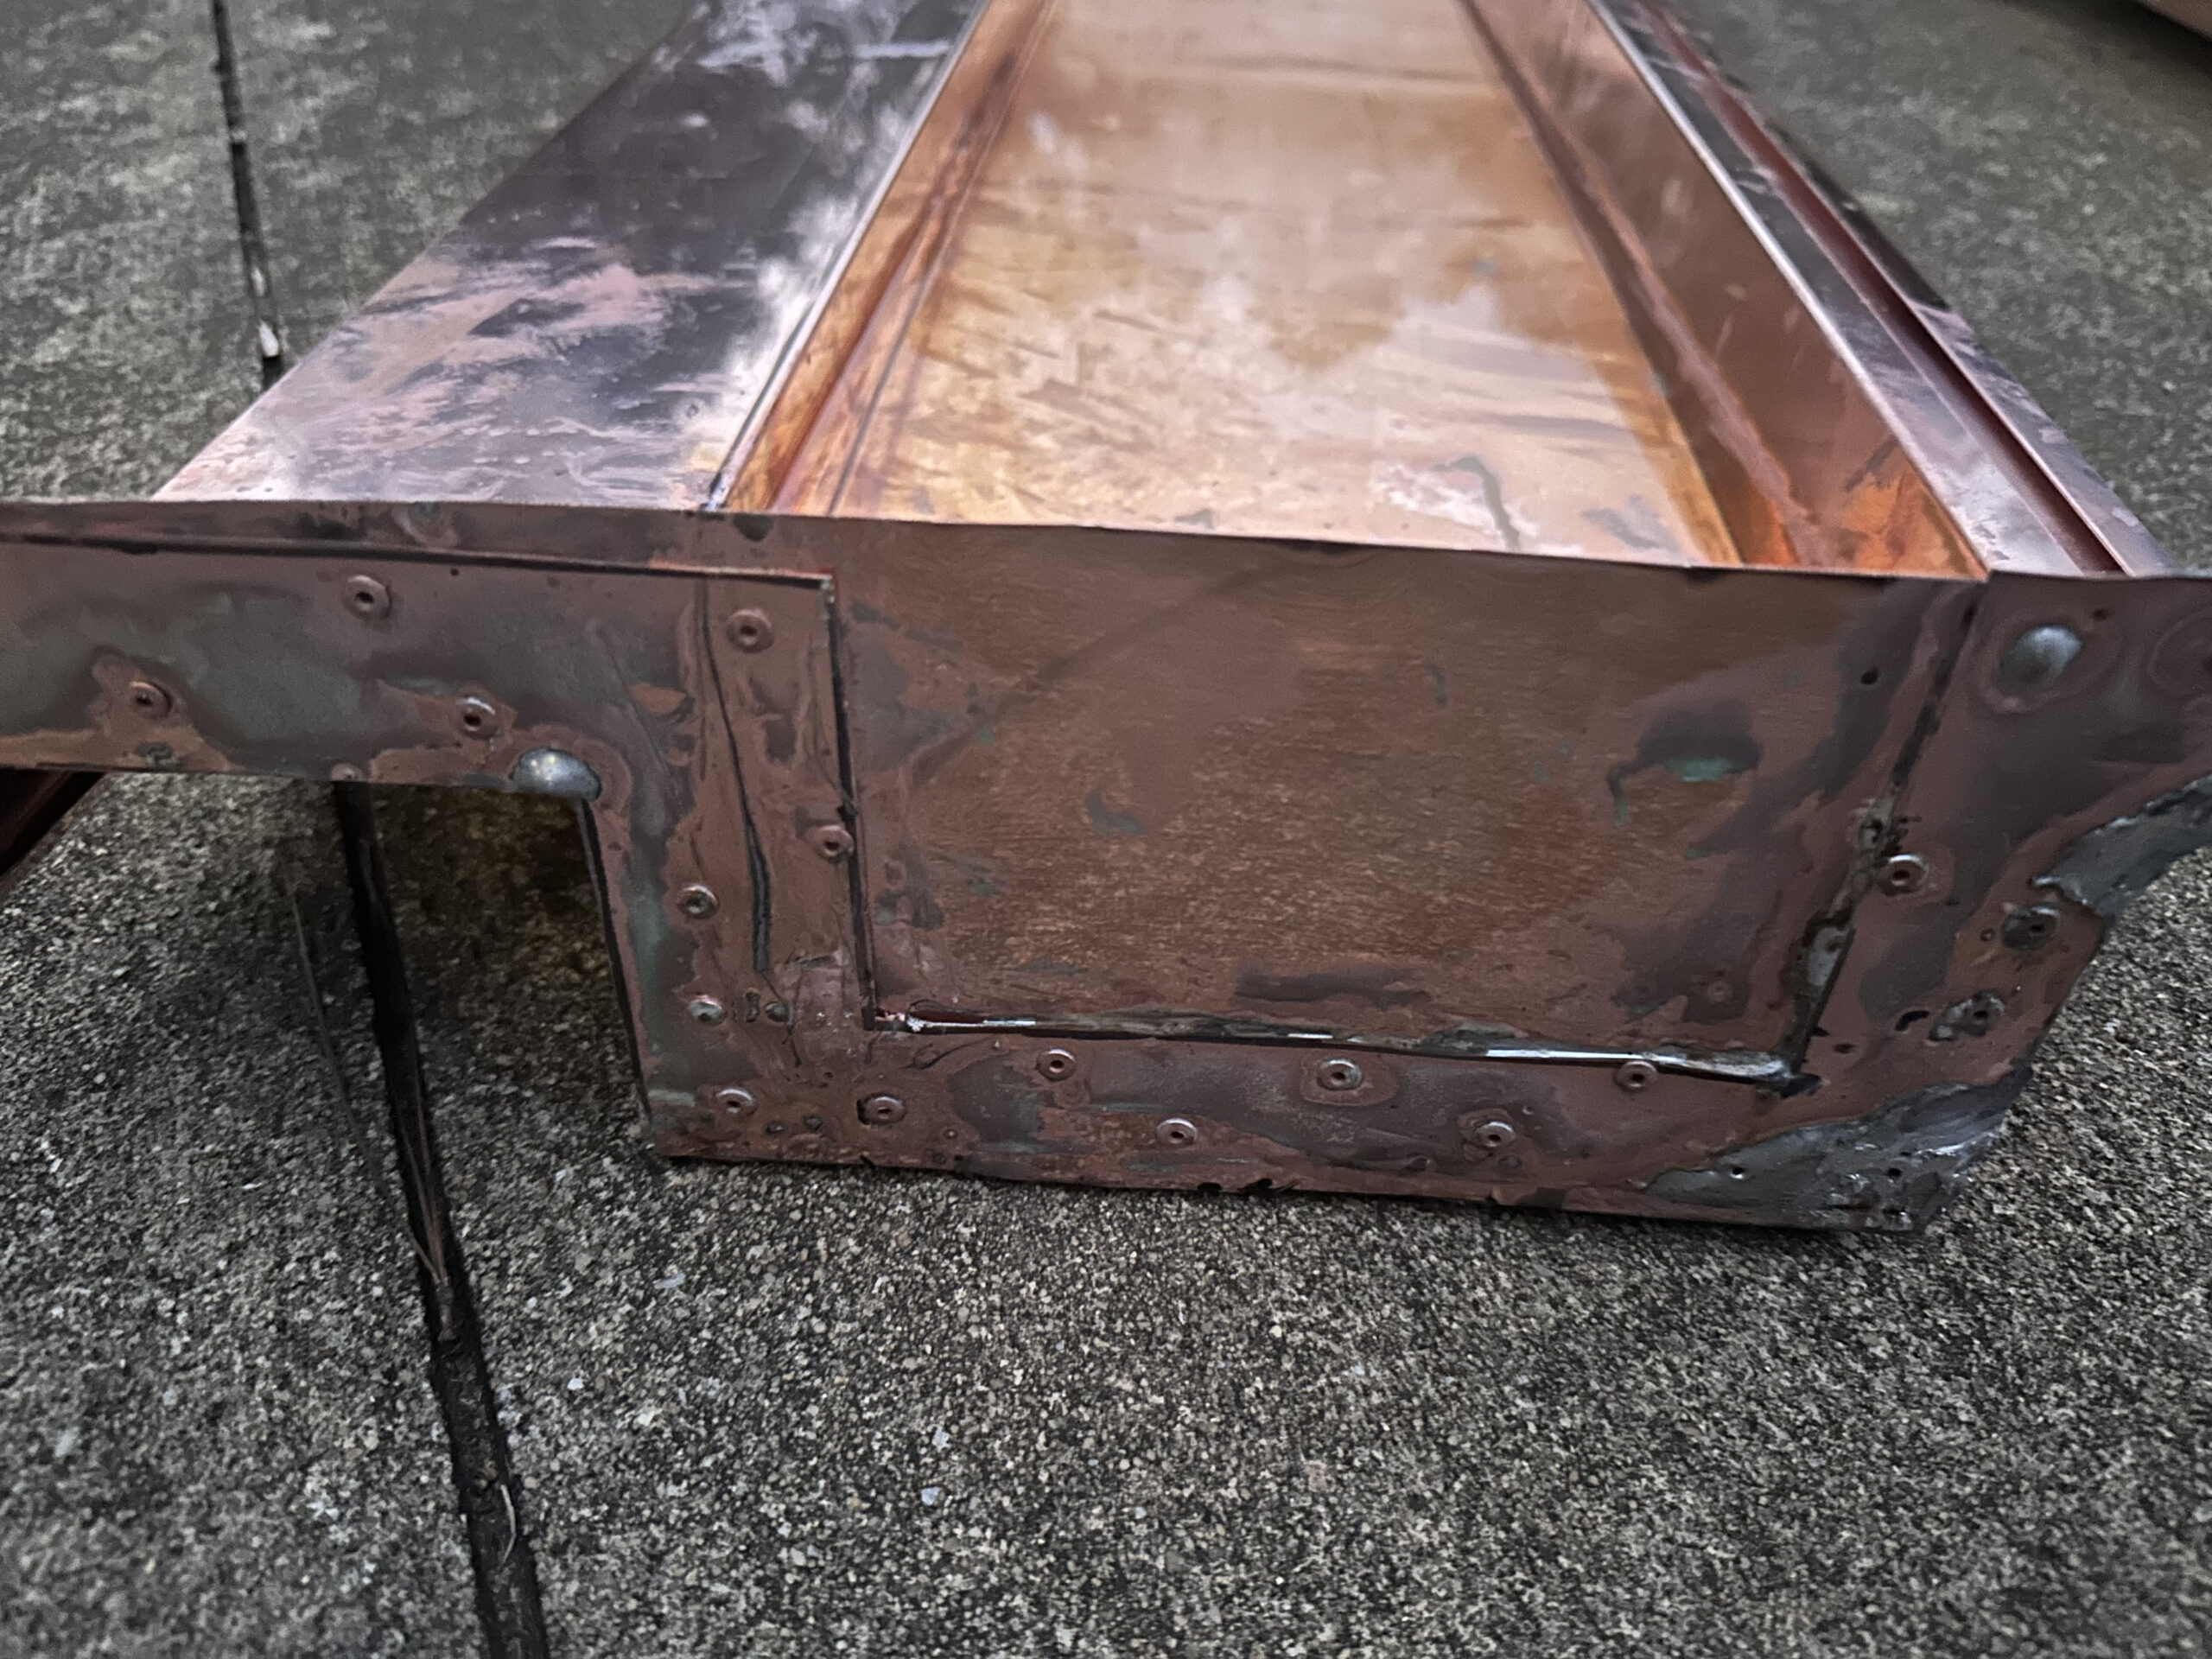
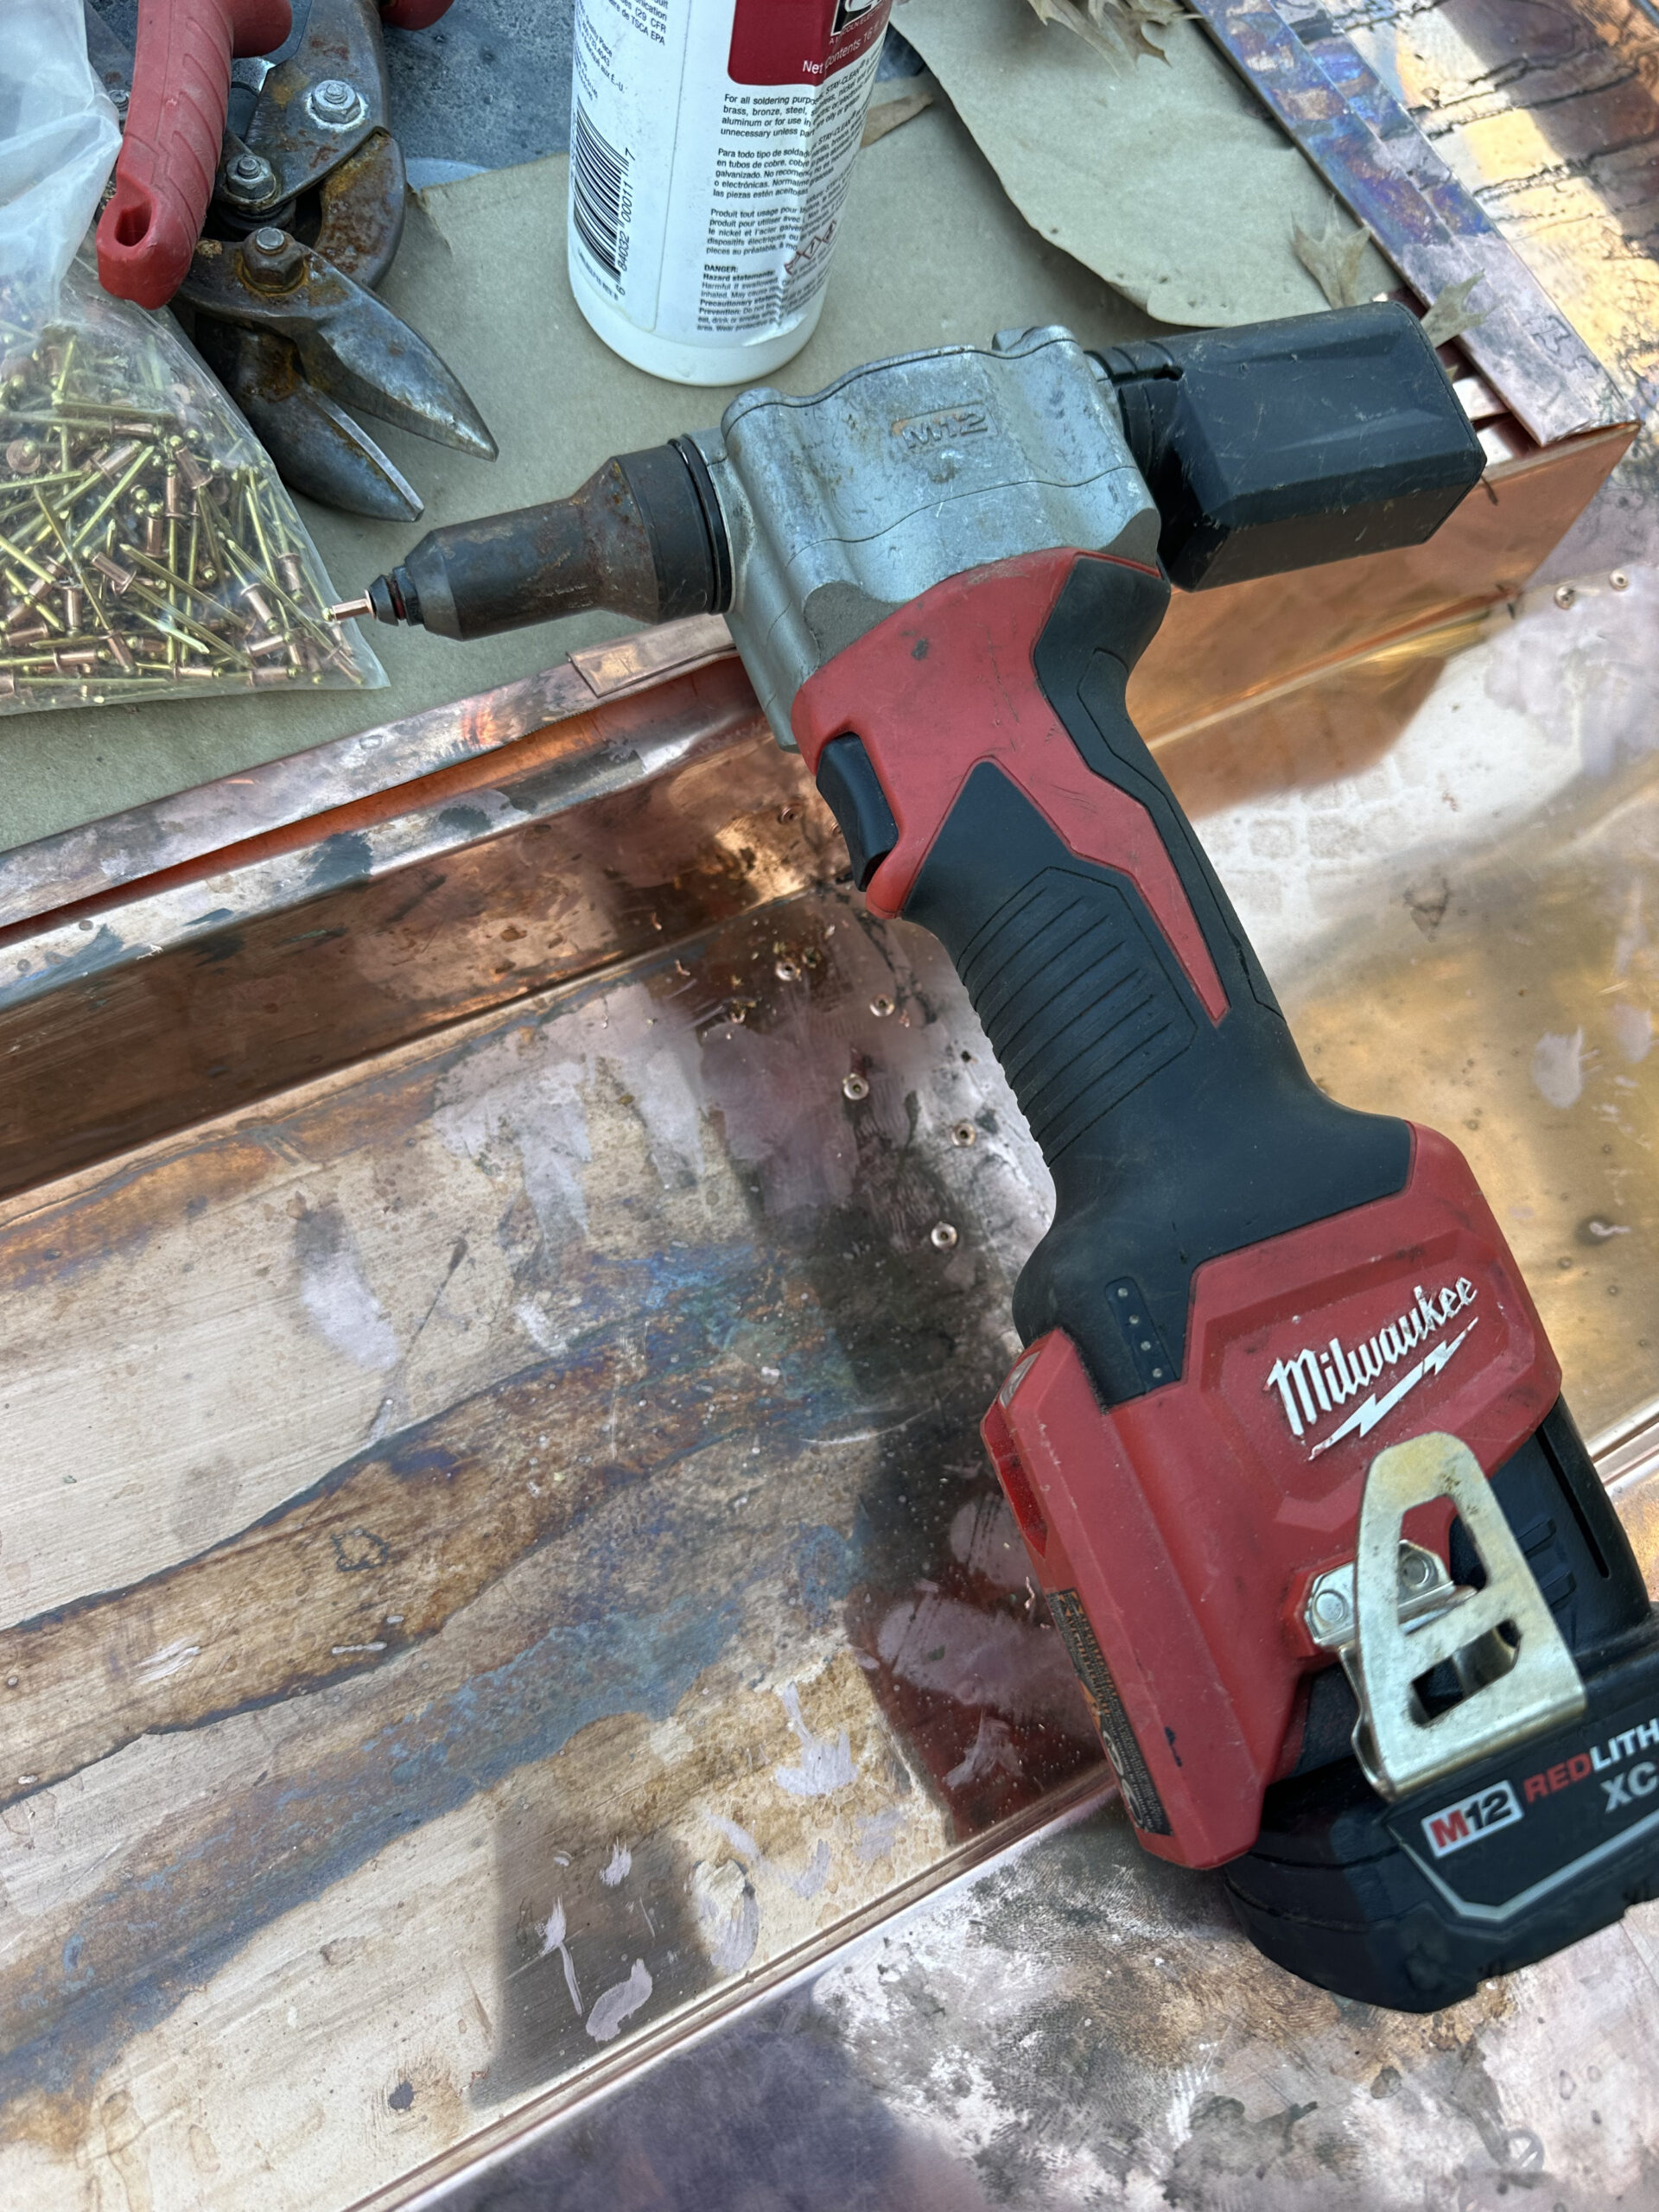
In late 2024, Caldwell’s Roofing got the chance to install an old-style roofing material—flat lock copper panels—on the George Washington Carver Museum in Tuskegee, AL. The three porch roofs featured build-in gutters that would also need custom-made and soldered copper work. Working with DRI, Inc., a company that does several national park projects, they tackled the gutters first, bending and soldering what could be done beforehand in shop, and assembling the 10′ pieces together with hidden clips/copper nails for main attachment (while allowing for expansion/contraction of heat/cold) and copper rivets, flux, and solder for lapping joints.
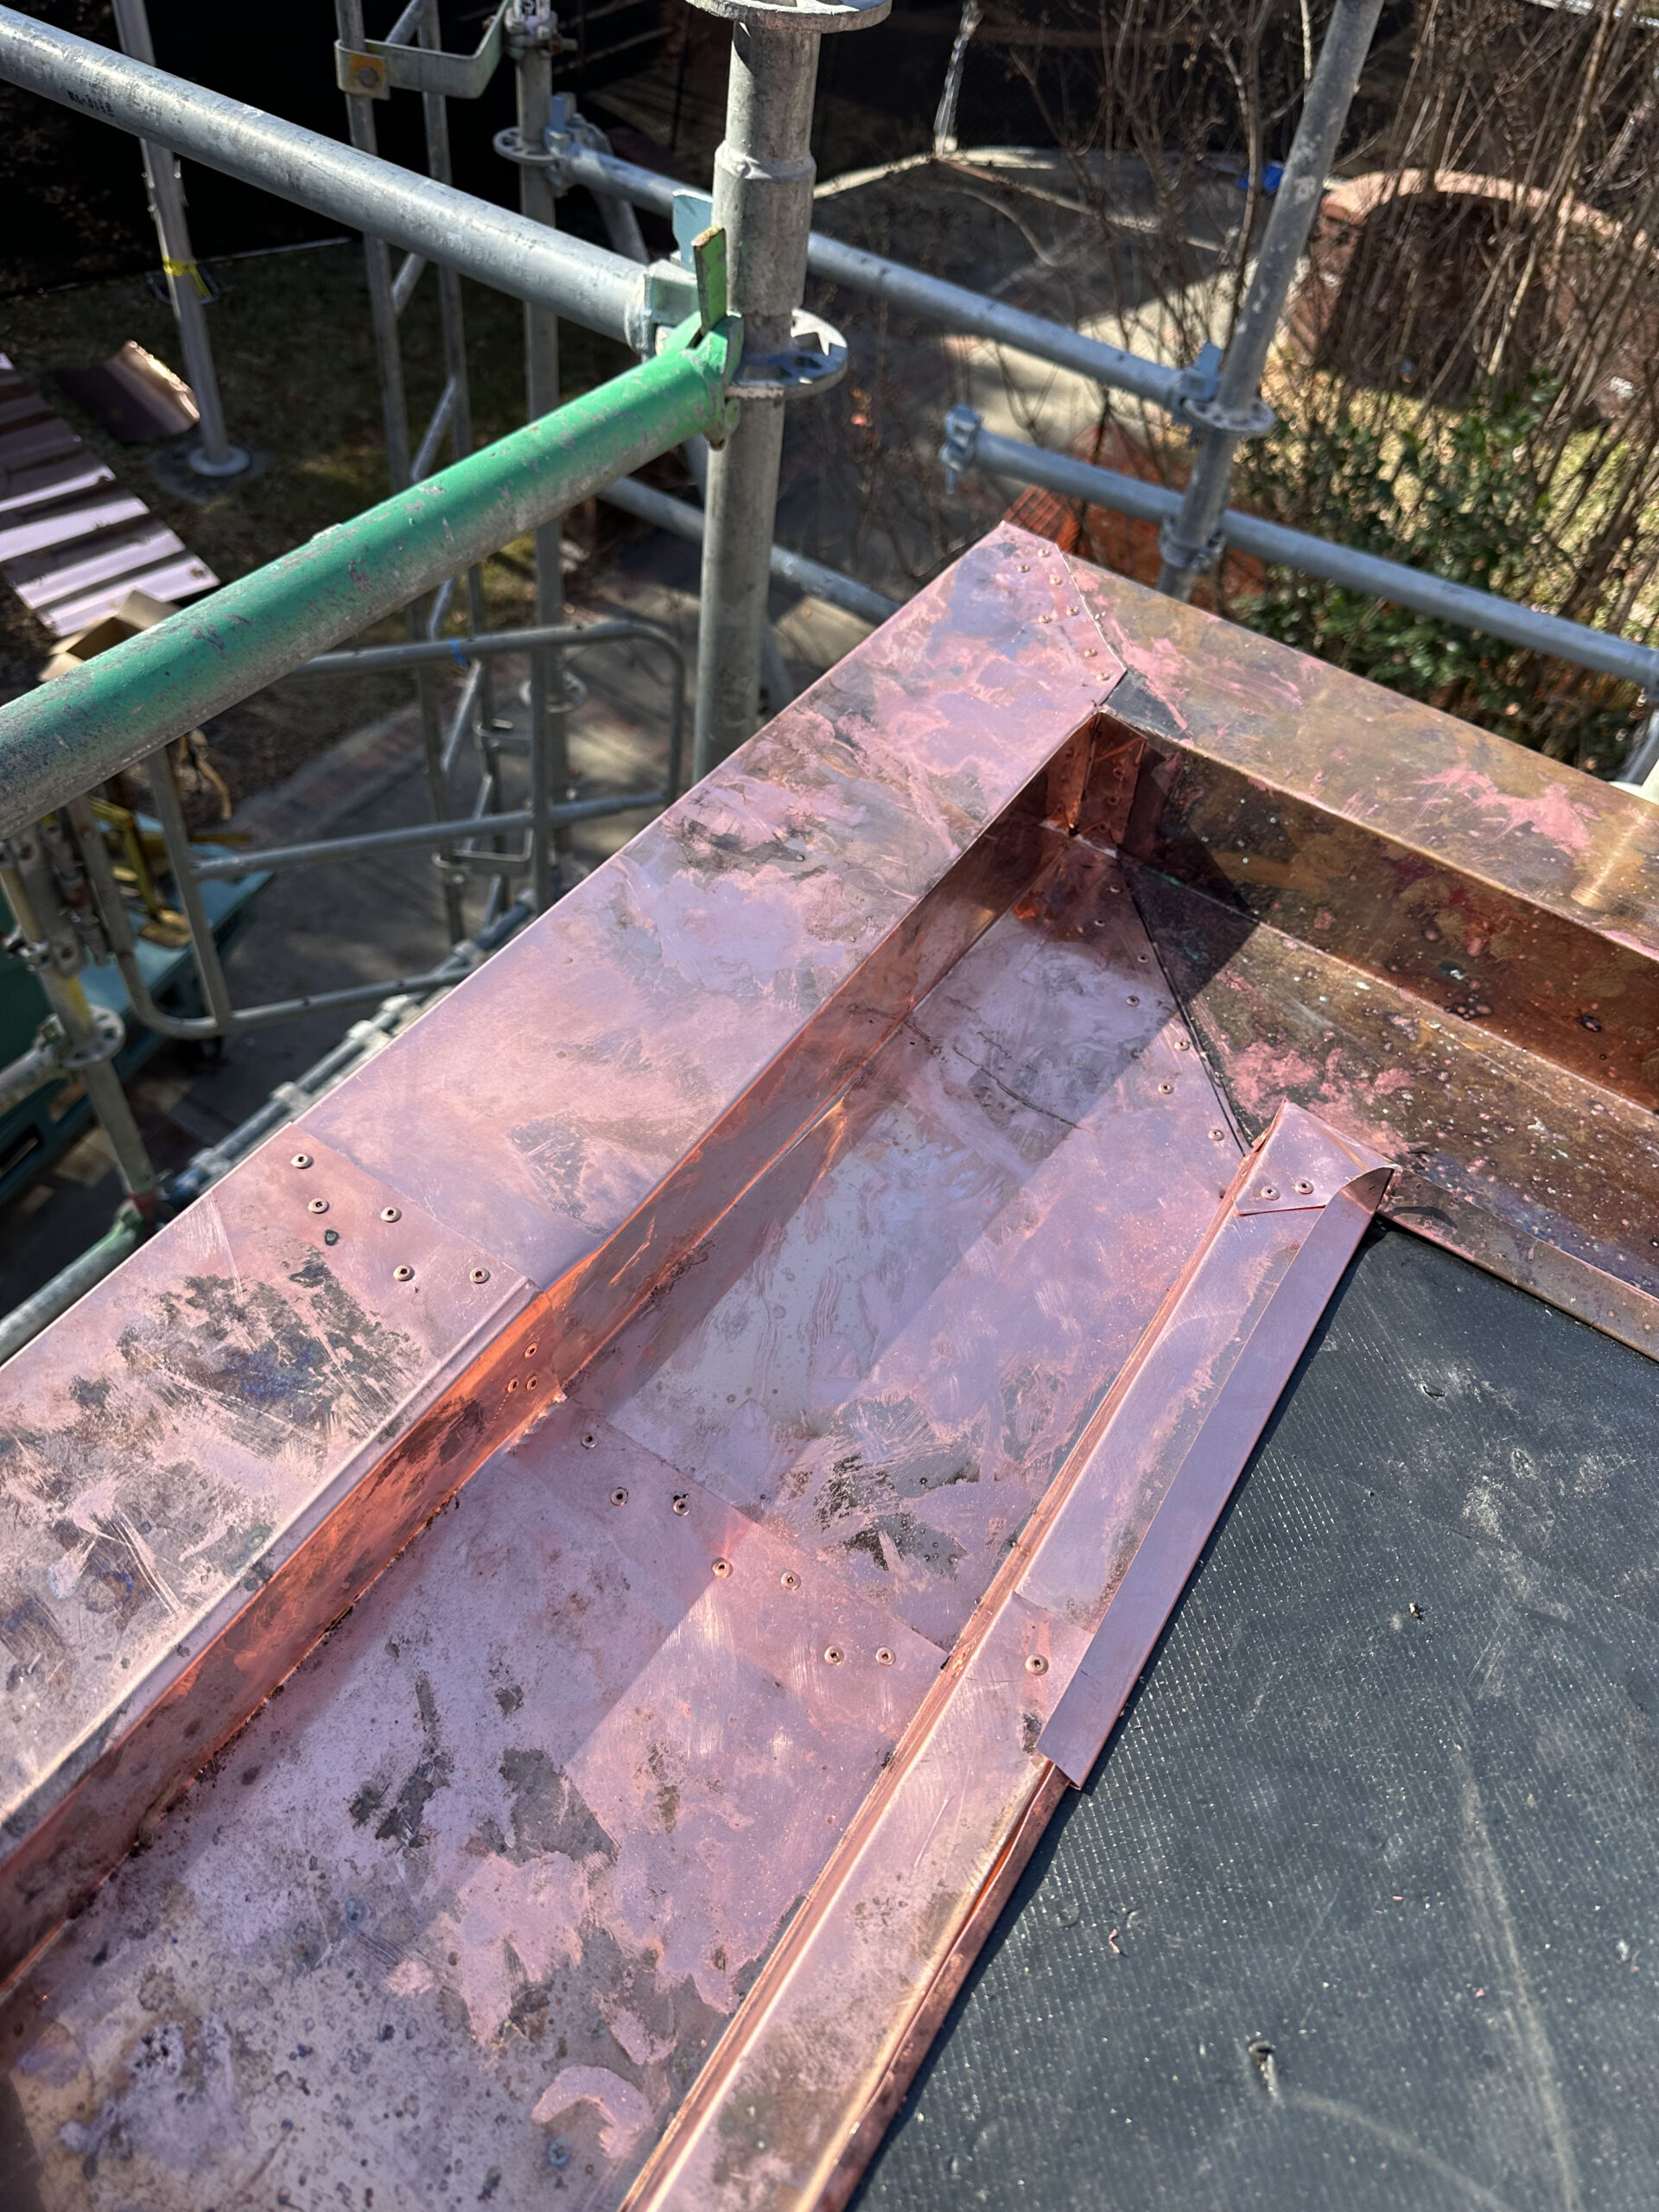
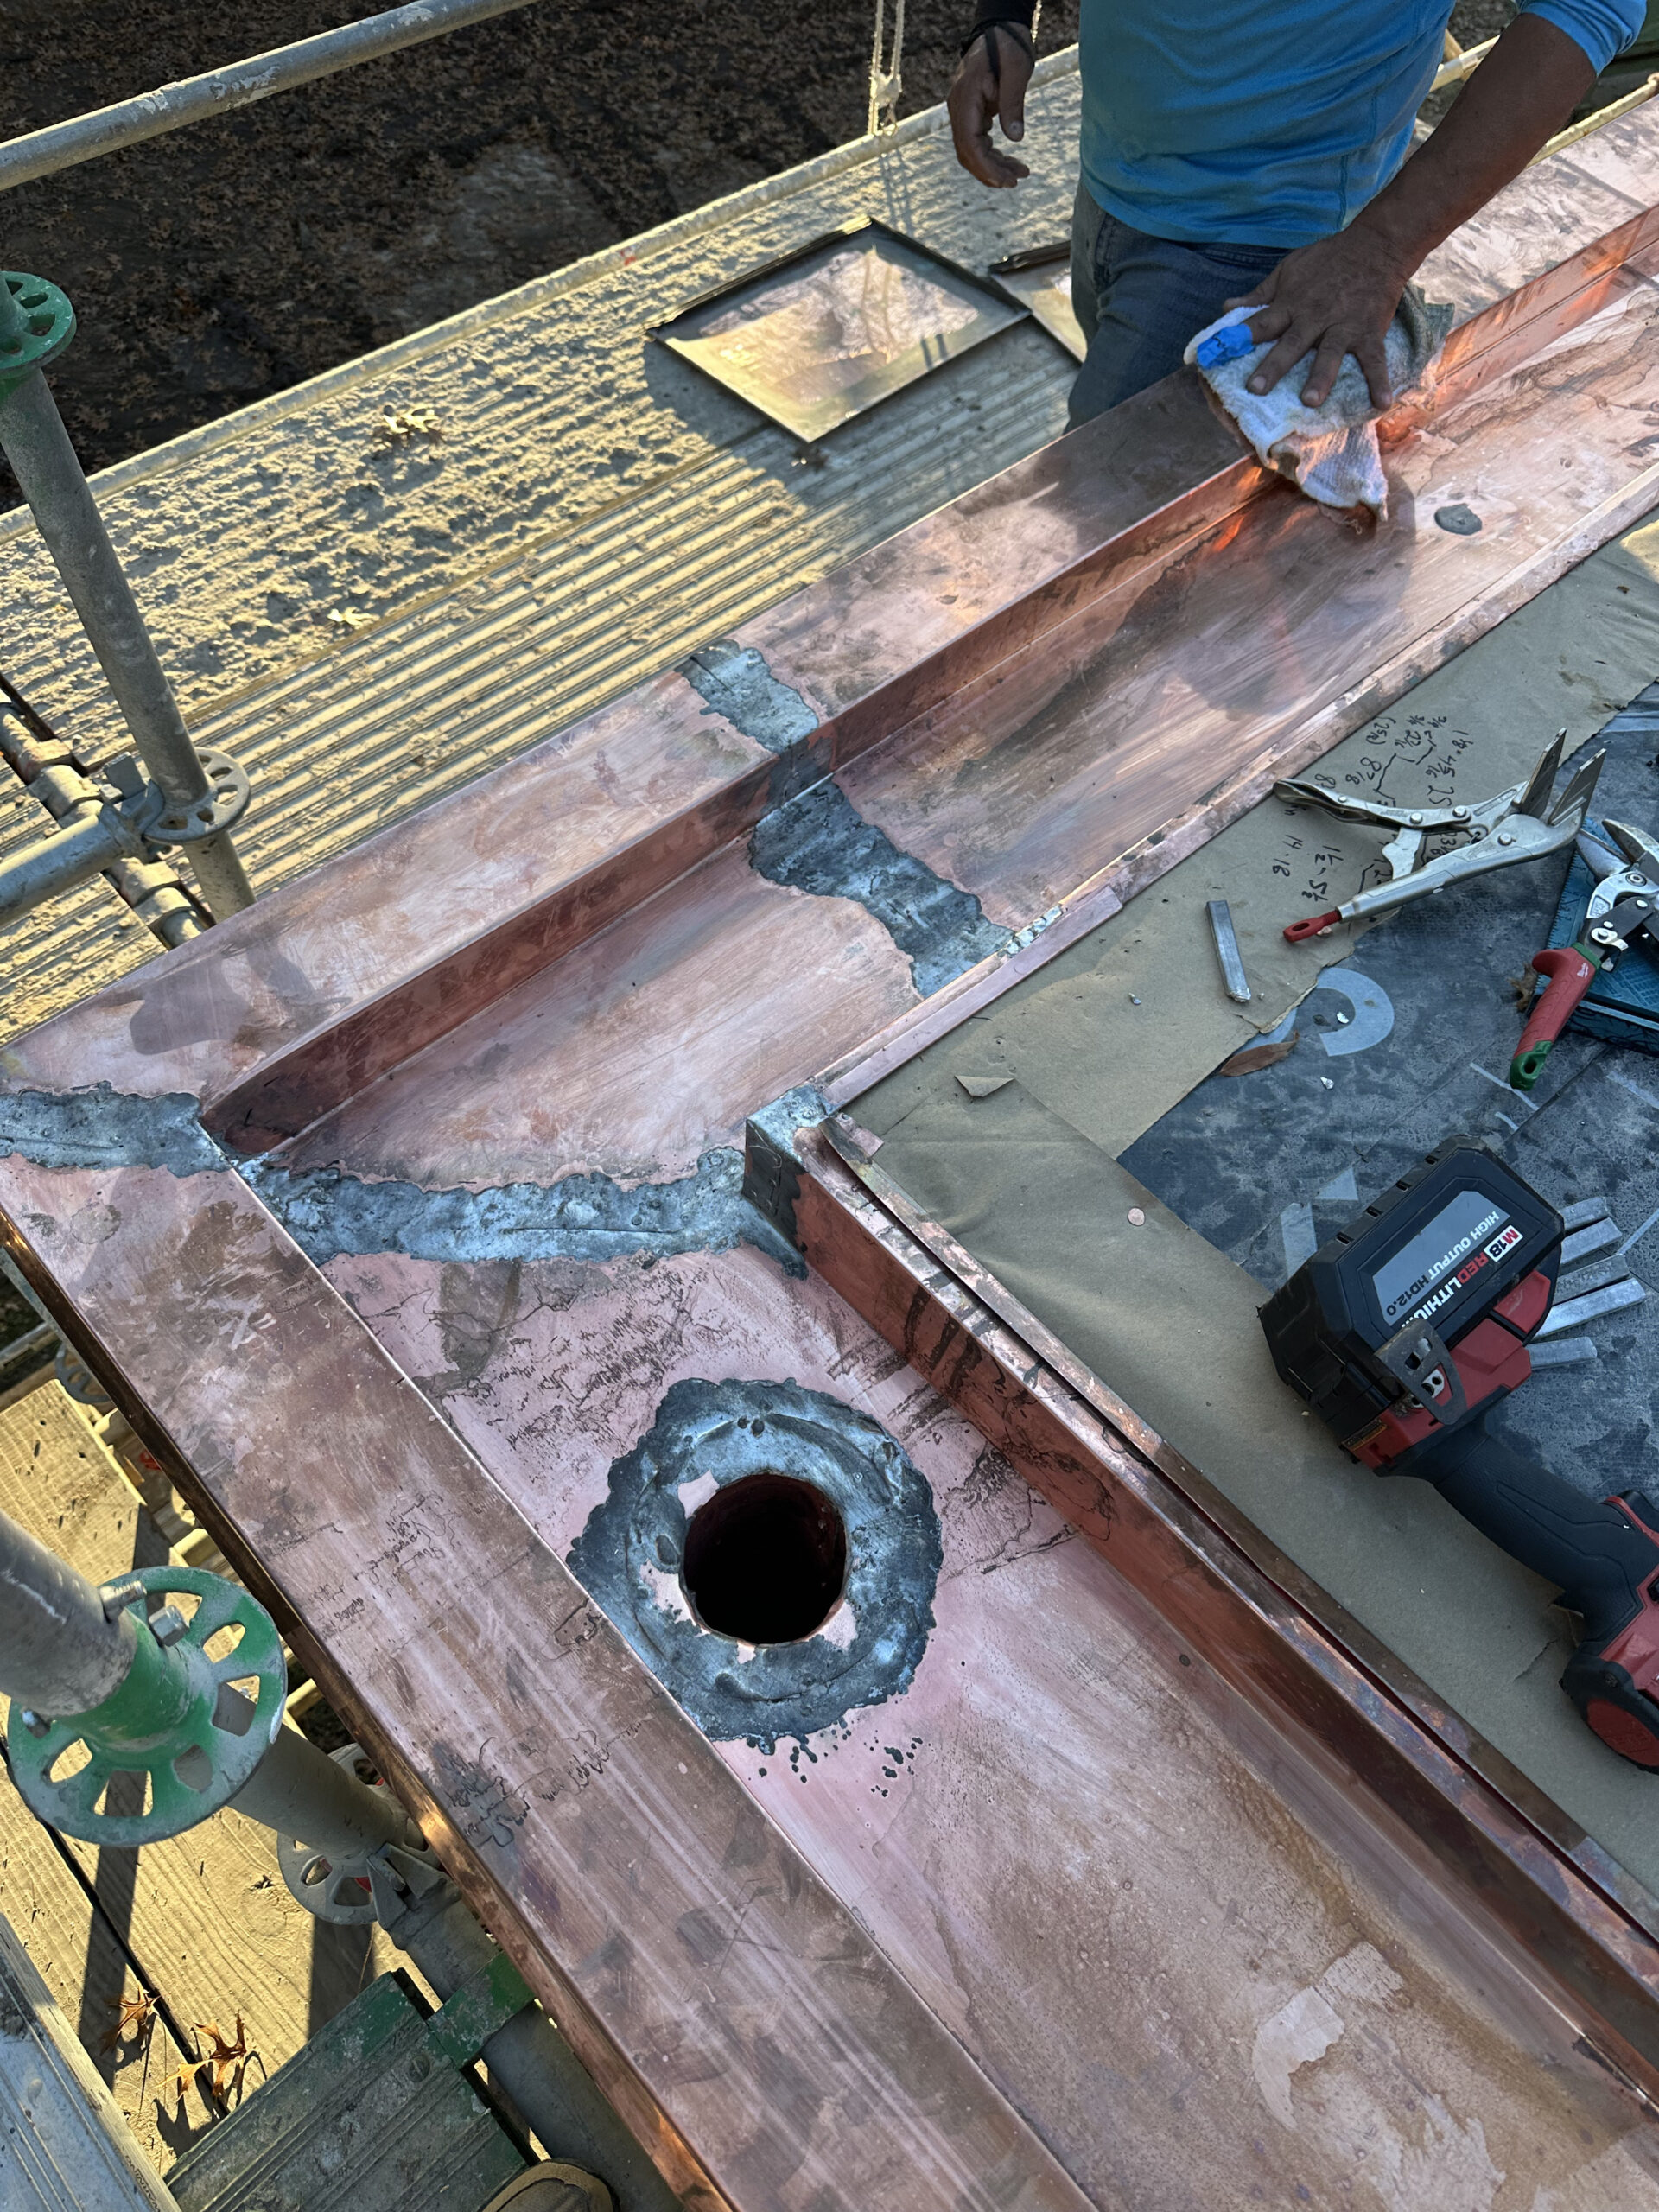
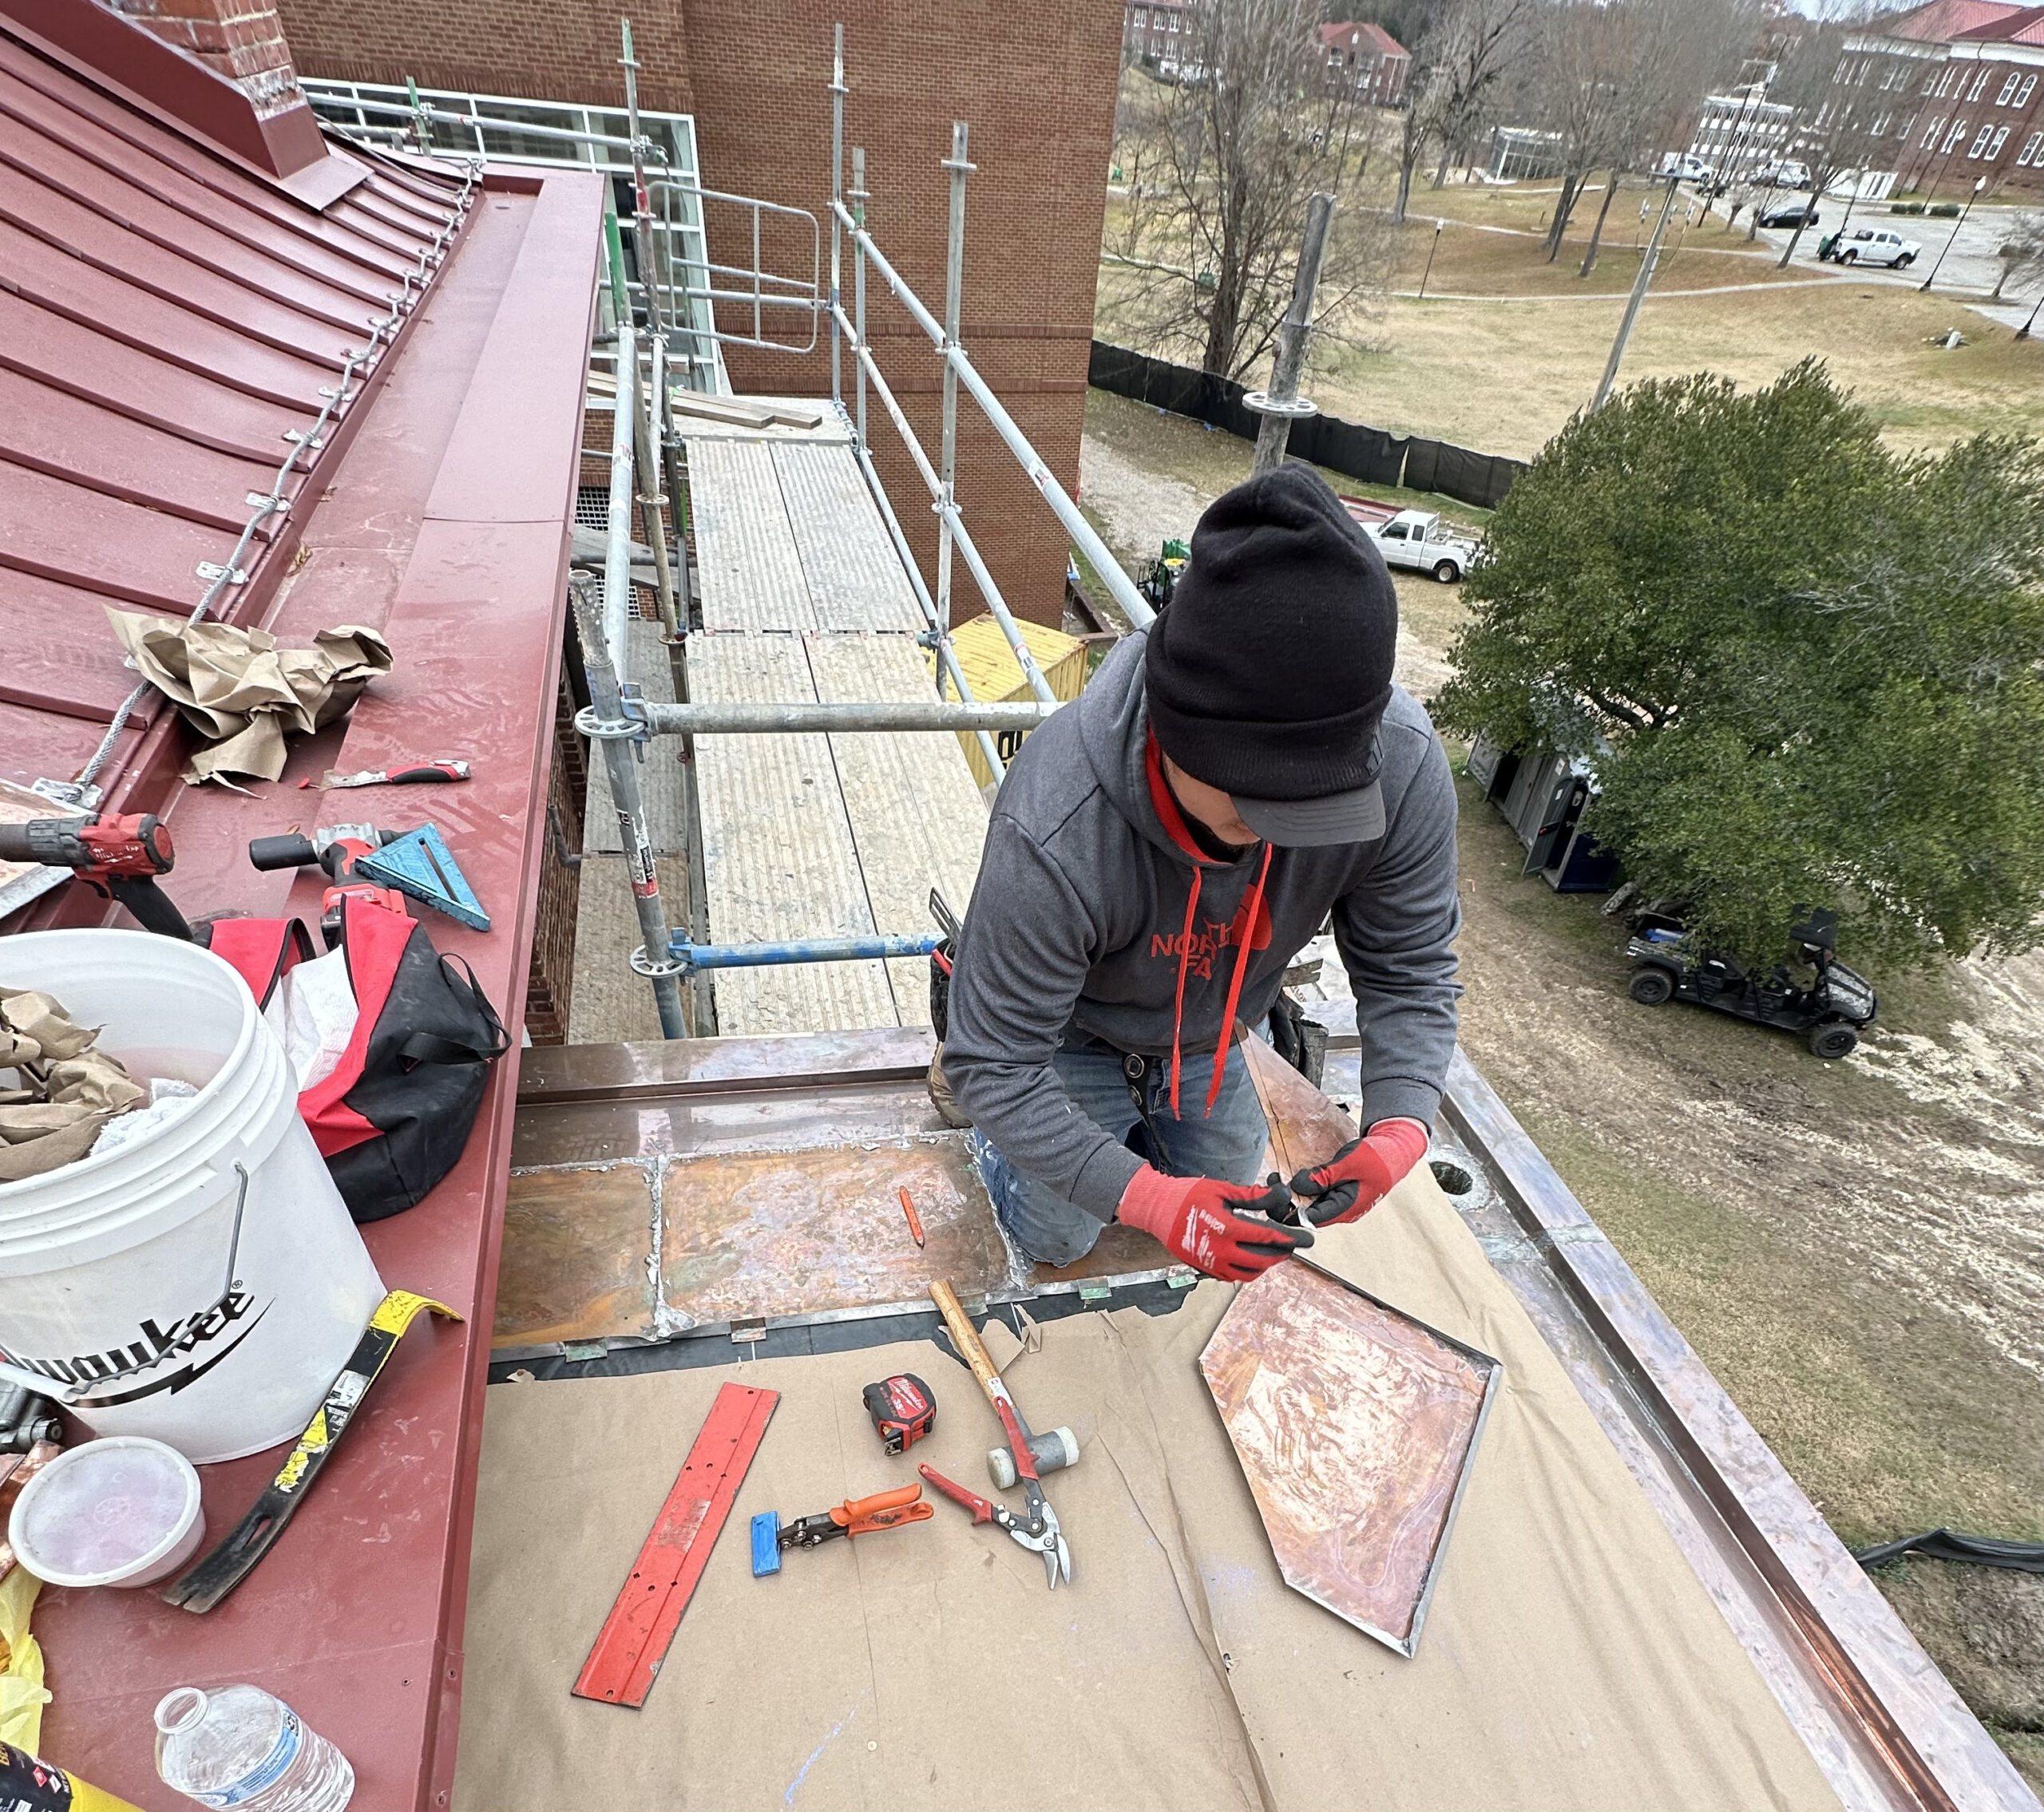
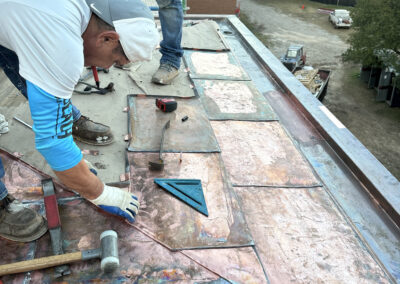
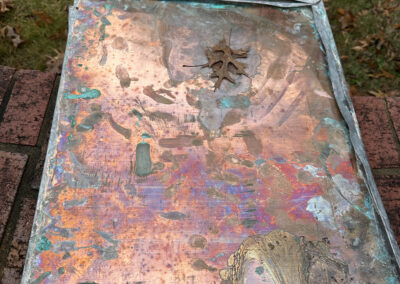
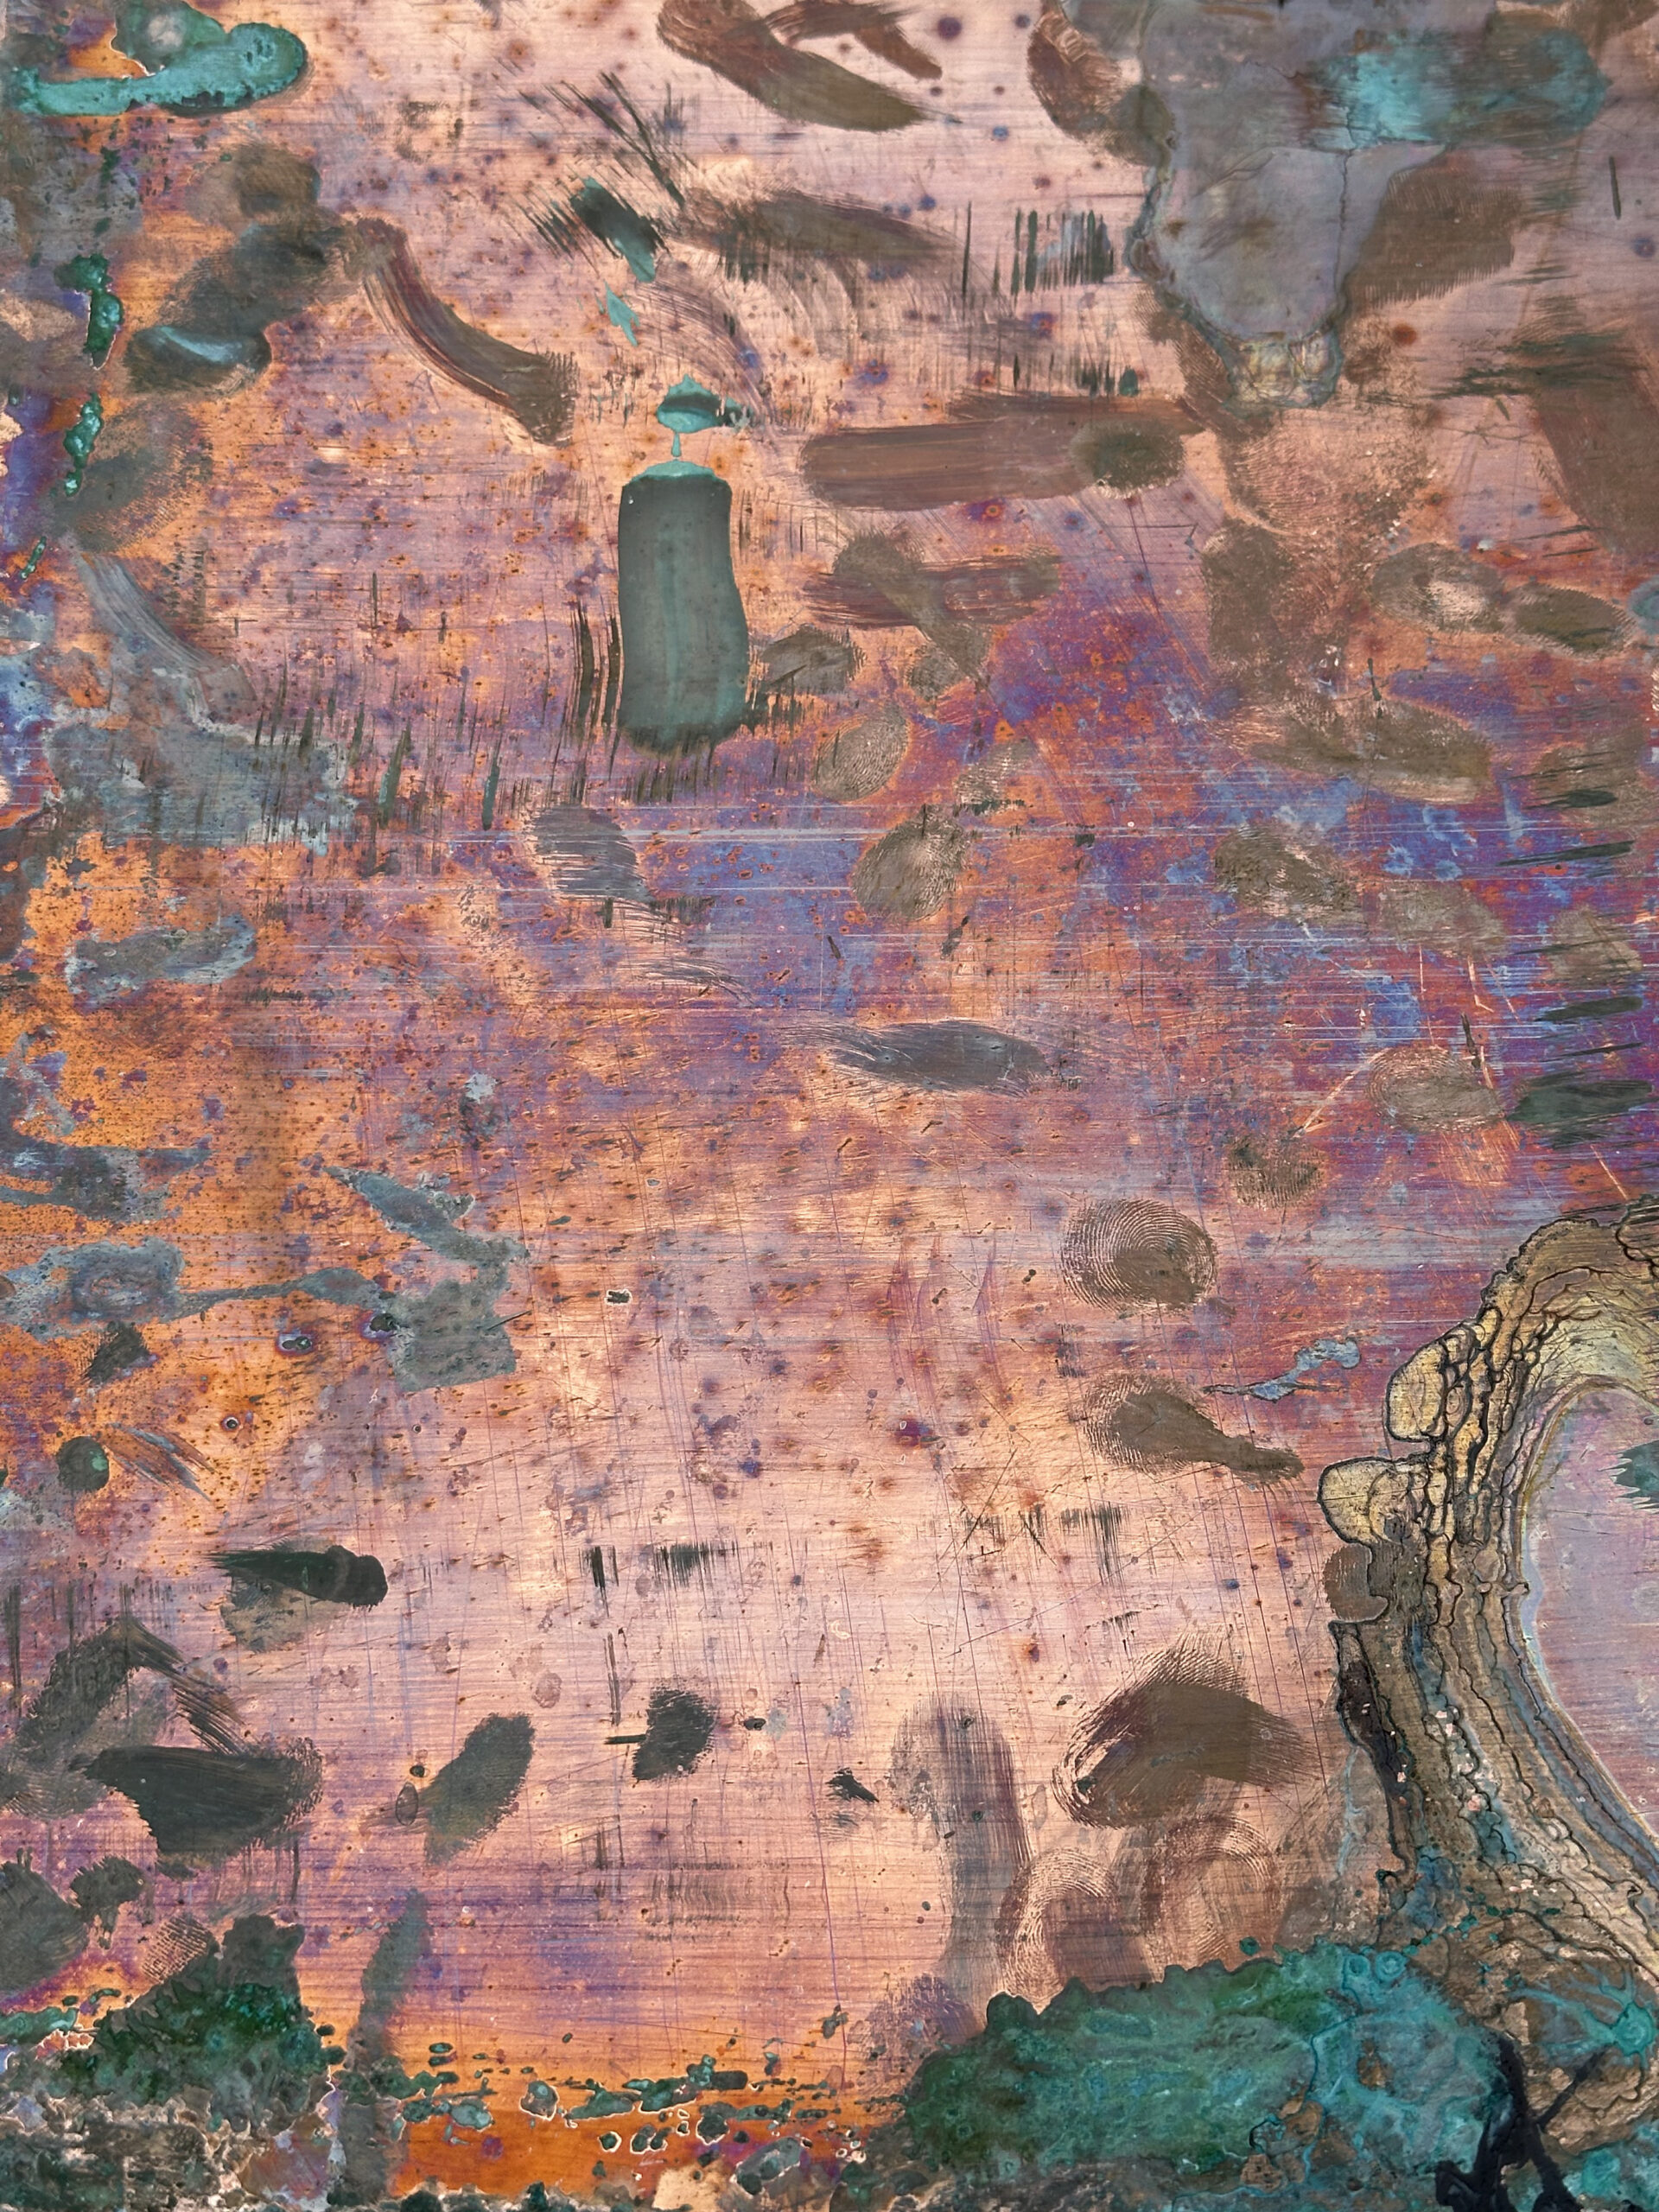
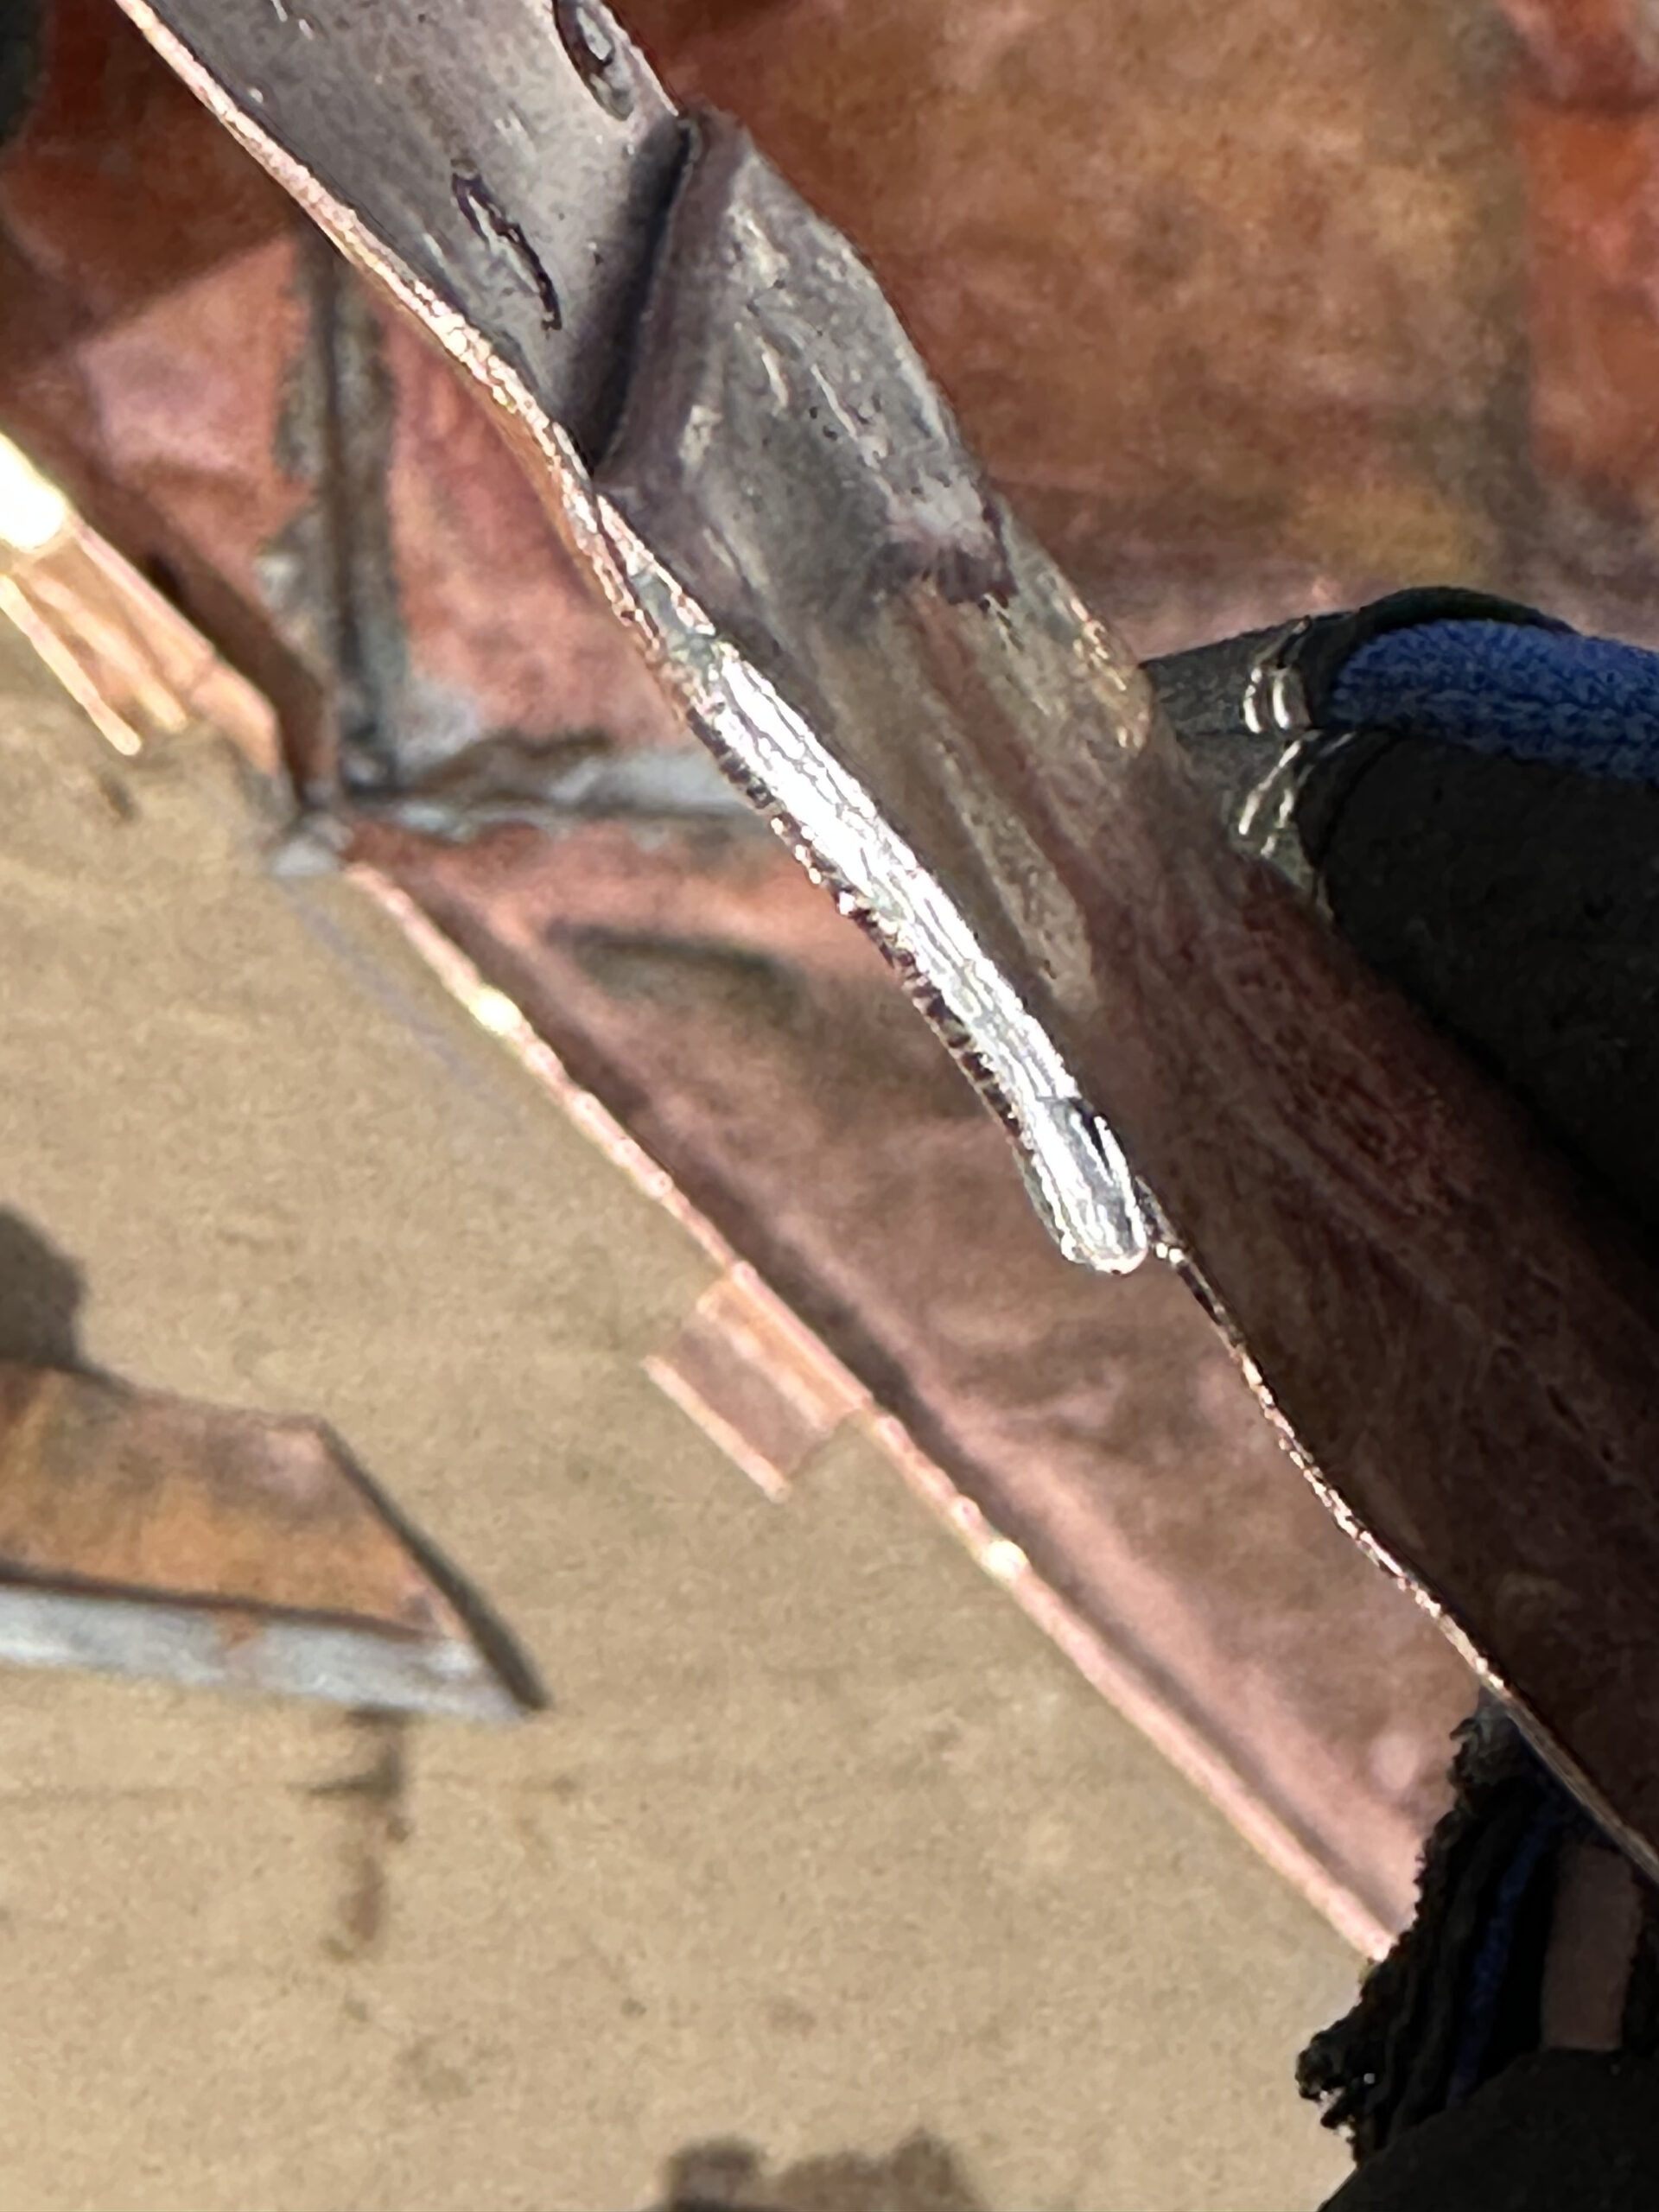
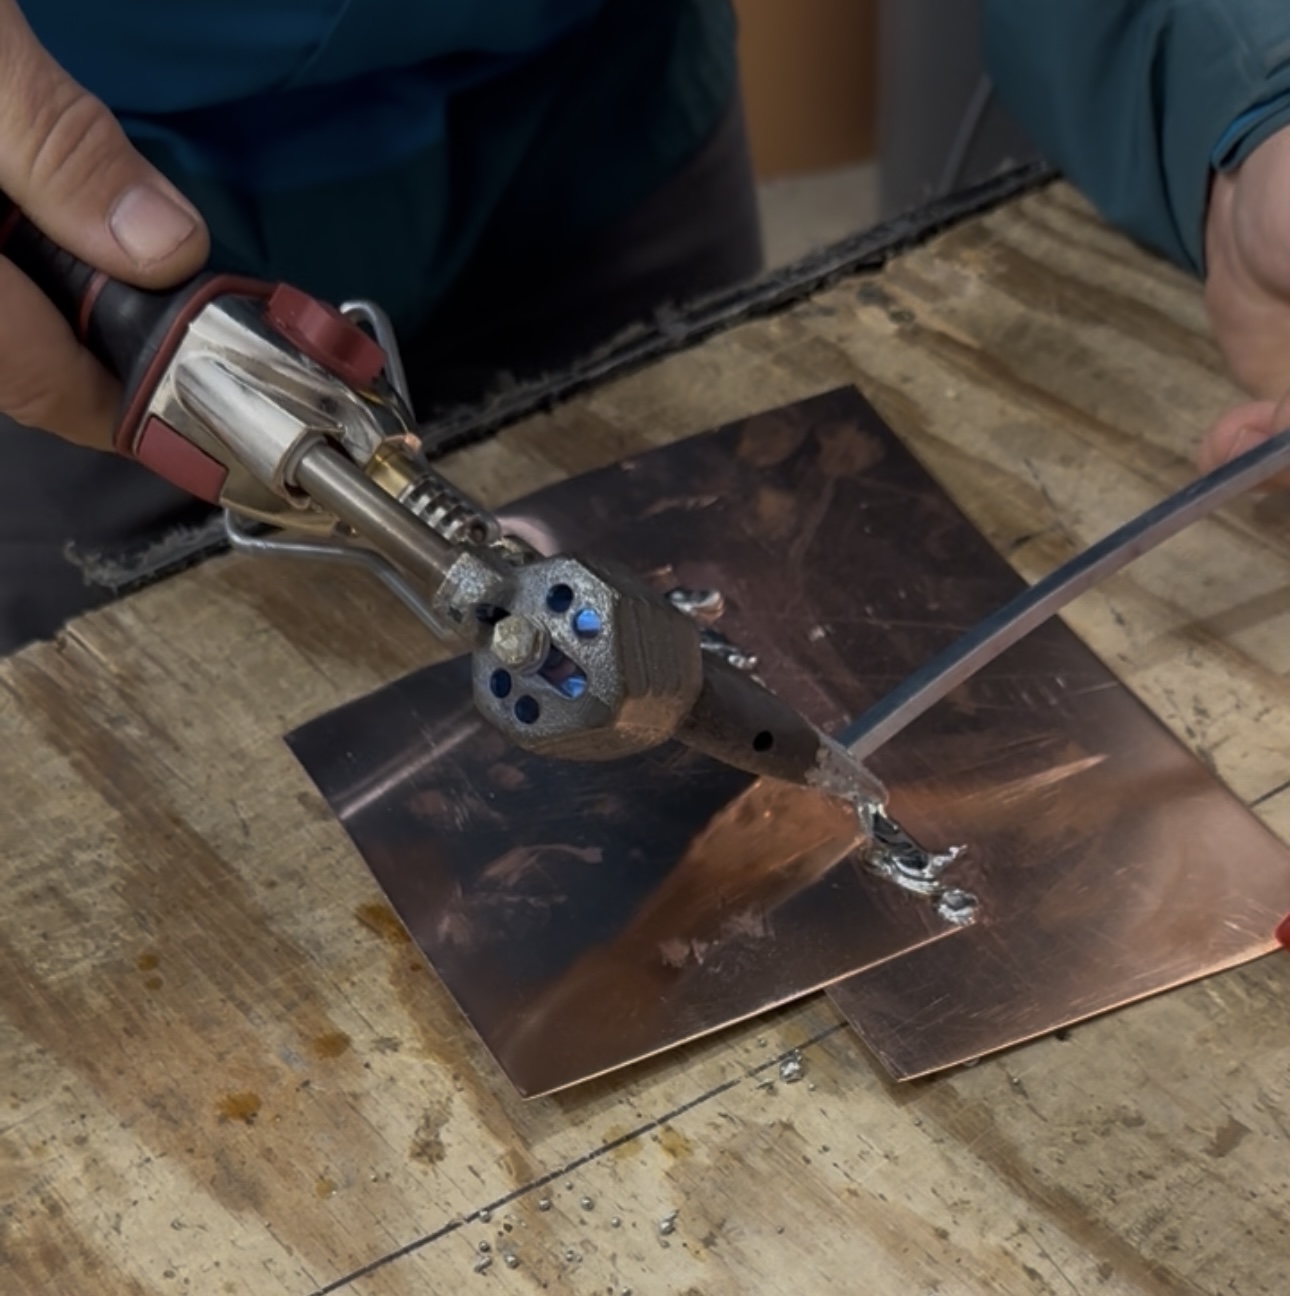
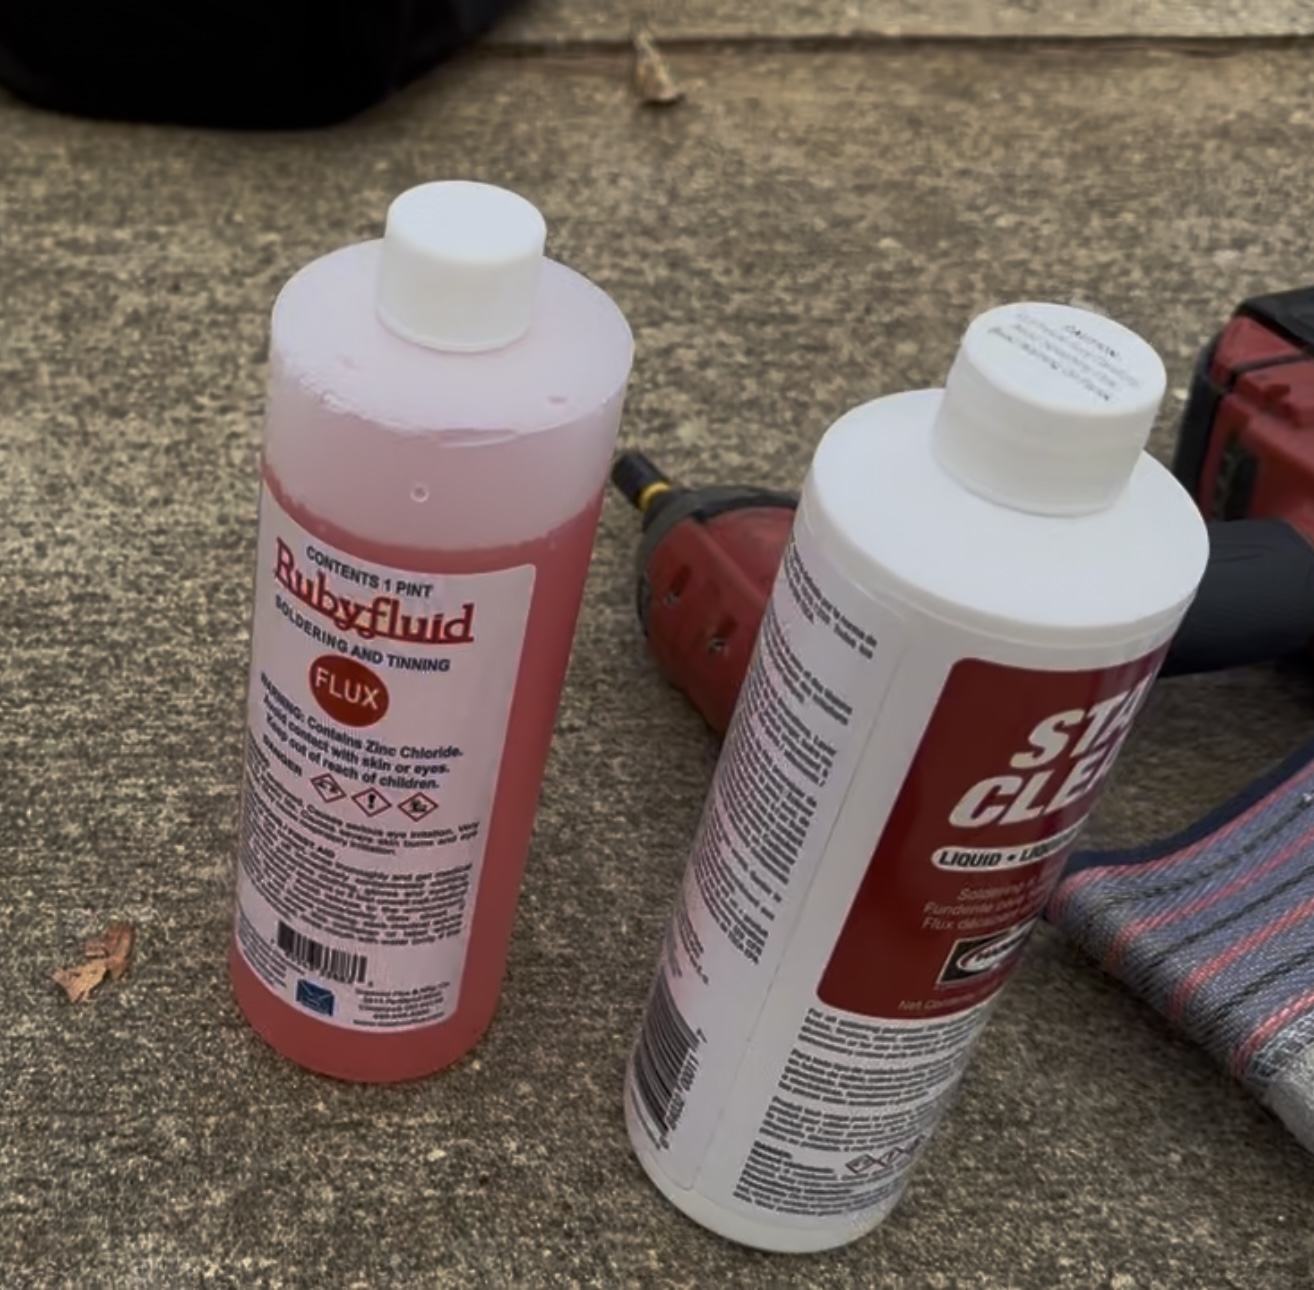
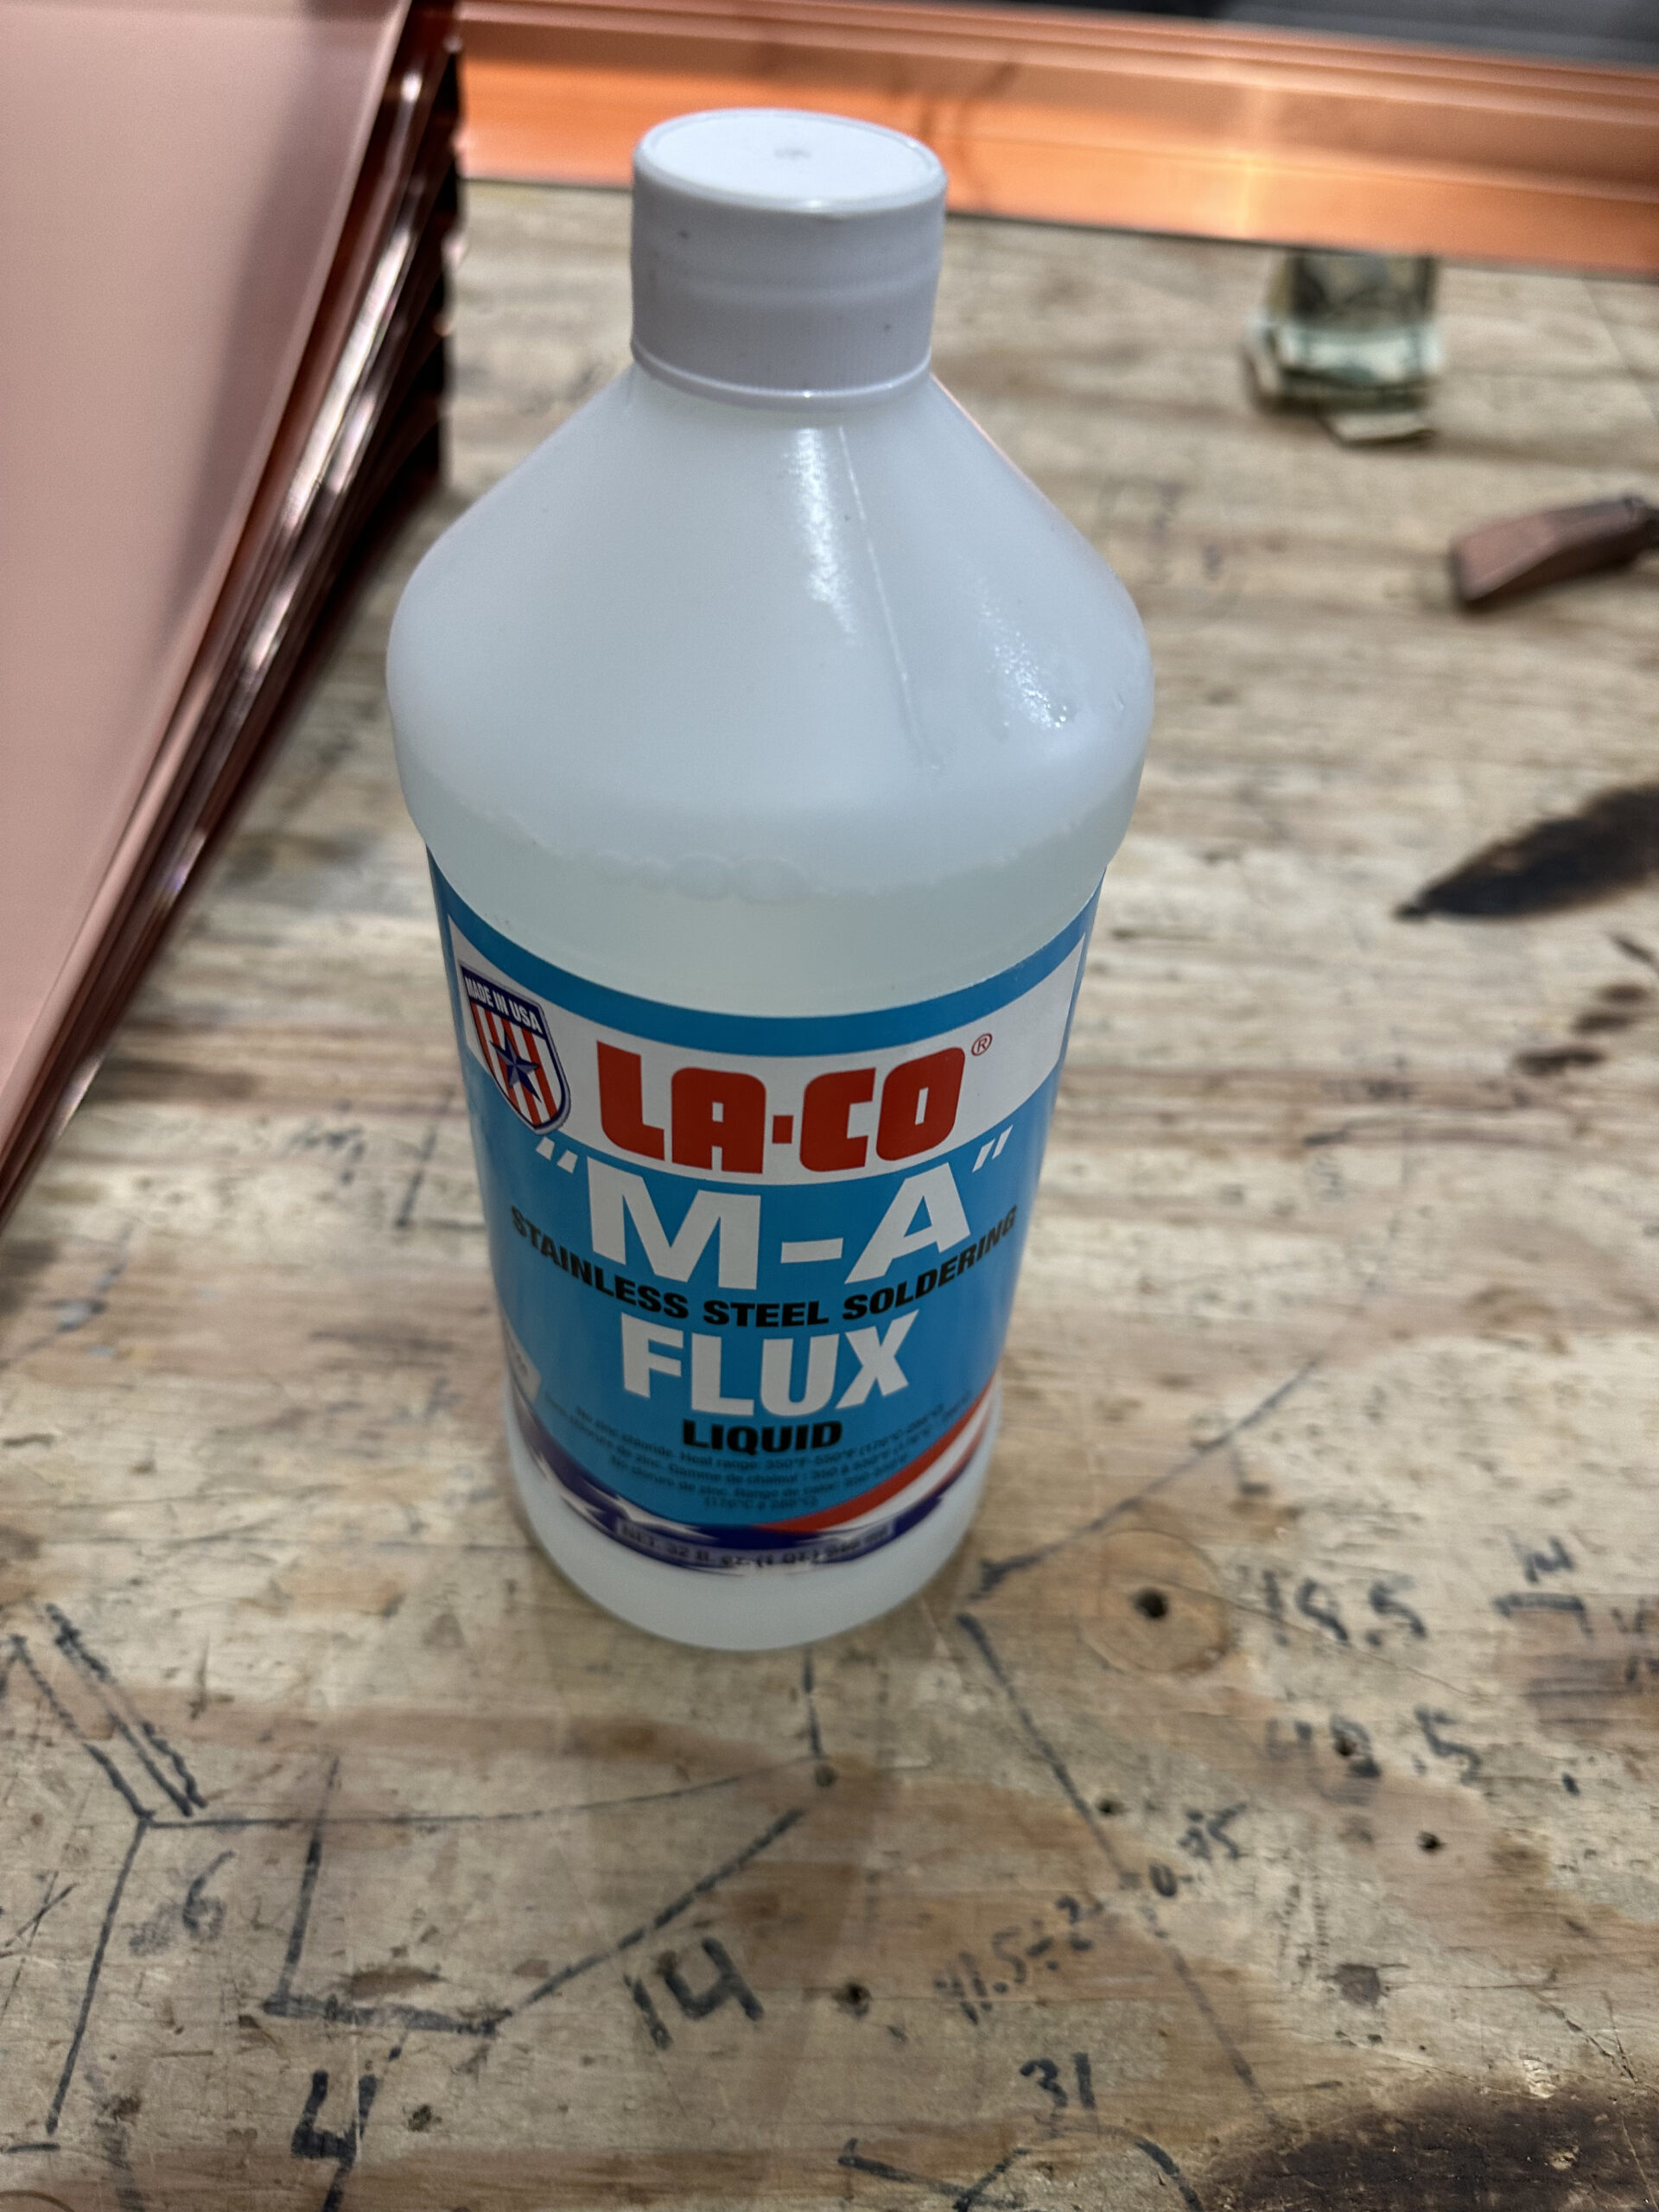
After the gutters were in place, they began installing copper sidewall/endwall flashings and the flat lock copper panels, providing a stagger for each row. Prior to installing a panel with clips and copper nails, they fluxed the already pre-tinned panels along the marrying edges. Applying a quality flux is likely the most critical step in the process, as it helps sweat the solder further into the joints. As seen below, our test strip shows the solder passing all the way through the triple (z-shaped) marriage joint. While some people recommend Ruby Fluid or Stay Clean Flux, LA•CO’s ‘M-A Flux’ product is top tier. Another choice in soldering is whether to use a torch (easier, faster, more dangerous, greater chance of catching underlying roof on fire) or an ‘iron’ (that is still heated by a fairly closed torch) such as the Express Soldering Iron.
A (red or brown) rosin building paper is recommended and was used here to help prevent the copper panels from getting stuck in the ice and water shield underlayment. With the building paper, the panels can more easily slip slightly as they expand and contract. Another key facet in copper soldering, when using an iron, is to paint flux all over the tip once every 30 seconds (and don’t let the iron get too hot). Oxidation will eat away at the tip and make it unusable very quickly if this advice is not heeded. Some black will still accumulate near top of tip—this is fire scale, and occurs because you can’t tin the entire tip. A bench grinder or wire wheel on a drill can remove some oxidation if correctly prior to too much tip damage. So-called long-life tips use a Nickel coating on the top to help maintain the connection from heat source to heel of tip, but won’t protect against forgetting to keep the tip fluxed nearly continually. The tip oxidizes while hot, but once it cools down and is in the shop, it is safe from rapid oxidation. Flux is sometimes called ‘acid,’ because of historical roots, but is extremely weak these days and okay to apply straight to the iron with a brush. Also, it is better to paint flux on your tip than to dip it in flux/water mixture, as the cooler water can cause stress cracks, due to brass/bronze having a hot short point. The inside of a hot tip may be at hot short, while the outside getting dipped in cool water contracts and may crack.


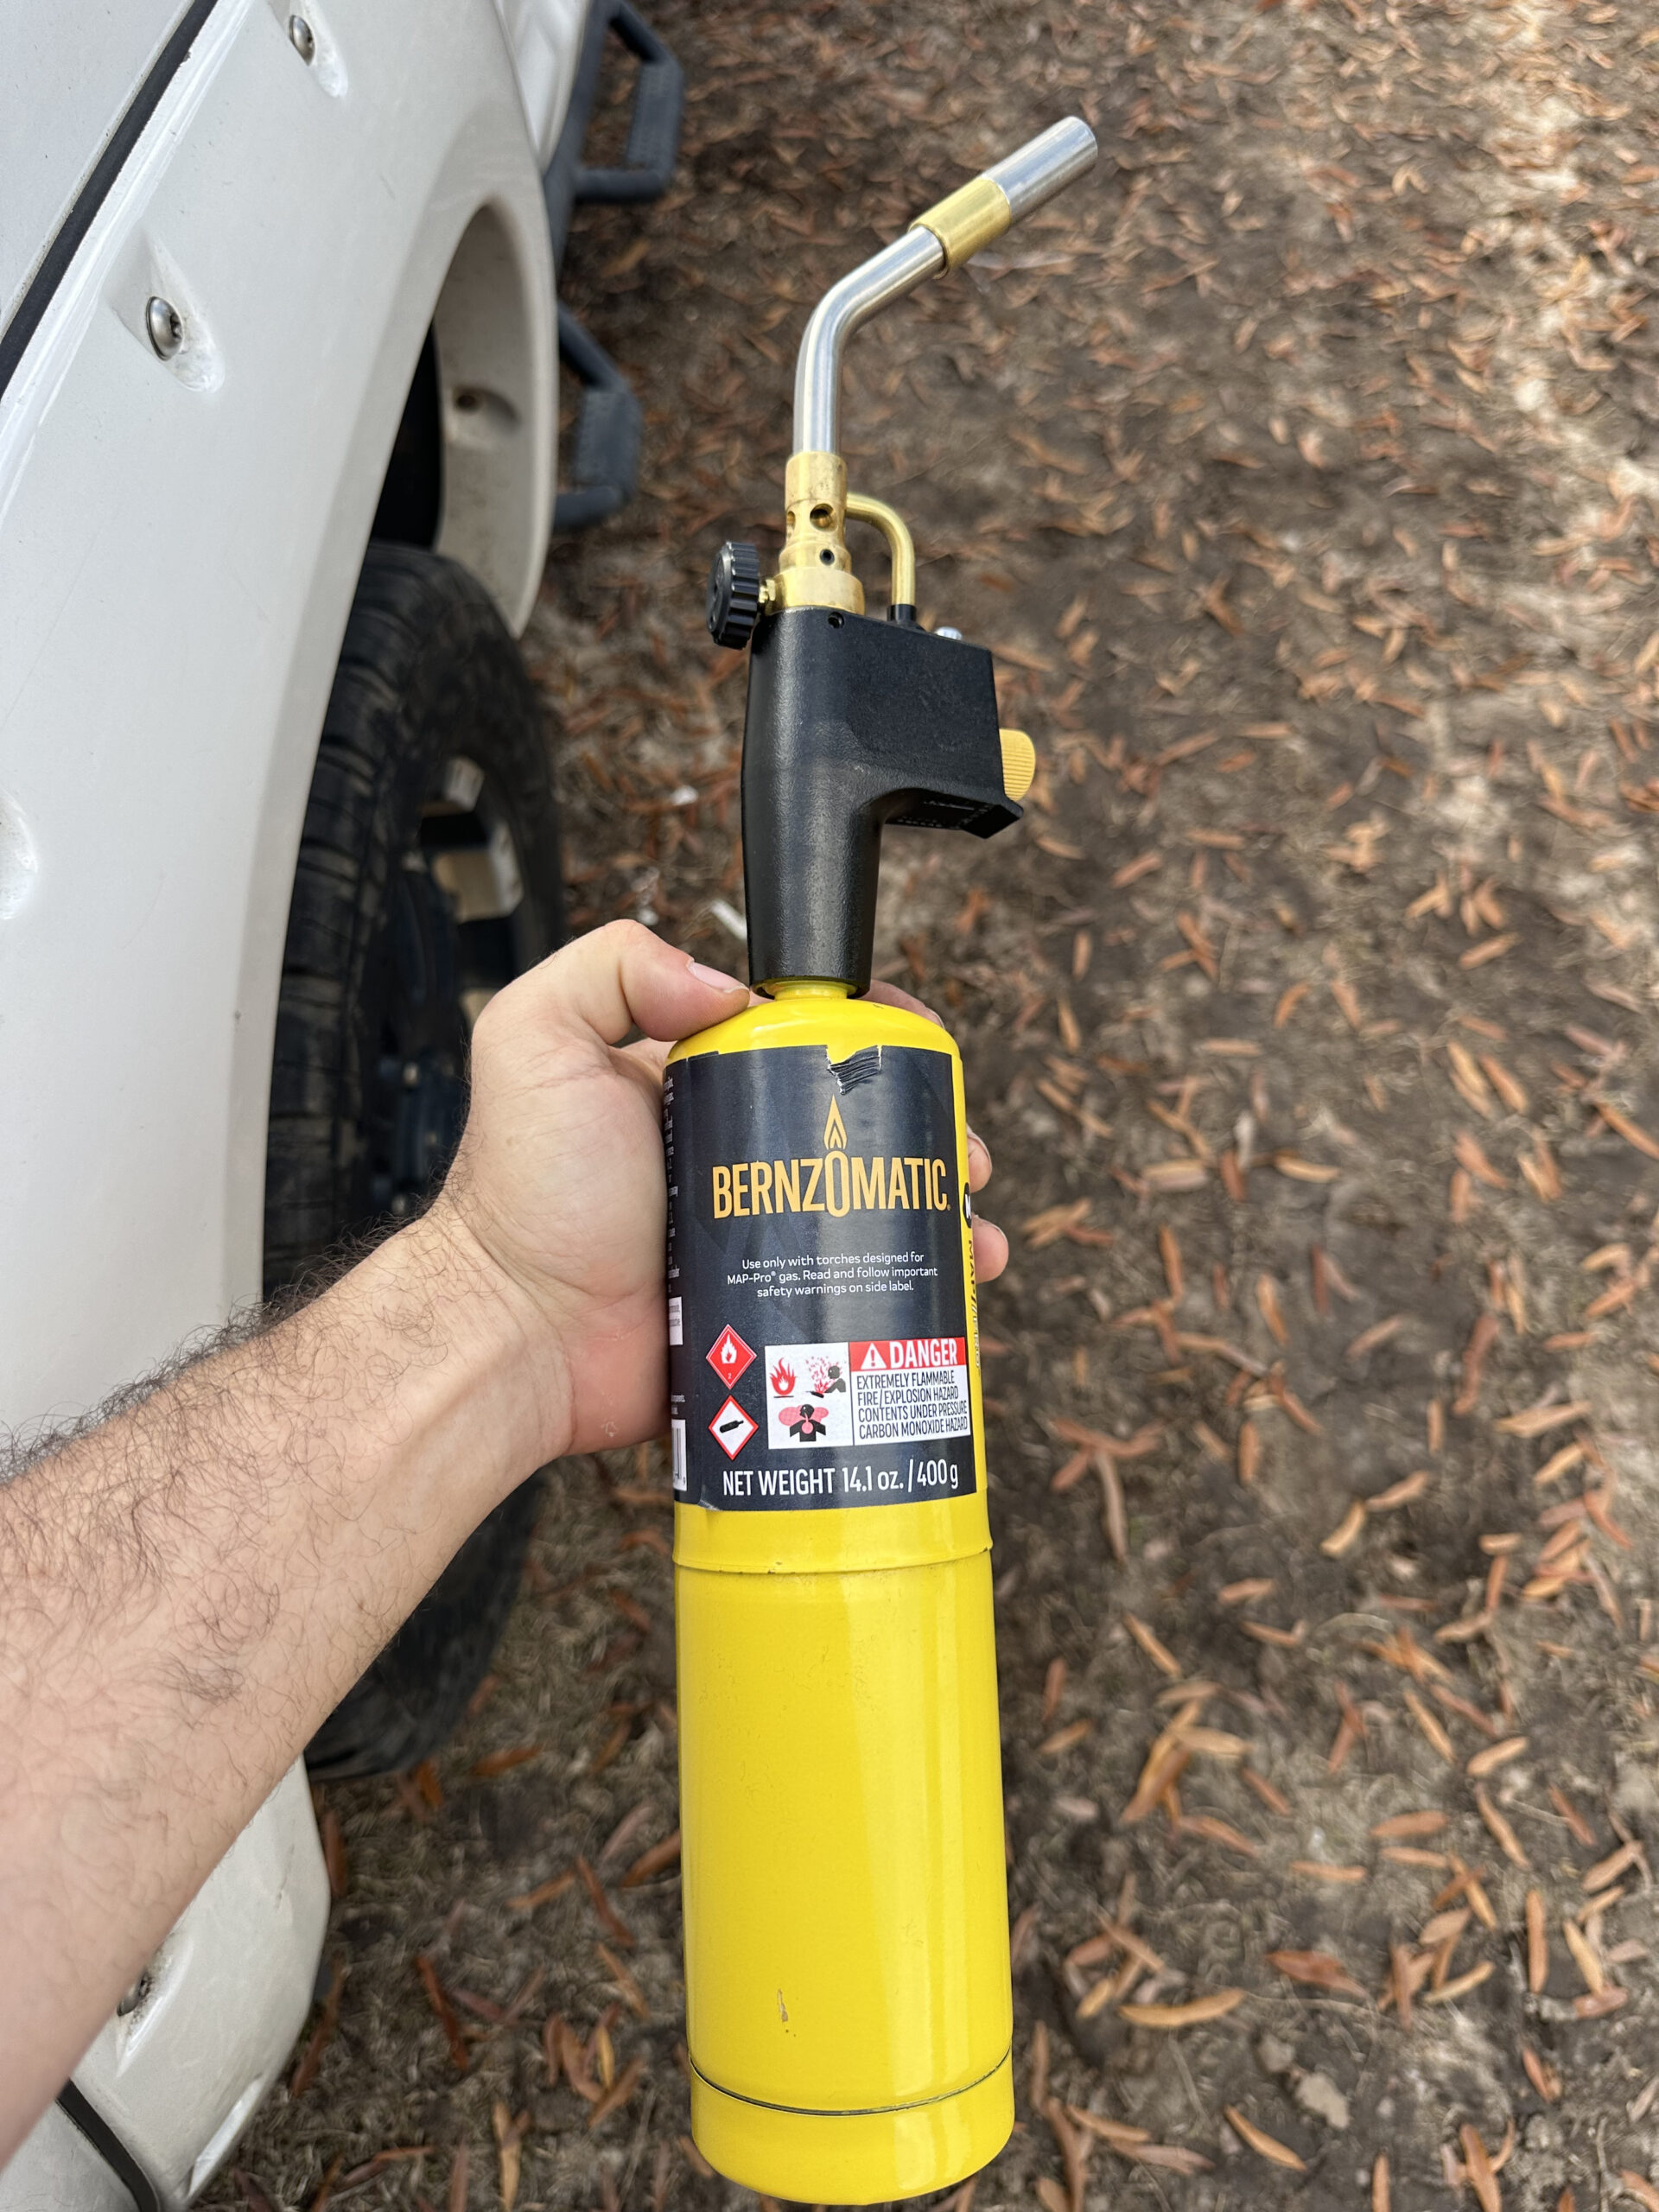
Installing the panels took lots of solder—probably north of 100 pounds for roughly 4 squares of roof. The 1/4-lb stick variety was easiest to use. After soldering the panels, they were wiped with a damp rag to clean off any residual flux (which accelerates color change of the copper). A dead-blow hammer was used to flatten the marriage seams of the panels after installation and just prior to soldering. The trick with soldering is to get the copper ‘warm’ over a large area (so wider tips do best). If temperature permits (above 70º F), electrical soldering irons may be used. The express soldering iron used on this job required a propane tank and connecting hose (with regulator).